Let's be honest: topping off your golf cart batteries by hand is a messy, tedious chore. Hunched over a heavy battery pack with a funnel and a gallon of distilled water is nobody's idea of a good time. But the real problem isn't just the inconvenience—it's how easy it is to make costly mistakes.
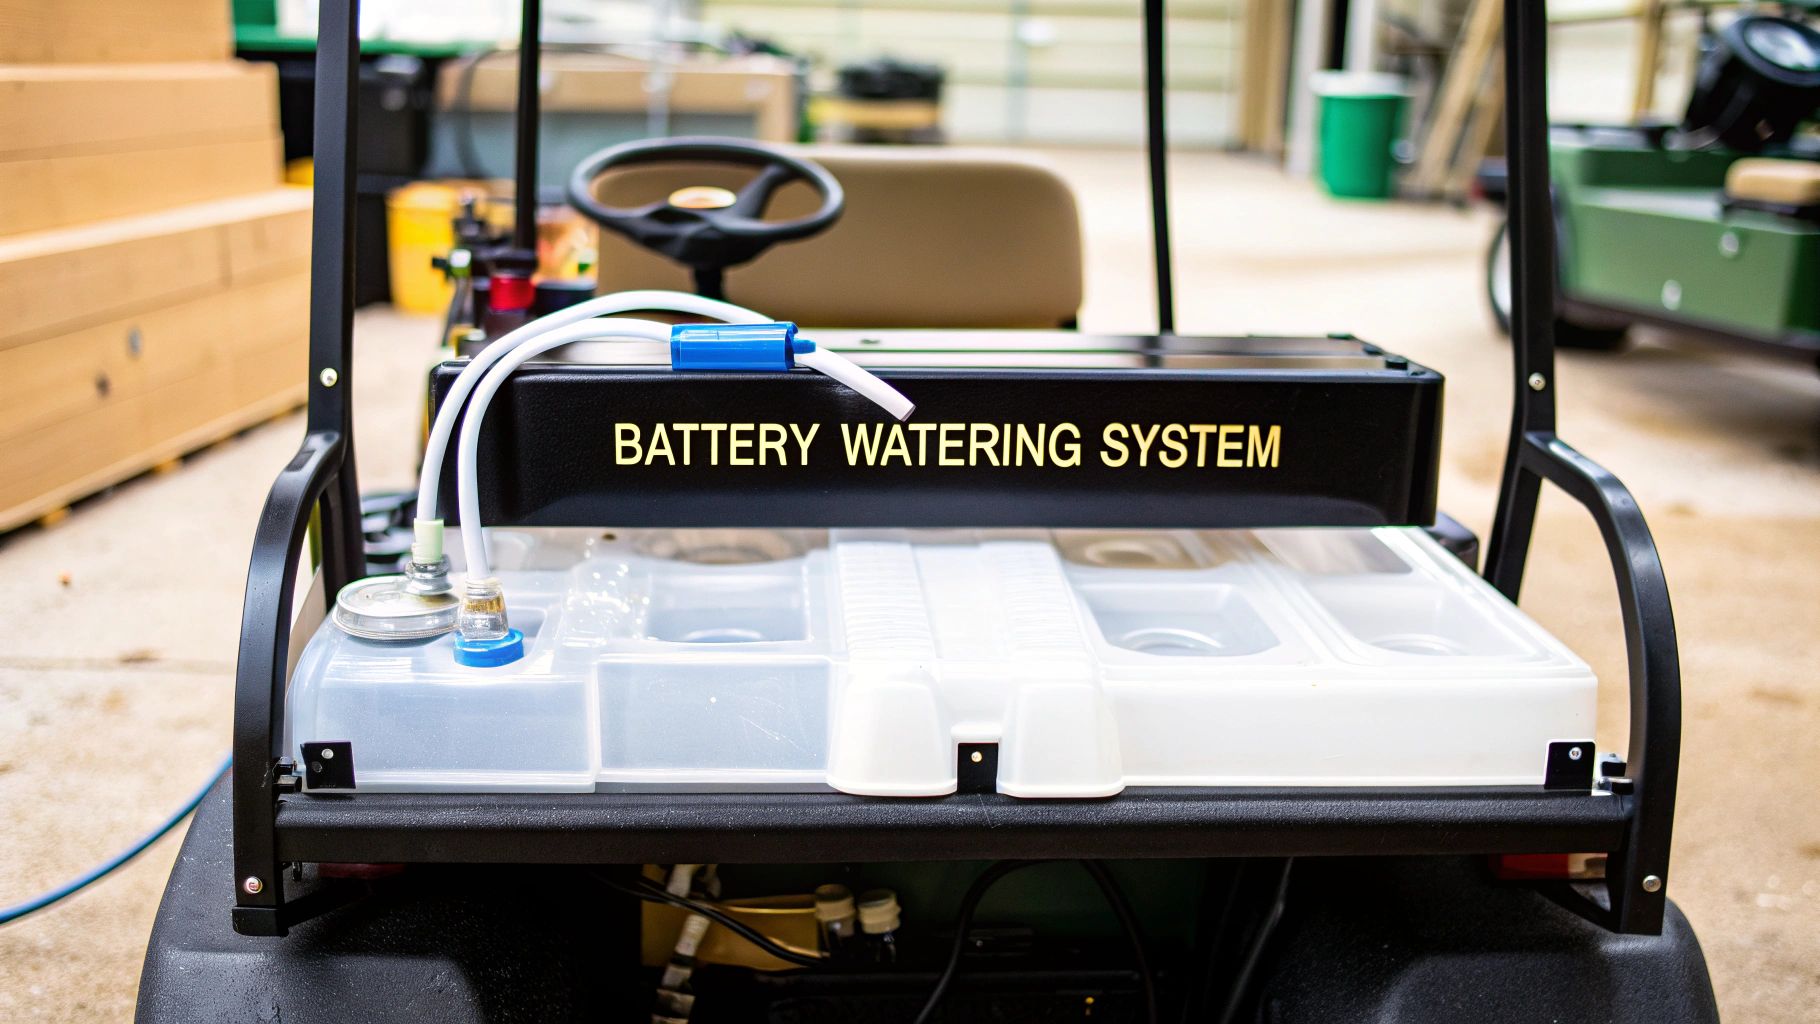
A golf cart battery watering system takes the guesswork out of this critical task. It’s a single-point filling method that automates the whole process, making sure every cell gets the perfect amount of distilled water at the same time. Think of it as a smart, simple upgrade that saves you a ton of time and protects your investment.
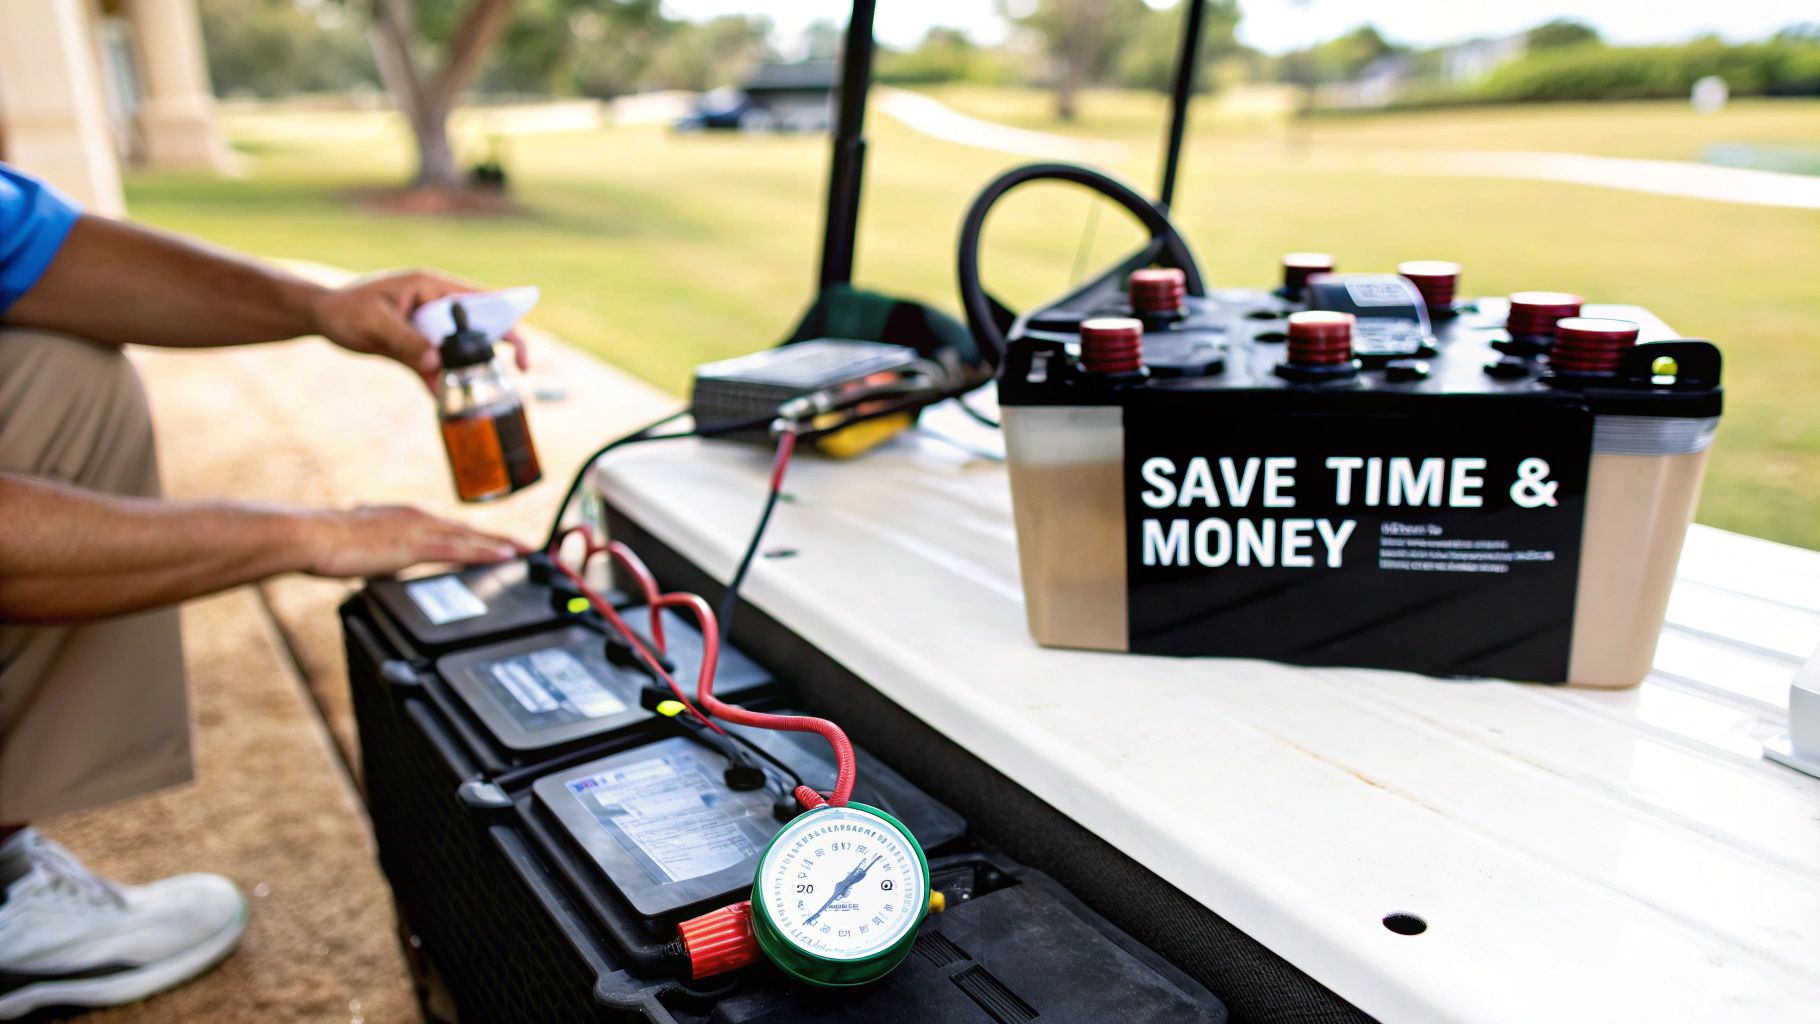
Why Manual Battery Watering Is Costing You Time and Money
Manual watering is notoriously prone to error, and those seemingly small mistakes have expensive consequences down the road.
The electrolyte levels in your lead-acid batteries have to be just right. If you under-fill them, you expose the lead plates to the air. This causes irreversible damage called sulfation, where lead sulfate crystals build up and permanently choke the battery's ability to hold a charge.
On the other hand, over-filling is just as destructive. Too much water causes corrosive, acidic electrolyte to bubble out during the charging cycle. That acid eats away at your battery terminals, cables, and even the cart's frame. It’s a recipe for disaster.
The Hidden Costs of Inconsistency
These common manual watering issues create a vicious cycle of poor performance and premature battery failure. For fleet managers, the labor costs alone are a huge drain—some have reported slashing maintenance time by over 90% just by switching to an automated system.
For individual cart owners, the savings come from adding years to your battery life and dodging the steep cost of a full replacement set.
This efficiency is more important than ever. The global golf cart battery market was valued at a massive USD 1.49 billion in 2024 and is only expected to grow. With lead-acid batteries still dominating the market thanks to their lower upfront cost, proper maintenance is the only way to ensure they’re reliable.
By making sure every cell is filled to the precise level every single time, a watering system eliminates the guesswork. It transforms battery maintenance from a dreaded task into a quick, clean, and foolproof process.
A single-point system isn't just a luxury; it's a practical upgrade for anyone who wants to:
- Prevent damage: No more sulfated plates from under-filling or messy acid spills from over-filling.
- Save time: Fill an entire battery pack in less than a minute, not the 15-20 minutes it takes by hand.
- Maximize lifespan: Consistent, proper watering is the single most effective way to protect your battery investment. To learn more, check out our complete guide to golf cart battery lifespan.
When you look at the real-world differences, the choice becomes pretty clear.
Manual Watering vs. Automated System: A Practical Comparison
This table breaks down the key differences between the old way of watering batteries and using an automated system, highlighting the real-world benefits.
| Maintenance Task | Manual Watering Reality | Automated System Advantage |
|---|---|---|
| Time Investment | 15-20 minutes per cart, requiring careful, slow pouring. | Under 60 seconds per cart. Just connect and pump. |
| Accuracy | Prone to over-filling and under-filling due to guesswork. | Each cell receives the precise amount of water, automatically. |
| Consistency | Varies with each fill and each person doing the maintenance. | Perfect, identical fill levels across all cells, every time. |
| Safety Risks | High risk of acid splashback and exposure to corrosive fumes. | Sealed system minimizes exposure to acid and fumes. |
| Long-Term Cost | Leads to premature battery failure, costing hundreds in replacements. | Extends battery life significantly, saving money in the long run. |
Ultimately, a golf cart battery watering system pays for itself by preventing expensive replacements and giving you back valuable time you'd rather spend on the course.
Picking the Right Watering System for Your Cart
Choosing the right battery watering system isn't just a matter of convenience—it's about making sure it actually works with your specific cart and batteries. Get it wrong, and you're in for a world of frustration, from a botched installation to poor performance or even damaged batteries down the road.
You'll generally run into two types of systems: the simple manual hand pumps and the more industrial gravity-feed tanks.
For pretty much any individual cart owner, a manual hand-pump system is the way to go. These kits are affordable, dead simple to use, and get the job done in less than a minute. You just connect the hose, give the bulb a few squeezes until it firms up, and you're done.
On the other hand, a gravity-feed system is really designed for commercial setups, like a golf course or a dealership with a whole fleet of carts. These use a big, elevated water tank to fill multiple battery sets at once without anyone having to pump a thing. They're super efficient for large operations but are complete overkill and needlessly complicated for a single cart owner.
Make Sure the System Matches Your Batteries
Here’s the single most important part: you have to match the system’s valves to your battery brand. This is non-negotiable. Big names like Trojan, Crown, and U.S. Battery all use their own proprietary valve designs. A valve designed for a Trojan battery just won't seal properly on a Crown, and vice versa.
I've seen it happen—someone tries to force an incompatible valve into a battery cell. It almost always damages both the valve and the battery, leading to leaks and cells that never get filled correctly. Always double-check compatibility before you buy.
To sidestep this expensive mistake, pop the seat on your cart and identify your battery brand and model. The info is always printed right on the label. Once you know what you have, you can shop with confidence for a kit that’s explicitly made for your setup.
A Quick Checklist for Finding a Quality Kit
Not all watering system kits are created equal. Once you've sorted out the brand compatibility, you’ll want to look for a few signs of quality to make sure your investment is built to last.
Here's a simple checklist to run through when you're comparing options:
- Valve Type: Does the kit clearly state it’s for your battery brand (e.g., "Fits Trojan T-105")? If it doesn't say, don't buy it.
- Tubing Quality: Check out the tubing. You want something that feels thick and flexible, not flimsy. Cheaper kits often use thin tubing that kinks easily, which can cut off water flow to some of your cells.
- Ease of Installation: The best systems use simple snap-on connectors. They’re designed for a quick, tool-free installation that literally anyone can do in their driveway.
- What's in the Box: Does the kit come with everything you need? That means the hand pump, all the tubing, and the quick-connect coupler. A complete kit saves you from making annoying trips to the hardware store halfway through the job.
Taking a few moments to verify these details will ensure you get the right golf cart battery watering system on the first try. A little due diligence here saves a ton of headaches later and guarantees a perfect fit for years of reliable performance.
Installing Your Battery Watering System Confidently
Alright, this is where the fun begins. Installing a golf cart battery watering system might seem a little intimidating at first glance, but I promise it’s a straightforward project you can easily knock out in an afternoon. My goal is to walk you through it so you feel confident enough to get it done right, saving you a trip to the repair shop and giving you that great feeling of a job well done.
First things first: safety. Before you even think about touching a tool, we need to talk precautions. You're working with batteries that contain sulfuric acid, and that stuff is no joke. Always, and I mean always, wear safety glasses and a solid pair of acid-resistant gloves. A splash of electrolyte in your eye is a trip to the emergency room, so this is the one step you never, ever skip.
It's also a smart move to work in a well-ventilated area. Batteries can release hydrogen gas when they charge, and that gas is flammable. It's best to tackle this installation after the cart has been sitting for a while, not right after it comes off the charger.
Preparing Your Batteries for a Clean Install
The very first hands-on step is also one of the most critical for the long-term health of your new system: cleaning the tops of your batteries. Over time, they get covered in a nasty film of dust, dirt, and acid residue. If any of that crud falls into a battery cell while you're working, it can contaminate the electrolyte and seriously shorten the battery's lifespan.
To get them clean, mix up a simple solution of baking soda and water—about a tablespoon of baking soda to a cup of water should do it. Grab a disposable brush and gently scrub the battery tops and terminals. You’ll see some fizzing as the solution neutralizes any acid, which is exactly what you want. After scrubbing, carefully rinse them with a small amount of clean water and dry everything off completely with a clean rag. Now you've got a perfect, clean surface to work with.
Installing the Valves and Tubing
With your batteries prepped and sparkling, it's time to get the new valves in. This is the heart of your golf cart battery watering system.
- Pop the Old Caps Off: Carefully twist or pry off the original battery caps from each cell. You won't be needing them anymore, but I usually hang onto them just in case.
- Snap the New Valves In: The new valves in your kit are designed to just push into place. Give each one a firm press down into the cell opening until you hear or feel a solid "snap." That little click tells you it has created a secure, airtight seal. Don't be timid here; they need a good, firm push.
- Measure and Cut Your Tubing: Start with the battery that's furthest away and work your way toward where you'll connect the hand pump. Run the tubing from one valve to the next, leaving just enough slack so there are no sharp bends or kinks. A kinked tube will stop water flow dead in its tracks. A sharp utility knife or a proper tubing cutter will give you the clean, straight cut you need.
- Connect Everything Up: Push the freshly cut ends of the tubing securely onto the barbs of each valve. Once you think you're done, go back and double-check every single connection. Make sure each one is fully seated. A loose connection now is just a leak waiting to happen later.
This quick graphic shows the simple logic behind choosing a system before you even get to this installation stage.
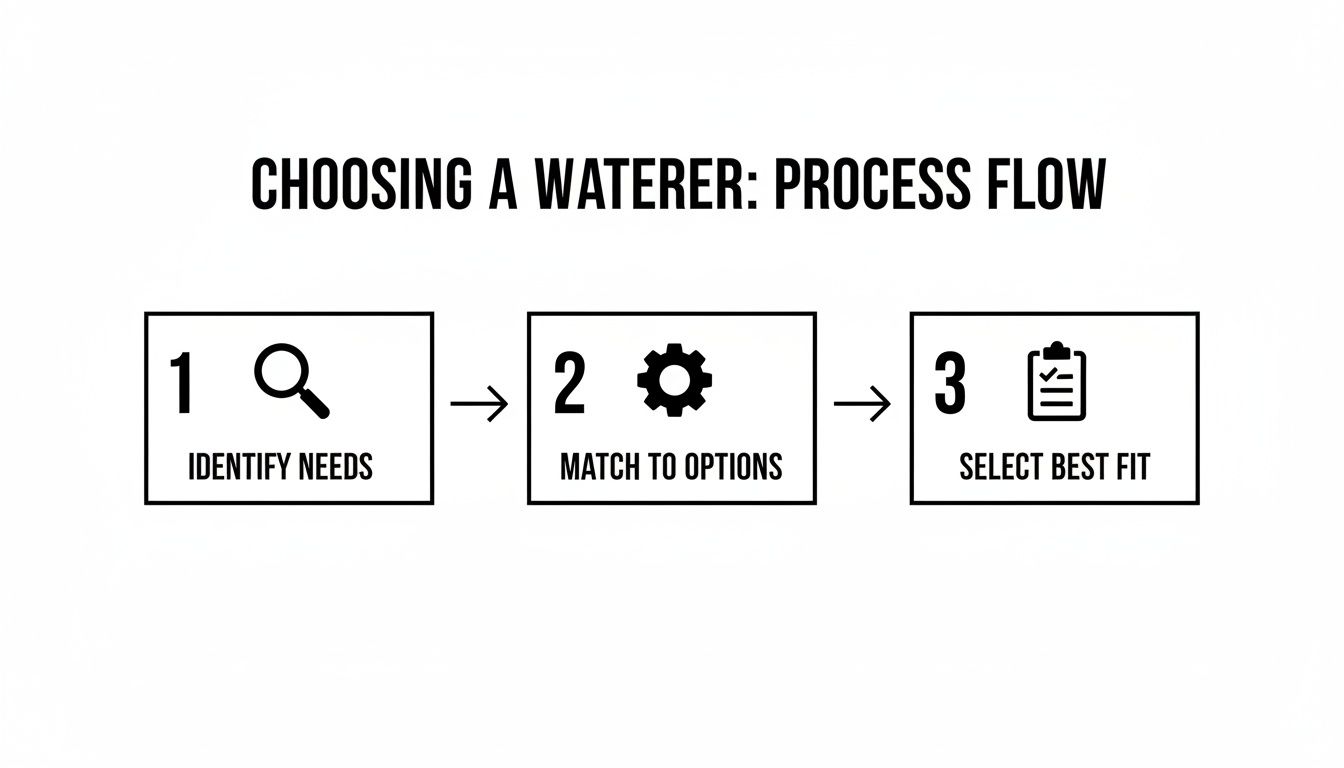
As you can see, a smooth installation really starts with picking the right product for your needs from the get-go.
The whole idea of simplified maintenance is a huge trend right now. The U.S. golf cart battery market is expected to shoot past USD 51.7 million by 2034, largely because of technologies that make battery care easier. Even with all the buzz around lithium, this shows that the big original equipment manufacturers (OEMs)—who control 67.2% of sales—know that easy maintenance is a major selling point for all battery types. You can read the full research on the golf cart battery market if you want to dive deeper into how these trends are playing out.
Before you call it a day, do one last check. Run your hand along all the tubing, feeling for any pinches or tight corners. Make sure the main coupler is somewhere you can easily get to. This final once-over can save you a ton of headaches down the road.
With everything connected and inspected, your work is done. You've just made a fantastic upgrade to your cart that will protect your investment and make future maintenance an absolute breeze.
Perfecting Your Watering Routine for Maximum Battery Life
With your new golf cart battery watering system installed, you've already won half the battle. Now, it’s all about creating a simple routine to unlock years of extra performance from those batteries. It's less about how often you water and more about when you do it. And there's one golden rule you should never, ever break.
Always water your batteries after they are fully charged. Never before.
This isn’t just a random tip; it’s based on simple chemistry. As your batteries charge, the electrolyte fluid inside expands and heats up. If you fill them with water before charging, this expansion can force the acidic electrolyte to overflow. The result is a corrosive mess that eats away at your terminals, cables, and even your cart’s frame.
Watering after a full charge cycle ensures you’re only topping off what was actually lost through normal use, leaving no room for messy overflows.
Establishing Your Watering Schedule
So, how often should you be checking the water? The honest answer is: it depends. Your local climate and how much you use your cart play a massive role here. A cart getting daily use in the Arizona heat is going to be much thirstier than one used on weekends in the Pacific Northwest.
The goal is consistency. Pick a day—maybe the first Sunday of every month—to do a quick check. Over time, you’ll get a natural feel for your cart’s specific needs and can adjust your schedule from there.
For the best performance and to prevent harmful mineral buildup, battery manufacturers always recommend using distilled or demineralized water. If you want to make it easy on yourself, installing a Whole House Reverse Osmosis system ensures you always have purified water on hand. It's the best way to protect your battery plates from damaging deposits.
Your Simple Battery Watering Schedule
To get you started, here’s a simple schedule based on climate and cart usage. Think of this as a baseline—you can fine-tune it as you get to know your cart's habits.
| Cart Usage | Hot Climate (e.g., Arizona, Florida) | Temperate Climate (e.g., Carolinas, Midwest) | Cool Climate (e.g., Pacific Northwest) |
|---|---|---|---|
| Daily Use | Check every 2 weeks | Check every 3-4 weeks | Check every 4-6 weeks |
| Weekend Use | Check every 3-4 weeks | Check every 4-6 weeks | Check every 6-8 weeks |
| Infrequent Use | Check every 4-6 weeks | Check every 6-8 weeks | Check every 8-10 weeks |
This table gives you a clear, actionable starting point. The key is to check consistently and let your cart’s needs guide you.
The Watering Process Itself
When it's time to water, the whole process is incredibly simple and takes less than a minute. Here’s how it works:
- Connect the Coupler: Snap the hand pump's quick-connect fitting onto the main tube of your battery watering system. You'll hear and feel it click firmly into place.
- Squeeze the Pump: Place the other end of the hose into your jug of distilled water and give the hand pump a few good squeezes. You’ll feel it start to draw water into the system.
- Wait for the Signal: Keep pumping until the bulb becomes firm and is difficult to squeeze. That’s your sign. It means every battery cell has been filled to the perfect level, and the internal valves have automatically shut off.
That’s all there is to it. Just disconnect the pump and you’re done. By following this simple routine, you're not just doing maintenance—you're actively protecting your investment. For a deeper dive into battery care, check out our complete guide to golf cart battery maintenance.
Troubleshooting Common Watering System Problems
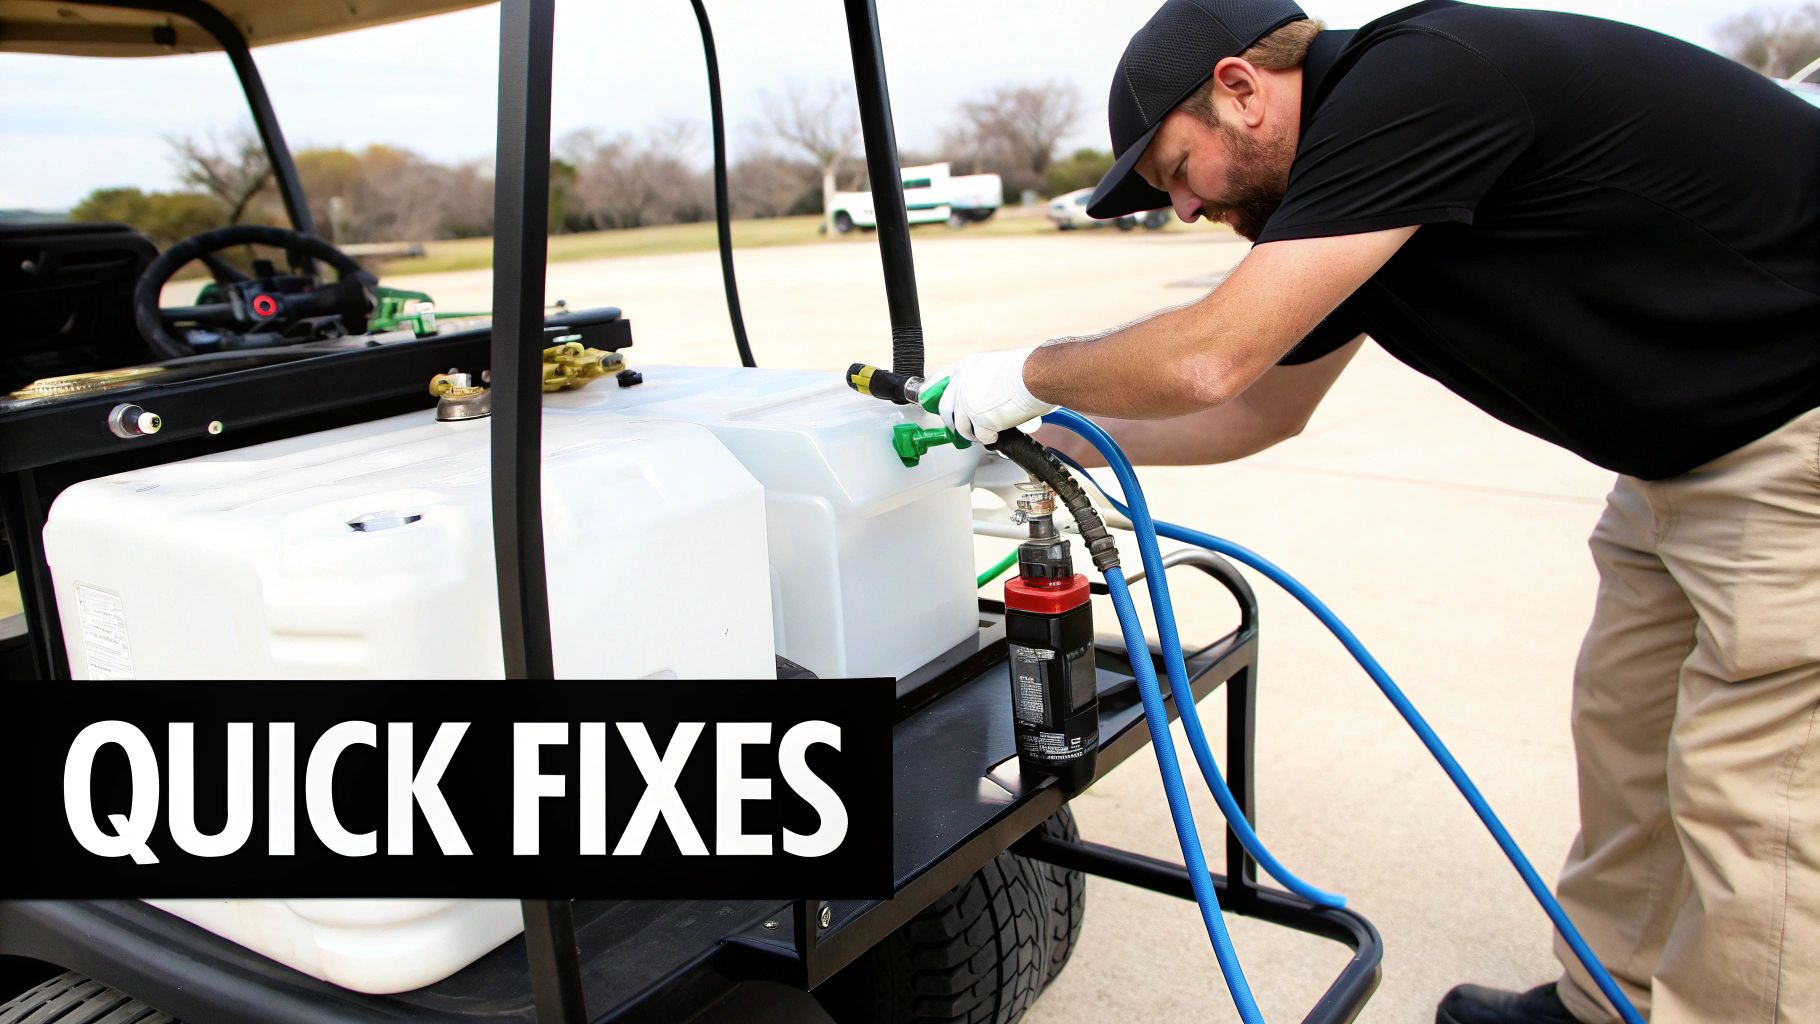
Even the best golf cart battery watering system can hit a snag now and then. The good news? Most of these hiccups are surprisingly easy to sort out yourself, right in your garage, without needing to uninstall a single component. Think of this as your go-to field guide for diagnosing and fixing the most frequent issues.
One of the most common calls we get is about a hand pump that feels stiff right off the bat. Before you jump to conclusions about a major blockage, always check the simplest thing first: your batteries might already be full. That firm resistance you feel is actually the back-pressure from the valves signaling that the job's done. This happens all the time, especially if you're checking your water levels a bit more often than necessary.
But what if you know for a fact the batteries are thirsty? A stiff pump could mean a simple obstruction right at the source. Take a look at the intake end of your pump hose. Is it pressed flat against the bottom of your distilled water jug, creating a vacuum? Also, give the quick-connect coupler a quick glance for any gunk or debris that might be blocking the flow.
Diagnosing Slow or Uneven Filling
So, you're filling up the pack, but you notice one or two cells are filling way slower than the rest—or maybe not at all. This classic symptom almost always points to an issue with a specific tube or valve, not a system-wide failure.
Start with a good old-fashioned visual inspection of the tubing that runs to and from the sluggish cell. You're looking for a few key culprits:
- Hidden Kinks: A sharp, hidden bend in the tubing can pinch the line and choke off the water flow. Gently trace the line with your fingers and straighten out any kinks you find.
- Debris in the Line: It's rare, but tiny bits of debris can sometimes get lodged in the tubing. You might need to disconnect the tube at both ends to clear it out.
- A Clogged Valve: Contaminants from a dirty battery top can occasionally sneak into a valve and cause it to stick.
A single slow-filling cell can throw off the balance of the entire battery pack over time, leading to reduced performance and longevity. Addressing these small issues promptly is key to protecting your investment and ensuring your system works flawlessly.
If a visual check doesn't do the trick, the valve itself is likely the problem. You can carefully remove it, inspect it for any blockages, and give it a good cleaning before reinstalling. While you're at it, this is a great time to brush up on the signs of a failing battery. You can learn more by reading about the top golf cart battery problems to watch for.
By methodically working through these simple checks, you can solve 99% of watering system issues on your own. These systems are built for reliability; most "problems" are just minor obstructions, not total failures. Making a quick visual scan part of your regular watering routine will help you spot things like a kinked hose before they ever slow you down.
Common Questions About Battery Watering Systems
Even though these systems are pretty straightforward, it's normal to have a few questions pop up after you get one installed. Let's tackle some of the most common ones to make sure you're getting the most out of your upgrade.
Can I Use Tap Water in My Golf Cart Batteries?
This is a big one, and the answer is a hard no. You absolutely must use distilled or deionized water in your batteries, and nothing else.
It might seem harmless, but tap water is loaded with minerals and impurities. Over time, these minerals coat the lead plates inside the battery cells, which kills their ability to hold a charge. Think of it as hardening of the arteries for your battery pack. Using pure distilled water is hands-down the cheapest and easiest insurance policy for protecting those expensive batteries.
How Do I Know When to Stop Pumping Water?
The system is designed to give you clear feedback, so you'll know exactly when to stop. If you're using a manual hand pump, you'll feel the bulb get very firm and hard to squeeze. That resistance is your cue—it means all the valves have closed and the cells are perfectly full.
The second you feel that pump get firm, stop. Don't try to force more water in. You could over-pressurize the lines and damage the sensitive little floats inside the valves.
For those with a gravity-feed tank, there's usually a small flow indicator on the hose. Just watch for it to stop spinning. Once it stops, you're done.
Will This System Work on My Lithium Golf Cart Batteries?
Nope, these watering systems are designed exclusively for traditional flooded lead-acid batteries.
Lithium batteries are a completely different animal. They are sealed units and require absolutely no water maintenance. There's literally nowhere for the water to go. Trying to hook a watering system up to a lithium cart would be pointless and could even risk damaging the battery's casing or electronics.
How Often Should I Inspect the System Itself?
Getting into the habit of giving the system a quick visual scan every time you water your batteries is a great idea. It just takes a few seconds. Run your eyes over the tubing to check for any cracks, leaks, or wear and tear, paying special attention to where the tubes connect to the valves.
On top of that, it's smart to do a more thorough check-up once a year. Take a moment to look at each valve individually, making sure they're clean and moving freely. This little bit of preventative care is all it takes to keep your golf cart battery watering system working flawlessly for years to come.
Ready to ditch the fatigue of pushing your cart and walk the course with ease? The Caddie Wheel offers a powerful, lightweight electric assist that attaches to your existing push cart in minutes. Click here to transform your round with Caddie Wheel!
Share:
Golf Cart Battery Issues: Fixes for golf cart battery issues
Your Complete Guide to Choosing a Hub Motor Kit