
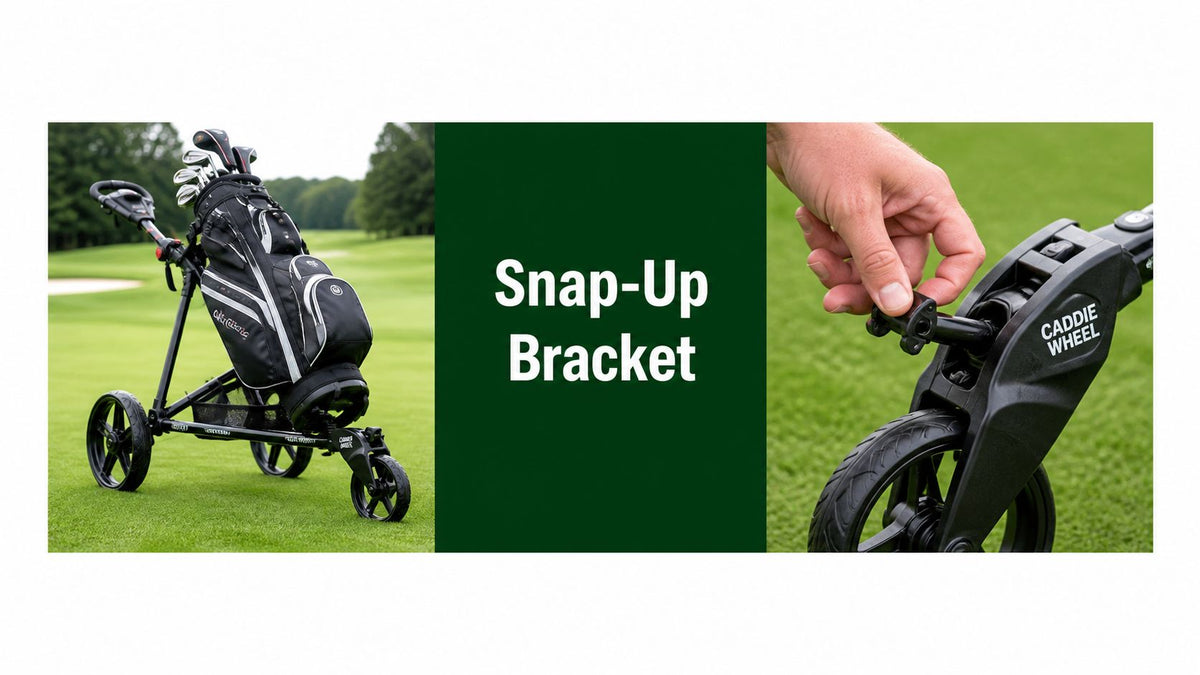
You've got the cart in the garage, the Caddie Wheel in the bag, and one small bracket sitting there looking too simple to matter. That's usually the moment people underestimate it. The snap up bracket is the part that decides whether the wheel locks in cleanly, tracks straight, and comes off without a fight after the round.
I've installed this style of bracket on enough carts to know the pattern. When the fit is right, it feels obvious. When the frame is off, the receiver bay is dirty, or the cart model isn't the one the kit was built for, the bracket won't “mostly work,” it'll tell on itself right away.
What the Snap Up Bracket Actually Does on Your Caddie Wheel
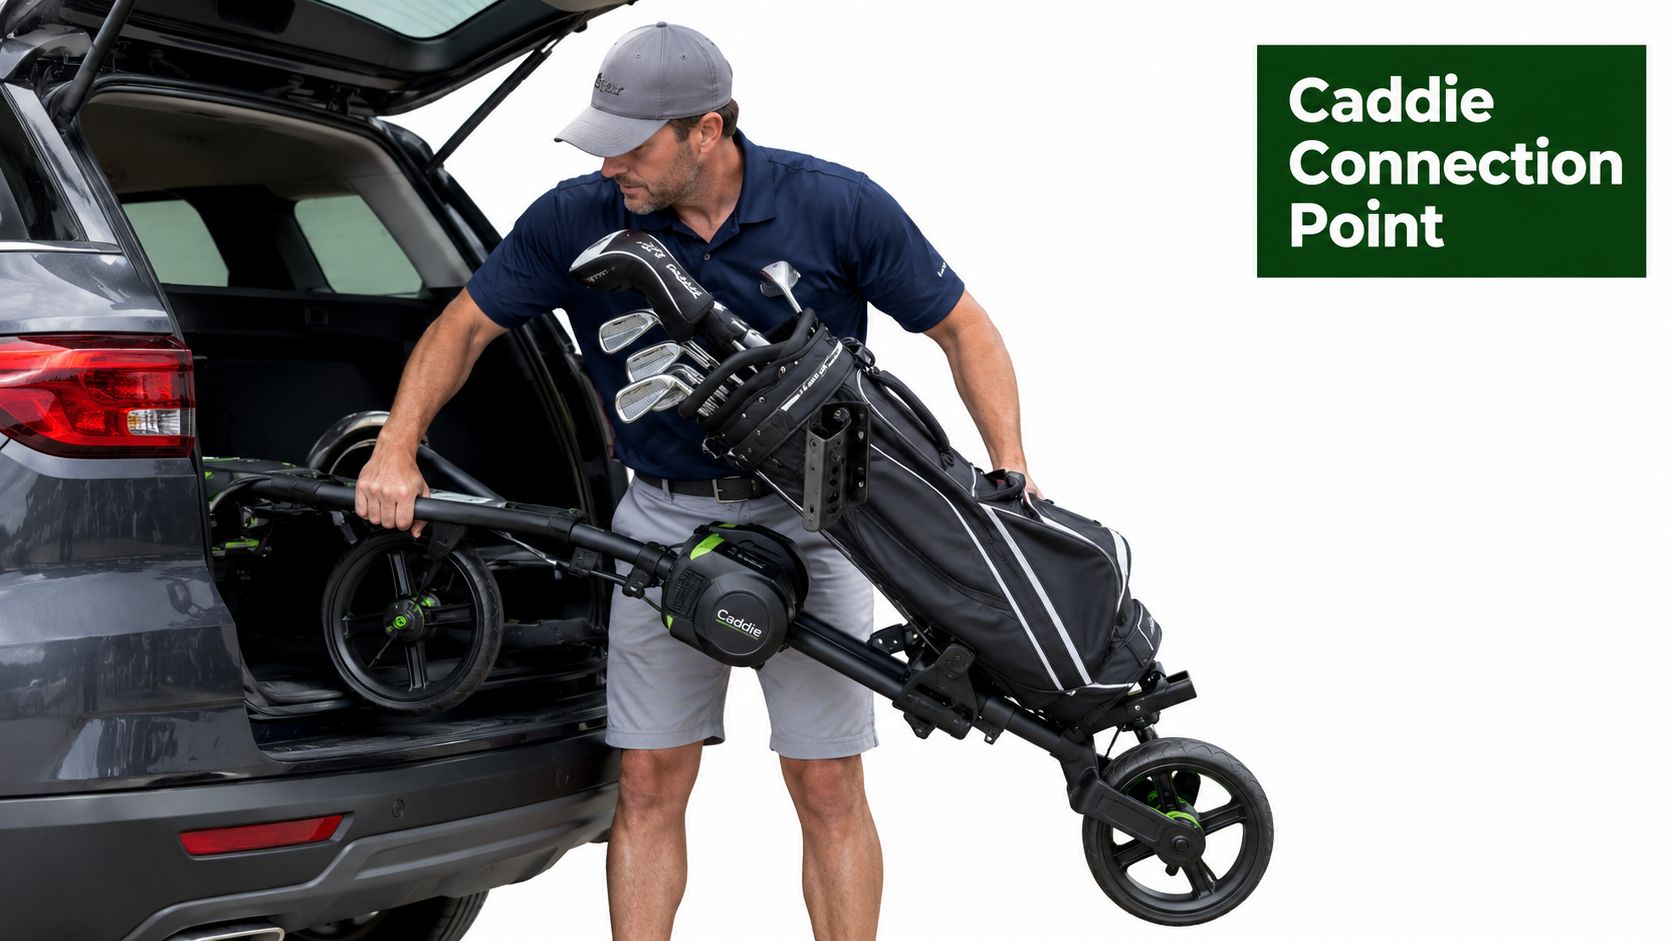
A golfer pulls the cart out of the trunk, sets the Caddie Wheel beside it, and the snap up bracket is the piece that turns those separate parts into one working assembly. It's not just a hanger. It's the mechanical handshake between the wheel's receiver bay and the cart's lower frame, so the motor's push goes into the cart instead of slipping around it.
The bracket has three jobs that matter on course. First, it locates the wheel in the right fore-aft position so the drive line stays centered. Second, it locks against rotation once the cart starts rolling, which keeps the wheel from twisting under load. Third, it lets you remove the wheel by hand when you're back at the cart stall, without tools or a long teardown.
Why the click matters
That spring-loaded latch isn't there for show. The audible click tells you the bracket and receiver bay have fully engaged, and the molded locating tabs keep the wheel from drifting sideways when turf gets uneven. If the bracket doesn't seat cleanly, the whole setup turns sloppy fast.
Practical rule: if the bracket feels vague on the first engagement, stop and reset it. A half-seated bracket usually becomes a loose bracket by the second hole.
That snap-fit approach also beats bolt-on adapters for golfers who swap wheels between carts. A bolt-on setup can be sturdy, but it's slower to move from one frame to another, and it adds another layer of hardware to keep track of. The snap up bracket is meant to make the wheel feel like part of the cart, not an accessory hanging off it.
Pre-Fit Checks Before You Snap the Bracket On
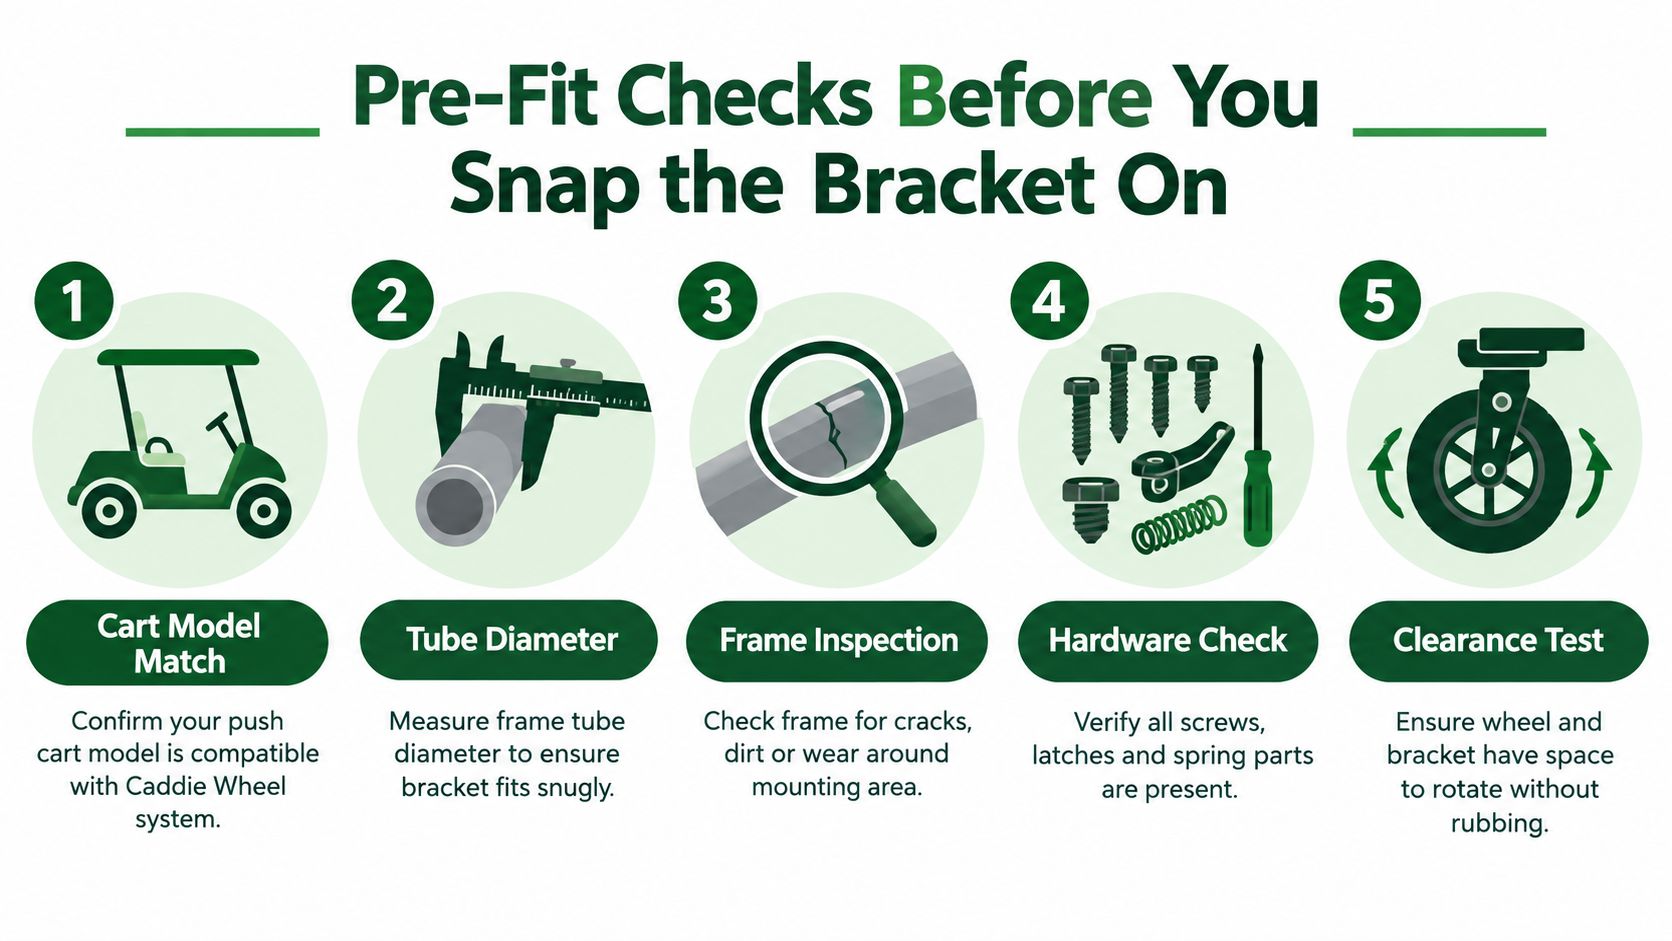
Before the bracket touches metal, check the cart like you're about to install it for real, because the bad installs usually fail in the same places. The frame has to be straight enough for the bracket to sit flush, and the receiver bay has to be clean enough for the latch to move without drag. That sounds basic, but most “mystery fit” complaints start there.
Check the cart before you check the bracket
Confirm the push cart model and frame geometry against the compatibility list in Caddie Wheel's cart fitment guide. The bracket is designed for specific tube widths and frame shapes, so a close-looking cart isn't good enough. A tube that's ovalized, flattened, or not the right size can make the mount feel loose even when it appears seated.
Then inspect the receiver bay on the wheel. Dirt, old adhesive, or a bent latch ear can block the clean click that tells you the bracket has locked. I also check the spring tab with a finger before installation, because it should move freely and return to rest without sticking.
Clear the mounting area
Make sure straps, umbrella holders, and GPS mounts aren't sitting in the bracket's footprint. The lower strut or axle area needs a clean path, and the cart should still fold and unfold without the clamp zone hitting a cross-brace. If something in the frame collides with the bracket when the cart closes, that setup will annoy you every time you load the car.
A good habit is to lay the bracket, wheel, and hex key on the ground before you start. If every part is visible, you catch the missing piece before you're halfway through the install.
If the cart has to be forced into position during setup, it's already the wrong setup.
Installing the Snap Up Bracket Step by Step
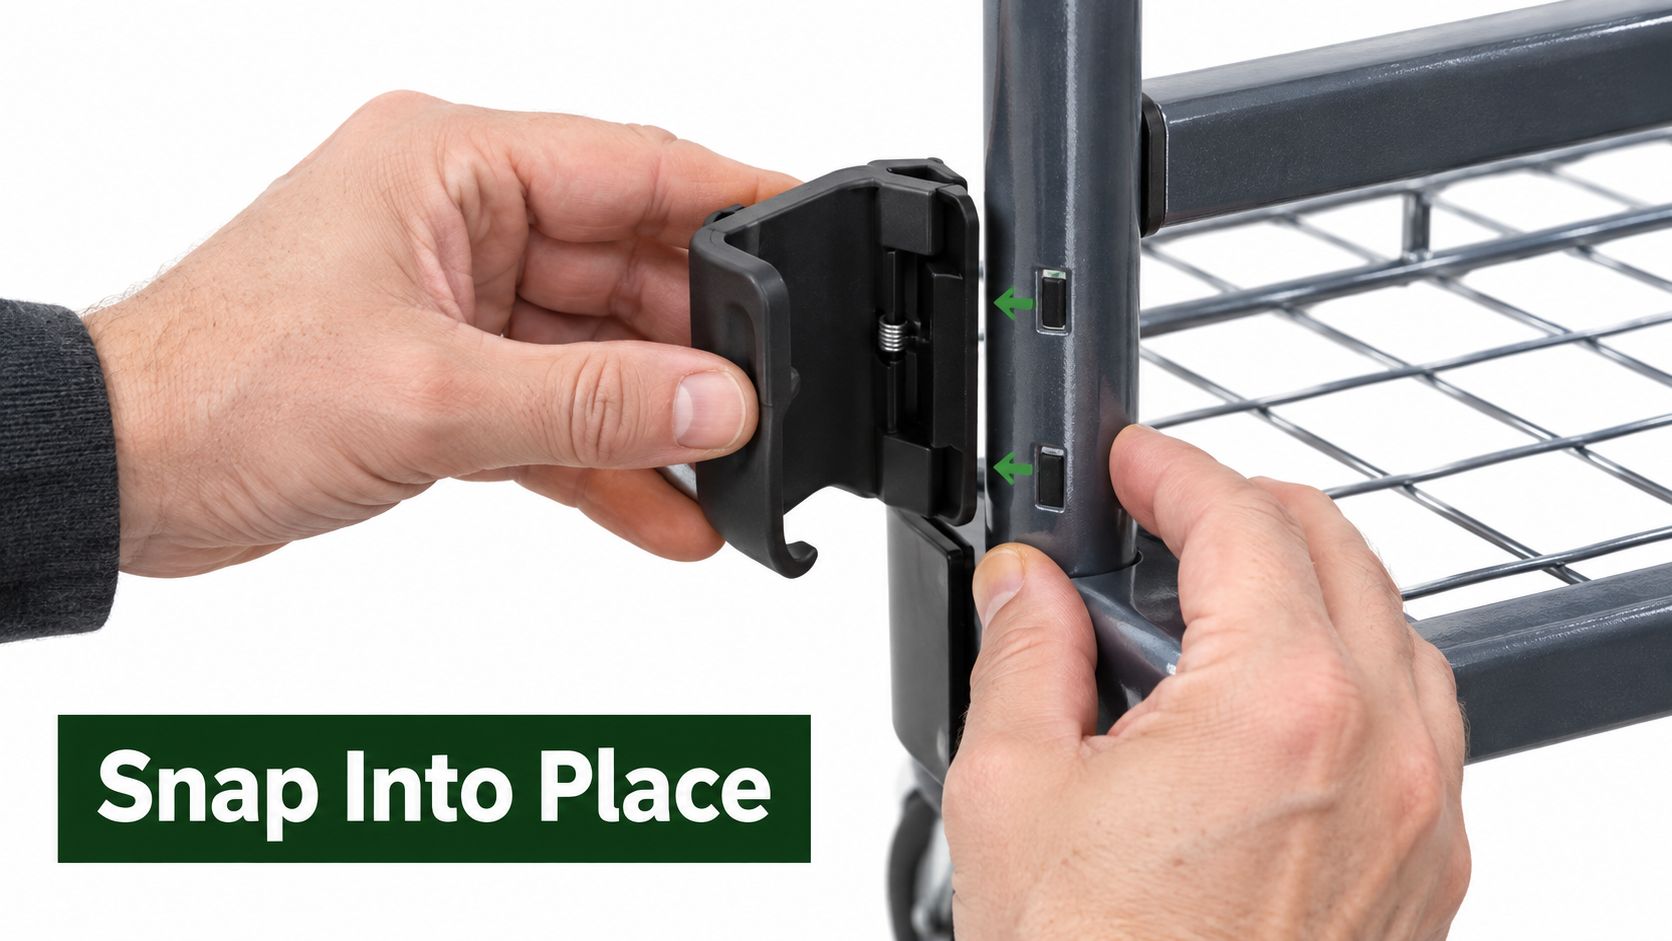
The cleanest installs happen when you respect the order. The snap up bracket wants alignment first, pressure second, and the click last. Skip any one of those and the fit usually feels off, even if it looks close from a few feet away.
Start with orientation
Turn the bracket so the spring latch faces the inside of the cart frame, with the locating tabs pointing forward toward the wheel. That orientation matters because the latch needs room to flex, and the tabs need to guide the wheel into the receiver bay instead of catching on the edge.
Open the receiver bay cover and check the slot again. If there's grit in there, clean it now. Once the bracket is engaged, you don't want debris acting like a spacer.
Seat the bracket, then the wheel
Line the lower hooks up with the cart's axle or strut, then rotate the bracket upward until the upper saddle sits against the top tube. The saddle should sit flush, with no daylight showing between the bracket and the tube. If you can see a gap, the frame or bracket isn't lined up the way it should be.
Next, push the wheel into the receiver bay and let the tabs fall into the machined grooves. Keep the motion straight. A sideways shove can make the tabs ride on the edge of the groove instead of into it, and that's where partial engagement starts.
Listen for the final lock
Press the wheel forward until you hear a single sharp click and see the latch seat against the bay edge. Then do a hand-push test, roll the cart a few feet on flat ground, and listen closely. A tick-tick sound usually means the latch didn't fully capture, or one tab missed a groove.
The clean install is quiet, flush, and firm. If it clicks but still feels vague, stop there and reseat it rather than assuming it'll “break in.” For more product-specific bracket context, the bracket overview from Caddie Wheel shows the same direct mount logic in use.
Removing and Storing the Bracket Without Stressing It
Taking the bracket off should feel controlled, not like you're prying a stubborn clip out of a tool drawer. The safest way is to keep the wheel flat against the cart frame so the receiver bay doesn't twist while you release the tabs. That matters because side load is what warps polymer lips and makes the next install feel worse than the first.
Release it straight, not sideways
Squeeze the two side release tabs toward the wheel hub while holding the opposite side steady. Then lift the bracket vertically. If one tab hangs up, don't jam a flathead screwdriver into the gap, because that's how people distort the receiver bay and create a repeat failure point.
Push the wheel forward first to take slack off the bay, then squeeze again. That small reset usually lets the latch disengage cleanly without stress.
Wipe the receiver bay with a dry microfiber once the bracket is off, and check for grit, hair, or a bent tab before you put anything away. If the bracket picked up moisture, let it flash off before storage. A damp bracket tossed into a bag sleeve tends to age badly.
Store it flat in the Caddie Wheel carry bag, not hung by a single tab. Hanging loads the spring detent unevenly, and that's the kind of slow damage you don't notice until the bracket starts feeling soft months later.
Compatibility, Warranty, and the Carts to Avoid
This is the part most generic guides skip, and it's the part that saves the most frustration. A snap up bracket can feel universal in hand, but cart geometry is not universal. If the frame isn't the right shape, the mount may physically sit there while still being functionally wrong.
Caddie Wheel's fitment materials say the bracket works with models built after the 2022 receiver-bay redesign, and it pairs cleanly with standard round-tube frames on Sun Mountain Speed, Bag Boy Quad, and Clicgear 4.0 carts. The same material also notes that Sun Mountain Micro carts and any cart with a flattened, ovalized, or non-1-inch upper cross tube can mount but ride loose, which counts as improper fitment for warranty purposes. Older Clicgear R-Series carts with the rounded crown need the Series-2 adapter, or the bracket won't seat correctly.
Warranty rule worth remembering: if you have to force the bracket, file tabs, bend springs, or drill holes, you're outside normal coverage.
I always tell buyers to verify three things before ordering, model year, tube roundness, and diameter. If the cart is on the edge of compatibility, it's better to confirm fitment than to assume the bracket will self-correct once the wheel is on. Keep the original receipt too, because any fitment claim starts with proof of what was purchased.
| Cart Model | Compatibility | Notes |
|---|---|---|
| Sun Mountain Speed | Compatible | Standard round-tube frame fit is the cleanest match |
| Bag Boy Quad | Compatible | Designed to pair cleanly with the bracket |
| Clicgear 4.0 | Compatible | Works with the intended bracket setup |
| Sun Mountain Micro | Limited | Can mount but may ride loose |
| Clicgear R-Series | Limited | Needs the Series-2 adapter for proper seating |
| Flattened or ovalized tube carts | Avoid | Mount may be loose and treated as improper fitment |
Real Course-Day Problems and How to Fix Them
The first failure I watch for usually isn't dramatic. It's a faint rattle on a breezy day, and it starts because dust was left in the receiver bay during install. The wheel still looks mounted, but the latch has backed off half a click. The fix is simple, pull the bracket, wipe the bay dry, then reseat it with firm hand pressure until the detent fires cleanly again.
A different problem shows up on humid summer rounds. The release tabs can feel mushy and refuse to retract the way they should. In practice, letting the bracket sit in the trunk for a few minutes often drives enough moisture out of the polymer for the release to normalize, which is a lot better than fighting it at the cart path.
The worst weekend issue is the one people try to solve with brute force. On a Clicgear without the Series-2 adapter, the wheel can twist under hard turns because the bracket isn't seated for that frame geometry. More pressure won't fix it. The correct move is the adapter, because forcing the mount only strips the bay and ends the day early.
What I tell golfers when the fit feels wrong
- Rattle after install: clean the bay and reseat until the latch clicks hard.
- Sticky release tabs: warm and dry the bracket before retrying.
- Wheel twist in turns: stop forcing the mount and verify the cart needs the proper adapter.
A good bracket disappears once it's installed. If you keep noticing it, the setup still needs attention.
Quick-Fit Checklist and Maintenance Habits That Last
Before teeing off, run the install in one pass and don't improvise. The fastest way to keep a snap up bracket reliable is to make the final checks repeatable every time.
- Receiver seat cleared: no grit, adhesive, or debris in the bay.
- Spring pin seated: the latch returns freely and doesn't hang.
- Bracket aligned with axle slot: the hooks and saddle sit in the right place.
- Downward pressure confirmed: the bracket doesn't rock when pressed by hand.
- Audible click tested: the lock sounds clean, not soft.
- Wheel rotated one full revolution: nothing rubs, binds, or ticks.
- Tether pin reinserted: every small retainer is back where it belongs.
Monthly care is plain and boring, which is exactly why it works. Wipe the spring with a dry cloth after wet rounds, avoid silicone spray on the receiver bay, and store the bracket off the wheel in the trunk caddy so nothing crushes the latch. Replace the cotter pin at the first sign of splay, because a tired pin is cheap to catch and annoying to ignore.
If the bracket doesn't click on the first try, do not force it, reseat instead.
Caddie Wheel builds bracket kits and electric assist systems for compatible push carts, and the whole setup depends on the bracket fitting cleanly the first time. If you're sorting out your own cart, visit Caddie Wheel to check fitment, review the bracket options, and make sure your cart is ready before you head to the course.
Partager:
Brake Brackets for Golf Push Carts Explained
Walking Golf Caddy: What It Is and How It Works