When your electric golf cart suddenly refuses to budge, it's easy to assume the worst. But before you start picturing catastrophic failures and expensive repair bills, take a deep breath. In my experience, the vast majority of "no-go" situations stem from a simple, fixable issue with the power delivery system.
A methodical approach is your best friend here. Nine times out of ten, a little patient troubleshooting—checking the battery pack, the key switch, and the charger—will get you back on the path without ever needing to call a pro.
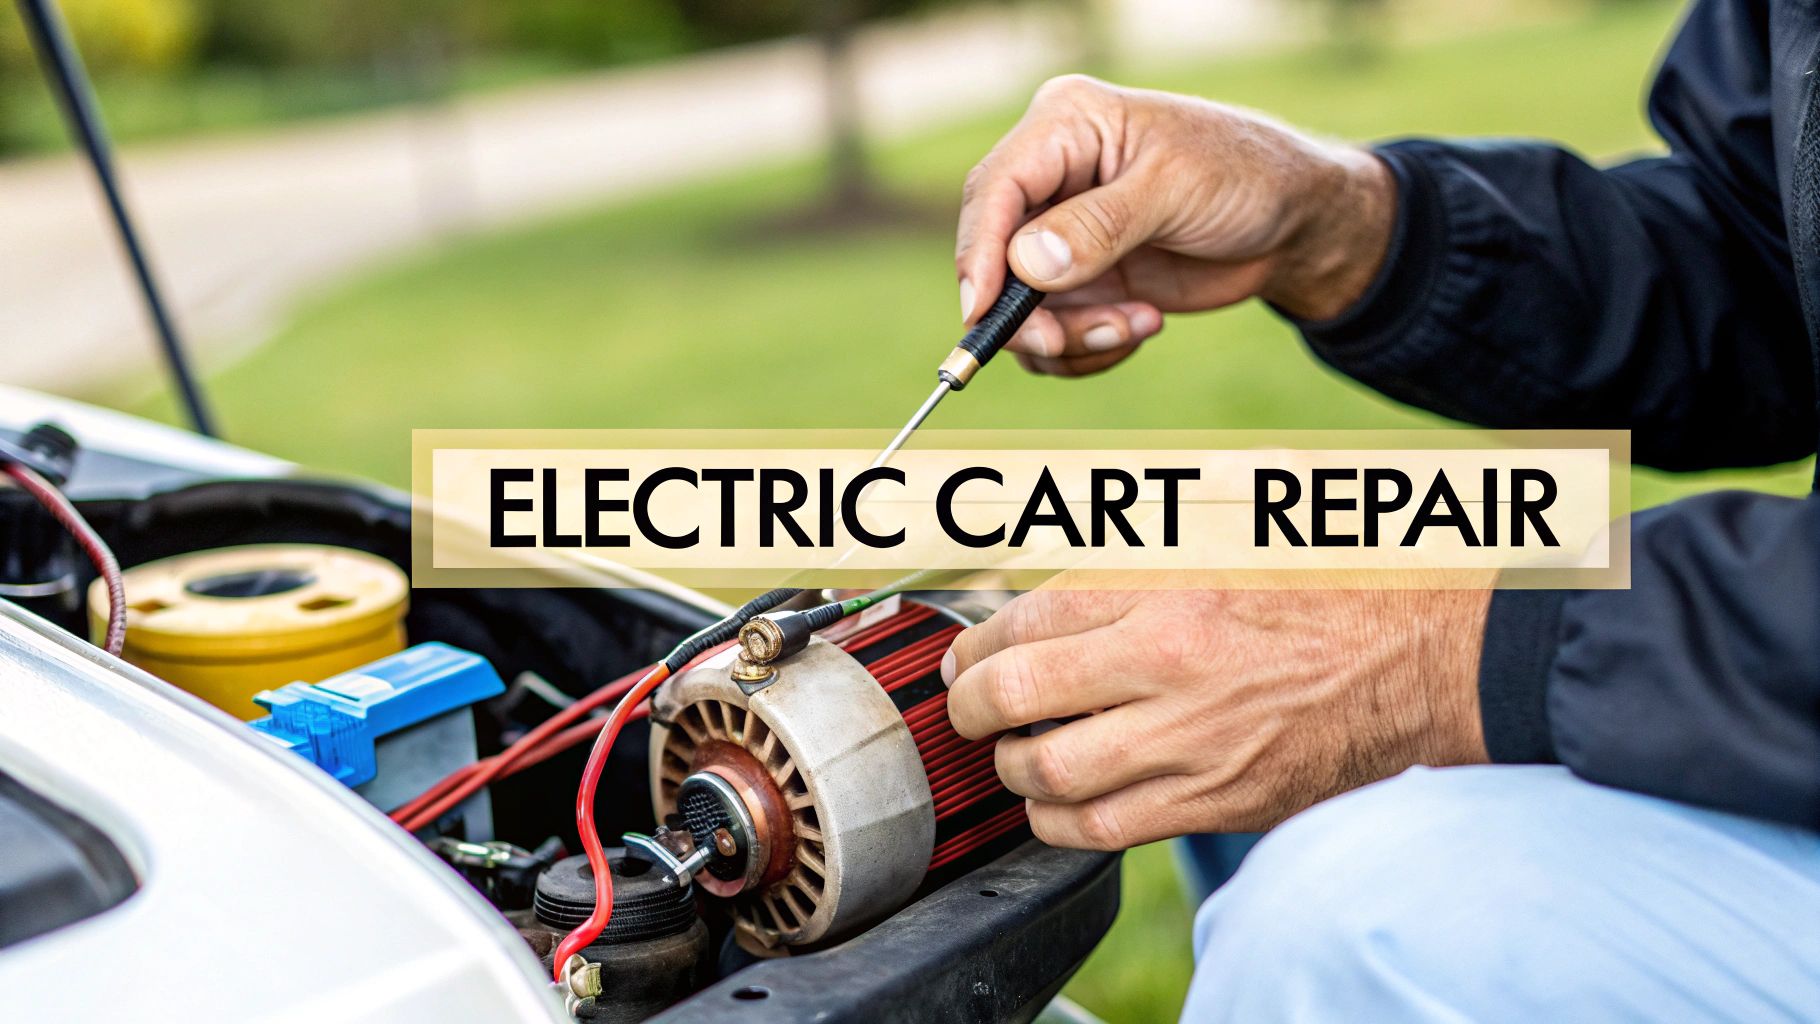
Your First Steps in Electric Golf Cart Repair
Diving into electric golf cart repair might feel a bit daunting, but it’s more straightforward than you think. The key is to see your cart not as a single, complex machine, but as a system of core parts working in harmony. Once you understand how power flows through it, pinpointing the problem becomes a logical process of elimination.
These carts are everywhere now, and not just on the golf course. They’ve become a quiet, eco-friendly way to get around neighborhoods, resorts, and large properties. With a global market valued at well over USD 1.55 billion, more people than ever are relying on them, which means more owners are running into the same common problems for the first time. You can dig into the specifics of this trend in the latest market research on electric golf carts.
Adopt a Safety-First Mindset
Before you even think about touching a wire or loosening a bolt, we need to talk about safety. This is non-negotiable. The battery pack in your cart, whether it's a 36V or 48V system, packs a serious electrical punch that commands respect.
Always start by turning the key to the OFF position and, most importantly, flipping the tow/run switch to its TOW or MAINTENANCE setting. This is a critical first step that disconnects the controller, ensuring the cart can’t lurch forward unexpectedly while you’re working.
Once that’s done, go one step further and disconnect the main negative battery terminal. This completely breaks the electrical circuit, creating a safe environment for you to start diagnosing components. And of course, always wear safety glasses and a good pair of insulated gloves. It’s a small precaution that protects you from potential sparks or battery acid.
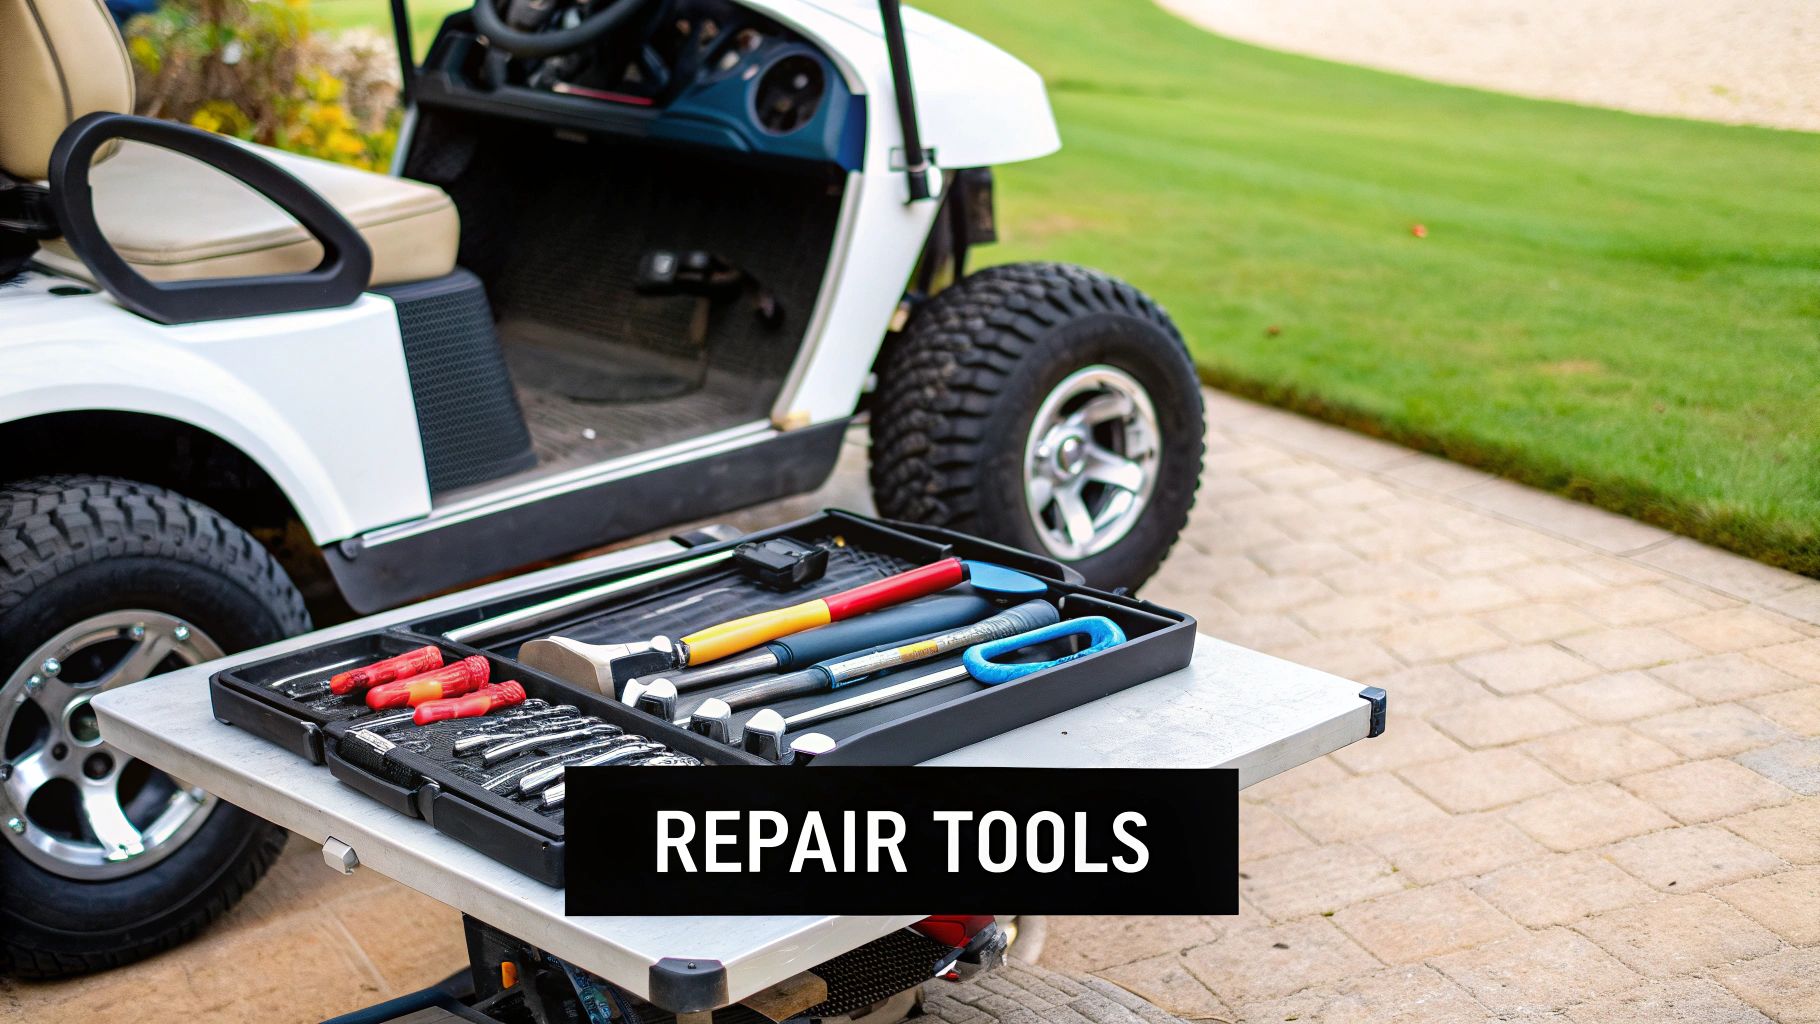
Your Essential Golf Cart Repair Toolkit
Having the right tools is half the battle. This table outlines the must-have items for tackling common electric golf cart repairs safely and efficiently.
| Tool Category | Essential Items | Primary Use |
|---|---|---|
| Safety Gear | Insulated Gloves, Safety Glasses | Protecting hands from electrical shock and eyes from sparks or debris. |
| Hand Tools | Wrench Set (especially 1/2" or 9/16"), Socket Set, Screwdrivers | Loosening and tightening battery terminals, component mounting bolts, and covers. |
| Testing Equipment | Digital Multimeter | Measuring battery voltage, checking continuity, and diagnosing electrical faults. |
| Battery Maintenance | Battery Terminal Cleaner, Distilled Water, Hydrometer | Cleaning corrosive buildup, topping off lead-acid battery cells, and checking cell health. |
With these basics in your toolbox, you’ll be well-equipped to handle most of the common issues you'll encounter.
Understanding the Core Components
Getting familiar with the four main players in your cart's electrical system will make troubleshooting a whole lot easier. Think of it as the chain of command for electricity, from the batteries to the wheels.
- The Battery Bank: This is the heart of your operation. It’s a group of individual batteries (usually 6V, 8V, or 12V) wired in a series to produce the total system voltage. If you have a problem, start your search here.
- The Solenoid: Think of this as a heavy-duty relay or an electromagnetic switch. When you press the gas pedal, a small electrical signal tells the solenoid to close a high-amperage circuit, letting the real power flow from the batteries to the controller. The classic "I hear a click, but the cart won't move" symptom almost always points to a faulty solenoid.
- The Controller: This is the brain of your cart. It takes the input from your accelerator pedal and carefully meters out power to the motor. It’s what controls your speed, torque, and overall smoothness of operation.
- The Motor: And finally, the muscle. The motor takes the electrical energy sent by the controller and converts it into the mechanical force that gets your wheels turning.
When your cart acts up, the issue is almost always a break somewhere in this chain. By knowing how to trace the flow of power—starting with the batteries and moving logically from one component to the next—you'll be able to confidently diagnose and fix the problem yourself.
Diagnosing Why Your Golf Cart Won't Run
When your electric golf cart suddenly dies, the silence is deafening. It's easy to jump to the worst-case scenario, picturing a fried motor and a massive repair bill. But hold on. More often than not, the real culprit is something simple and cheap to fix. The trick is to stop guessing and start thinking like a technician, methodically tracing the problem from the most common symptoms.
This isn't about guesswork. It's about letting the cart tell you what's wrong. By following a logical diagnostic path, you can confidently figure out the issue and make the right electric golf cart repair.
Symptom One: Complete Silence
You turn the key, press the pedal... and absolutely nothing happens. No click, no hum, not even a flicker of life. This is one of the most common problems we see, and it almost always means there's a total break in the main power circuit. Before you panic about the motor or controller, let's start with the basics.
First, check the main fuse. It's designed to blow to protect your expensive components from a power surge, and it's usually located near the battery pack or solenoid. If the fuse is fine, get your eyes on the battery connections. Just one loose or badly corroded terminal is enough to cut off the flow of electricity to the entire cart.
This is where your digital multimeter becomes your best friend. Make sure the tow/run switch is set to TOW for safety. Now, test the total voltage of your entire battery pack. A healthy, fully charged 48V pack should read over 50 volts, while a 36V pack should be above 38 volts.
Pro Tip: If you get a low voltage reading across the whole pack, don't rush to buy all new batteries. One single bad battery can drag the voltage of the entire series down with it. Test each battery individually to isolate the weak link.
A reading of zero volts points to something more serious, like a severed main cable or a battery pack that's completely given up the ghost.
Symptom Two: The Infamous "Click, But No Go"
This one is a classic. You hit the accelerator, hear a sharp "click" from under the seat, but the cart goes nowhere. That click is actually great news! It tells you the low-amperage side of your electrical system is working just fine.
Here’s a breakdown of what that click means:
- The key switch is successfully sending power.
- The microswitch in your accelerator pedal is working.
- That signal is reaching the solenoid.
The "click" is the sound of the solenoid trying to engage. Its job is to close the circuit and send the high-amperage power from the batteries to the motor. The fact that the cart isn't moving means the power isn't getting past that point. This dramatically narrows down your search. The problem is almost certainly a bad solenoid or an issue with the heavy-duty cables connecting it to the controller and motor.
Tracing Performance Issues Like a Pro
Not all problems are a dead stop. Sometimes, the issue is more subtle. Your cart might feel sluggish, lack the power to get up hills, or its range seems to be shrinking with every charge. These performance-related symptoms almost always trace back to the health of your battery pack.
Batteries naturally degrade over time, losing their ability to hold a charge and deliver consistent power when you need it most. Your cart's battery meter might show a full charge, but as soon as you hit an incline, the voltage plummets and the cart struggles. To learn more about how long your power source should last, check out our guide on how long golf cart batteries last.
To confirm this, grab your multimeter again. After a full charge, note the pack's voltage. Then, with a friend safely pressing the accelerator while the cart is under load (wheels on the ground, brake on), watch the multimeter. A significant voltage drop of several volts confirms you have a weak or aging battery pack that can no longer supply the power the motor is demanding. This simple test turns a hunch into a confident diagnosis, showing you exactly what needs to be fixed.
Mastering Golf Cart Battery Care and Replacement
If there's one thing I've learned from years of working on electric golf carts, it's this: the battery pack is the heart of the machine. It's not just another component. A surprising number of performance issues—everything from sluggish acceleration to a cart that won't move an inch—can be traced right back to the batteries.
Learning how to properly care for your battery system will save you more time, money, and headaches than any other skill. Your cart's power source is a major investment, and treating it right is non-negotiable. Neglect is the fastest way to turn a perfectly good set of batteries into a very expensive paperweight.
Lead-Acid Versus Lithium-Ion Batteries
The first step in proper battery care is knowing what you're working with. Most carts today use one of two main battery types: traditional deep-cycle lead-acid or modern lithium-ion (Li-ion). They serve the same purpose but demand completely different approaches to maintenance.
This is a hands-on job. You have to get in there and pay attention to the details if you want your batteries to last.
Lead-acid batteries are the old-school workhorses. They’re heavy, need regular check-ups, and have a shorter lifespan. Lithium-ion is the newer tech on the block—lightweight, zero maintenance, and lasts much longer, but you'll pay more for it upfront.
Knowing which type you have is critical because the most common maintenance tasks for lead-acid batteries are completely unnecessary—and sometimes even harmful—for lithium ones.
Comparing Lead-Acid and Lithium-Ion Batteries
To really understand the trade-offs, it helps to see a direct comparison. Each battery type has its own set of pros and cons that will influence your maintenance routine and long-term costs.
| Feature | Lead-Acid Batteries | Lithium-Ion (Li-ion) Batteries |
|---|---|---|
| Maintenance | Regular watering, cleaning, and inspections | Virtually maintenance-free |
| Lifespan | 3-5 years on average | 8-10+ years |
| Performance | Voltage sags under load, affecting speed/power | Consistent power output, no performance drop |
| Upfront Cost | Lower initial investment | Higher initial investment |
| Weight | Very heavy, can affect cart handling & efficiency | Lightweight, often 1/4 the weight of lead-acid |
| Charging | Slower charge time (8-10 hours) | Faster charge time (2-4 hours) |
| Safety | Risk of acid spills and hydrogen gas production | Built-in Battery Management System (BMS) for safety |
As you can see, the choice isn't just about price. It's about balancing upfront cost with long-term convenience, performance, and replacement frequency. For many owners, the set-it-and-forget-it nature of lithium is worth the higher initial price.
Essential Lead-Acid Battery Maintenance
If your cart runs on lead-acid batteries, a consistent maintenance routine isn't just a suggestion—it's essential. These batteries operate through a chemical reaction involving lead plates submerged in an electrolyte solution (a mix of sulfuric acid and water). As the battery is used and recharged, this water gets consumed.
Watering Your Batteries Correctly This is the single most important task. If the water level drops below the top of the internal lead plates, they get exposed to air, causing permanent damage called sulfation. Once that happens, there's no going back.
- When to Water: Check the levels every 2-4 weeks, and more often if you're in a hot climate or use the cart heavily. Crucially, always water them after a full charge, never before. Charging causes the electrolyte to expand, and watering a discharged battery will lead to a messy, corrosive acid overflow.
- What Water to Use: Only use distilled water. Period. Tap water is full of minerals that will build up on the lead plates, killing the battery's capacity and lifespan.
- How Much to Fill: Add just enough distilled water to cover the plates by about 1/4 to 1/2 inch. Don't get carried away—overfilling is just as bad as underfilling.
For a more detailed breakdown, our comprehensive guide to golf cart battery maintenance covers these techniques in greater depth.
Cleaning Corroded Terminals That fuzzy, whitish-blue crust growing on your battery terminals might not look like a big deal, but it’s strangling your cart's electrical flow. This corrosion acts as an insulator, preventing a solid connection and forcing your whole system to work harder.
To clean them, mix up a simple paste of baking soda and water. Make sure you disconnect the battery pack first! Then, apply the paste to the terminals and cable ends. Let it bubble and fizz for a few minutes before scrubbing it off with a wire brush. Rinse it all off with clean water, dry everything thoroughly, and then reconnect your cables.
Diagnosing a Sick Battery Pack
When your cart starts to feel sluggish or dies sooner than it should, it's time to play doctor. You'll need two essential tools for this: a digital voltmeter and a battery hydrometer.
A voltmeter gives you the big-picture voltage. After a full charge, a 48V pack should read around 50.9V, while a 36V pack should be near 38.2V. If your reading is significantly lower, you've got a problem. From there, you can test each battery individually to pinpoint the weak one that's dragging the whole pack down.
But for a truly detailed diagnosis of a lead-acid battery, the hydrometer is your best friend. It measures the specific gravity of the electrolyte in each cell, which directly tells you its state of charge. A healthy, fully charged cell should read between 1.265 and 1.280.
A reading below 1.225 means a cell isn't holding a full charge. If one cell reads much lower than the others in the same battery, it has likely failed. In that case, the entire battery needs to be replaced.
The Art of Battery Replacement
Whether you're swapping out a single bad battery or replacing the whole set, you need to be meticulous. One wrong connection can fry your new batteries or, even worse, your cart's expensive controller.
Before you touch anything, pull out your phone and take a clear picture of the current wiring setup. This is your roadmap. See how the cables connect the positive (+) terminal of one battery to the negative (-) of the next? That's a series connection, and it’s how the individual 6V or 8V batteries add up to your cart's total 36V or 48V system.
When installing the new batteries, make sure you scrub the cable ends clean so they make solid, metal-to-metal contact with the new terminals. Most importantly, tighten the nuts to the proper torque, which is usually between 90-110 inch-pounds. Too tight, and you can crack the post; too loose, and you'll get a poor connection that creates heat and can even melt the terminal.
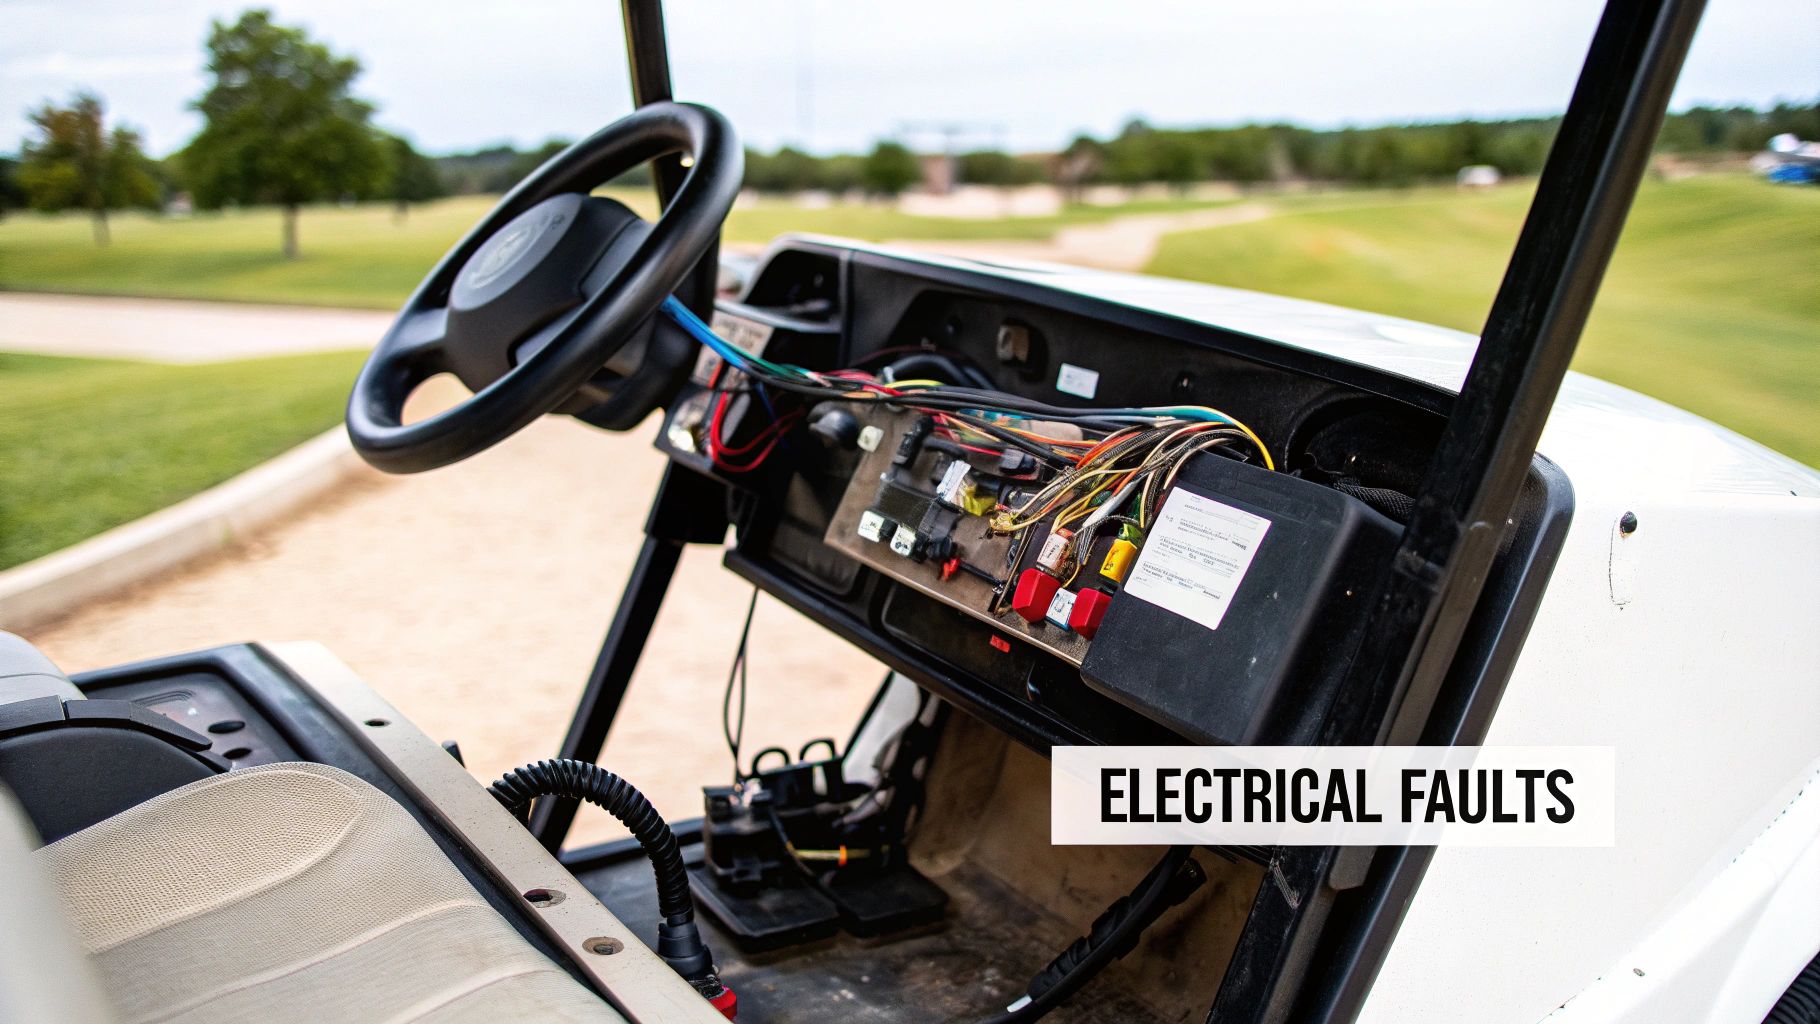
Troubleshooting Key Electrical Components
So you’ve already confirmed the battery pack is healthy and fully charged, but your cart is still dead in the water. What now? It’s time to start thinking like an electrician. Power is getting stuck somewhere on its journey from the batteries to the motor, and our job is to pinpoint that break in the chain.
Don't let that intimidate you. This part of the diagnostic process usually comes down to testing just a few key components that are known to wear out. Grab your multimeter, take a deep breath, and let's go hunting. Honestly, this stage of electric golf cart repair is often where you find the real culprit.
Testing the Infamous Solenoid
The solenoid is always a prime suspect, especially if you get that classic "click, but no go." Think of it as a heavy-duty gatekeeper. It takes a tiny electrical signal from your key and pedal, then uses it to slam a big internal switch shut. That switch is what allows all that high-amperage power to rush to the controller. When a solenoid fails, you hear the click, but the gate never actually opens.
First things first: flip your cart's tow/run switch to the TOW position. Safety first, always.
To test it, you're going to look for a voltage drop. Connect the black (negative) probe of your multimeter to the main negative terminal on your battery pack. Now, touch the red (positive) probe to the large post on the solenoid where the main positive battery cable connects. You should see the full voltage of your battery pack right there.
Next, you'll need a helper. Have them turn the key on, shift the cart into forward, and press the gas pedal. You should hear the solenoid click. While the pedal is down and the solenoid is clicked, move your red probe to the other large post—the one that sends power out to the controller.
A healthy, working solenoid will show nearly the same full battery pack voltage on both large posts when it's activated. If you have full voltage going in but little to no voltage coming out, you've found your problem. The internal contacts are shot, and it's time for a replacement.
This one simple test is probably the most common fix in all of electric golf cart repair. It can save you a world of headaches and guesswork.
Understanding the Motor Controller
If your solenoid checked out fine, the next stop on the power highway is the motor controller. This is the brain of your cart's entire operation. It takes the input from your accelerator pedal and intelligently meters out the exact amount of power the motor needs to control your speed and torque.
When a controller starts to fail, it can throw all sorts of confusing symptoms your way that might not seem connected at first.
Common Signs of a Bad Controller:
- Total Loss of Power: The cart is just a brick, even with good batteries and a clicking solenoid.
- Jerky or Erratic Acceleration: Instead of a smooth takeoff, the cart stutters or lunges forward.
- No Power on Hills: It runs perfectly fine on flat ground but dies the second it faces an incline.
- A Smell of Burnt Electronics: That sharp, acrid smell coming from under the seat is a dead giveaway. The controller has fried itself.
Unlike a simple solenoid, directly testing a controller is tricky. The pin configurations and voltage outputs vary wildly between brands like Club Car, E-Z-GO, and Yamaha. But here's the good news: you can usually diagnose a bad controller through the process of elimination. If the batteries, solenoid, and motor are all good, the controller is the most likely failure point.
Checking the Key and Directional Switches
Sometimes, the fix is much simpler and cheaper than a major component. The switches you use every single time you drive—the key switch and the forward/reverse (F/R) switch—can wear out and leave you stranded.
The key switch's only job is to send a small bit of voltage to activate the solenoid circuit. You can test it easily with your multimeter set to continuity mode (the setting that beeps). Disconnect the wires from the back of the key switch and touch one probe to each terminal. Turn the key to ON. If you hear a beep, the switch is making a connection. No beep? The switch is broken inside.
The same exact logic applies to the F/R switch and the little microswitch inside the accelerator pedal box. These small parts get clogged with dirt or just plain wear out from thousands of clicks. Checking their continuity is a quick and easy way to make sure they're sending the "go" signal down the line.
Finding the Right Replacement Parts
Once you’ve identified the faulty part, getting the right replacement is absolutely critical. An electric golf cart repair is only as good as the parts you install. Make sure you have your cart's make, model, and serial number before you start shopping.
- Solenoids: Check that the replacement has the right voltage (36V or 48V) and is rated for the correct amperage. Using an underrated solenoid is just asking for it to fail again quickly.
- Controllers: This is the most specific part you'll buy. The new controller must match your cart's drive system (Series or Sepex/Shunt). A controller built for a Club Car DS won't work on an E-Z-GO TXT, period.
- Switches: They might look simple, but there are countless variations. Match the part number or work with a trusted golf cart parts supplier to find the exact switch for your model to ensure it fits and functions correctly.
Advanced Drivetrain and Motor Repairs
Alright, so you've worked through the electrical system and everything checks out, but your cart is still acting up. It's time to roll up your sleeves and dive into the drivetrain and motor. This is where the real mechanical troubleshooting begins, especially when you’re dealing with things like grinding noises, a distinct burning smell, or a motor that just refuses to turn over.
Think of it this way: your cart’s motor and drivetrain are always trying to tell you something. That new grinding sound isn't just an annoying noise; it's a specific cry for help. A burning smell? That’s an urgent warning to stop immediately and figure out what’s wrong. Learning to read these signs is the key to catching a small problem before it snowballs into a catastrophic, and expensive, failure.
Diagnosing Motor Issues
The motor is the heart of your cart, and like any hard-working component, it can eventually wear out. But don't just assume the motor is toast right away. There are a few key diagnostics you can run first.
A very common weak point, especially in older "series" style motors, is the motor brushes. These are small carbon blocks designed to wear down over time as they maintain contact with the motor's spinning commutator. It's just part of their job.
If your cart feels weak, has lost its punchy torque, or only runs now and then, checking the brushes is a fantastic starting point. A quick visual inspection can tell you a lot. If they look worn down, stubby, or chipped, replacing them is a cheap and surprisingly easy fix that can breathe new life into a tired motor.
For a more conclusive verdict, you can bench test the motor. This means pulling the motor from the cart and hooking it up directly to a 12V car battery to see if it spins. This completely isolates the motor from the rest of the cart's wiring, giving you a definitive yes or no on whether the motor itself is the problem. If you find yourself in a situation where a full upgrade makes more sense, our article on the top electric golf cart conversion kit options is a great resource.
Mechanical Drivetrain Checks
The motor is only one piece of the puzzle. The drivetrain has several other mechanical parts that need regular attention. These are the components that get the power to the wheels and, just as importantly, bring you to a safe stop.
- Brake Adjustments: If your brake pedal feels spongy or the cart won't hold steady on a hill, your brakes are begging for an adjustment. Most carts have mechanical drum brakes you can tighten up using an adjuster nut located behind the backing plate.
- Transaxle Fluid: Your transaxle, or differential, is filled with gear oil to keep all those moving parts happy and lubricated. Keep an eye out for leaks around the axle tubes or the differential housing. Low fluid is a surefire way to cook your gears.
- Suspension and Steering: Give your leaf springs a once-over for any cracks and check the bushings for wear and tear. Wiggle the steering wheel, too. If there's a lot of slop or play, it could mean your tie rod ends are worn out.
These mechanical checks are every bit as critical as the electrical ones. A perfectly healthy motor won't do you any good if the brakes are shot or the transaxle is about to give up. A little preventative maintenance here will save you from massive repair bills later.
North America is the undisputed king of the golf cart market, thanks to its huge golfing population and thousands of courses. The United States leads the charge, with an estimated 26.6 million Americans hitting the links. This massive user base means carts are getting more use and are being kept longer, making solid drivetrain maintenance a crucial skill for any owner. You can explore more on the golf cart market dynamics to see just why these skills are becoming so valuable. Keeping your cart's mechanical systems in prime condition is the best way to ensure it stays reliable for years.
Common Electric Golf Cart Repair Questions
Even after you’ve run through the basic diagnostic checks, there are always a few specific questions that seem to pop up. It's completely normal, especially when you run into a problem you haven't seen before. I've put together some of the most frequent questions we hear from cart owners to give you quick, clear answers.
These are the real-world issues that can turn a simple fix into a frustrating afternoon. Getting the details right makes all the difference.
How Often Should I Check Water in Lead-Acid Batteries?
This is probably the single most important maintenance task for keeping traditional lead-acid batteries alive. You should be checking the water levels every 2 to 4 weeks. If you're in a hot climate or use your cart almost daily, you'll want to check them more often.
Always, and I mean always, use distilled water. And only fill the cells after the batteries are fully charged. Topping them off before charging is a surefire way to cause a corrosive, acidy overflow. Just fill each cell until the water is about a quarter-inch above the plates inside. If those plates get exposed to air, they'll be permanently damaged.
A quick note: This regular check-up is only for old-school lead-acid batteries. If your cart has a modern lithium-ion pack, you can forget about this entirely. They're sealed and require zero water maintenance.
Why Does My Golf Cart Suddenly Feel Much Slower?
A sudden and noticeable drop in speed almost always points back to your battery pack. When a battery gets weak or starts to fail, it just can't supply the steady voltage your motor needs when it's under load—like when you're accelerating or trying to climb a small hill.
Your first move should be to get the pack fully charged, then grab a multimeter and test the voltage of each battery one by one. It only takes one bad battery to drag down the performance of the whole set. If they all check out, then you can start looking at simpler mechanical things like low tire pressure or brakes that are dragging before you start worrying about expensive parts like the motor controller.
Can I Upgrade My 36V Cart to a 48V System?
Yes, you absolutely can, and it's a popular mod for a reason. But be warned: upgrading a 36-volt cart to a 48-volt system is a major project, not a simple part swap. The conversion gives you a serious boost in both speed and torque, but it means you'll need to overhaul the main power components.
To pull this off correctly, you'll have to replace:
- The entire battery pack
- The electronic speed controller
- The solenoid
- The battery charger
Every one of these parts must be specifically rated for 48V. Your old 36V motor might handle the extra juice for a little while, but it will run hot and is very likely to burn out. For a reliable setup that performs well, upgrading the motor at the same time is highly recommended. Make sure you budget for all the new parts before you start turning wrenches.
While you're getting your cart's maintenance down, don't forget about your own energy levels on the course. For golfers who love to walk but hate pushing a heavy cart, Caddie Wheel has a powerful and simple solution. Its innovative design lets you motorize your current push cart in minutes, so you can walk more holes with less effort.
Share:
12 Best Golf Push Cart Accessories for Your 2025 Rounds
Top 7 Golf Mobility Exercises for a Better Swing in 2025