
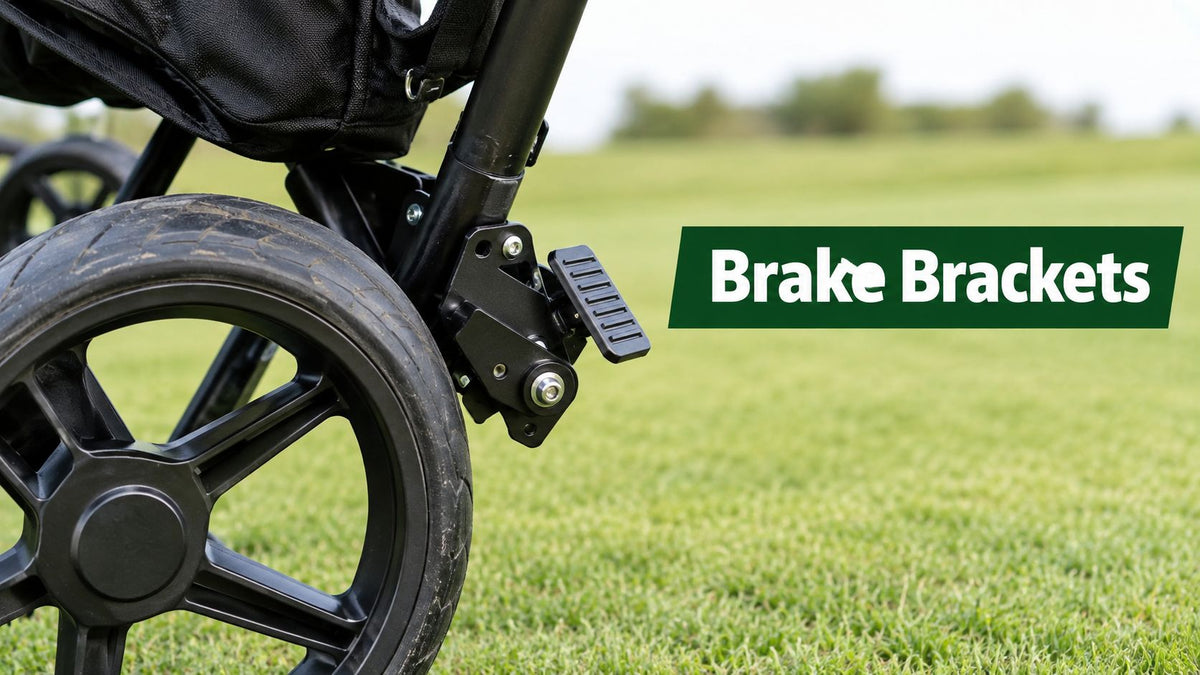
You notice brake trouble on a push cart at the worst time. The cart starts creeping on a slope near the green, or one rear wheel drags for three holes and turns an easy walk into a chore. Most golfers blame the cable, the pad, or the wheel. A lot of the time, the problem sits one step deeper in the assembly.
That problem is often the brake bracket. On a push cart, the bracket is the piece that keeps the brake hardware where it belongs so the system can engage cleanly, release fully, and hold when the course tilts against you. When that bracket sits crooked, wears at the contact points, or loosens at the mount, the brake never feels quite right no matter how much cable tension you add.
What Brake Brackets Do on a Golf Push Cart
A brake bracket on a push cart does the same basic job a caliper bracket does in larger brake systems. It acts as the structural support and alignment point for the brake hardware. In technical terms, a caliper bracket provides support and precise alignment for the caliper and helps distribute braking force evenly across the pads and rotor, which improves braking efficiency, as described in an IJSRED technical paper on caliper brackets. On a golf push cart, the parts are usually simpler, but the job is the same. Hold the brake square. Keep force even. Prevent twist and flex when you lock the cart on a hill.
What that feels like on the course
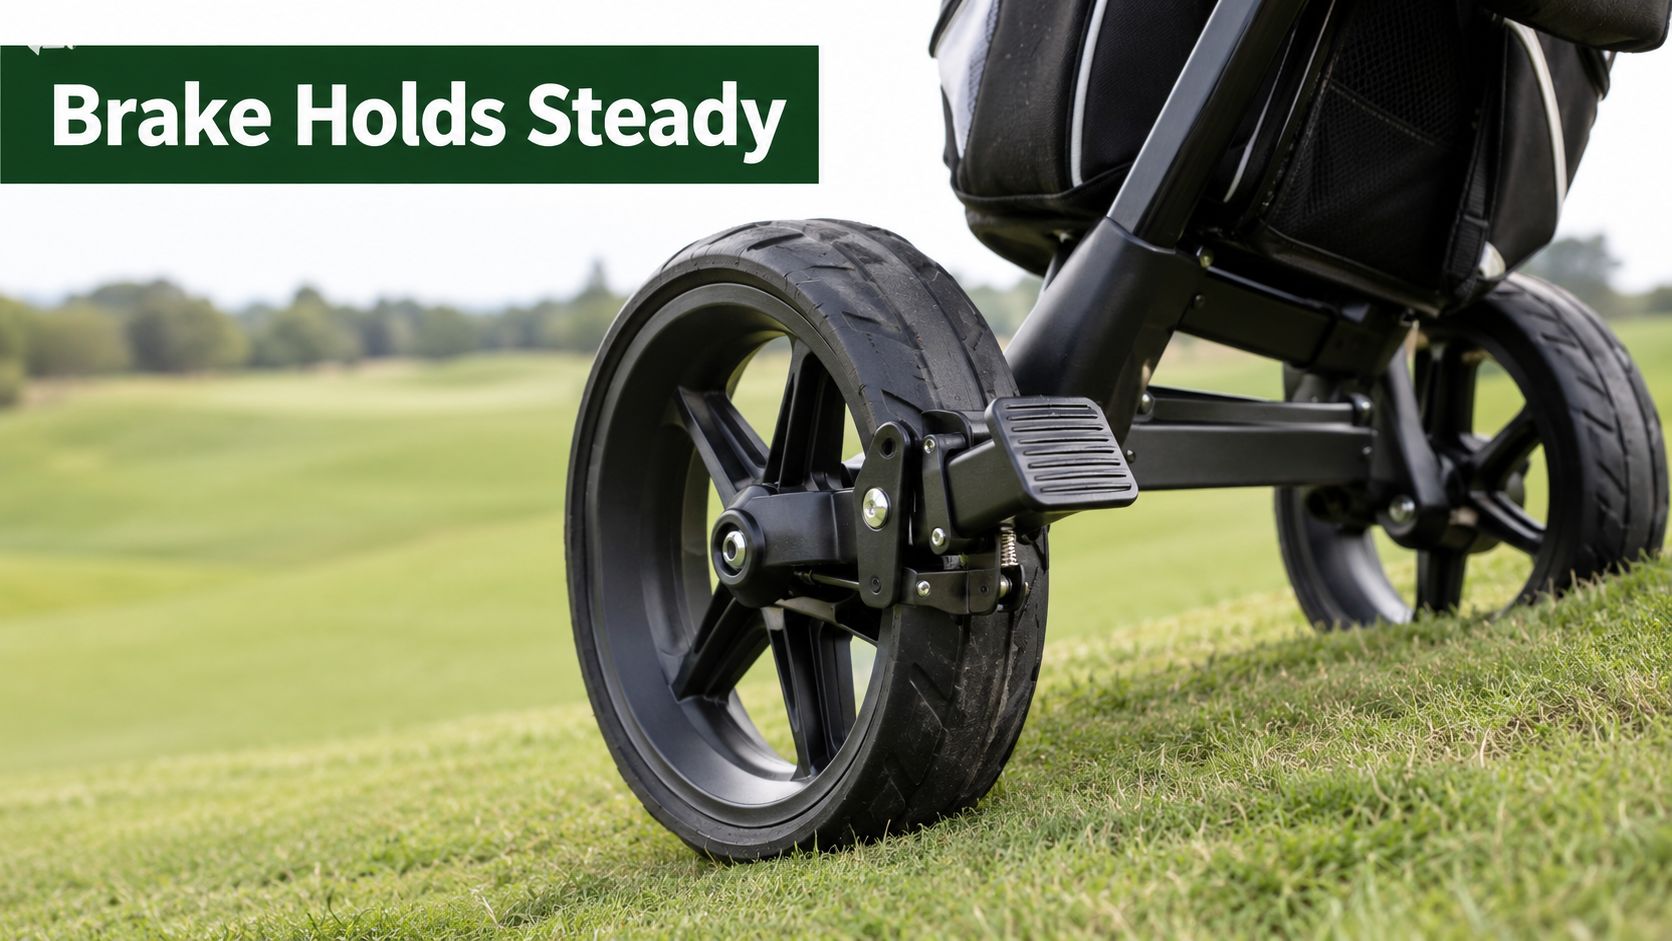
When a bracket is aligned properly, you barely think about it. The brake engages with a short, predictable lever or cable movement. The cart stays put on a side slope. When you release it, the wheel rolls free without a faint scraping sound.
When the bracket is off, the symptoms are familiar:
- Creeping on slopes: The brake grabs enough on flat ground but slips when the cart loads one wheel harder than the other.
- Wheel drag after release: The pad or locking arm doesn't return to center because the bracket is tilted or worn.
- Uneven feel side to side: One wheel locks quickly and the other needs extra lever travel.
Practical rule: If tension changes the feel but never fully fixes it, stop adjusting the cable and inspect the bracket.
Why push-cart brackets deserve a closer look
Golfers sometimes assume brake brackets are just tabs or mounting plates. They're not. Even in automotive systems, the bracket has to withstand braking force and avoid yielding or excessive deflection because it holds the pads in position and carries braking loads at the wheel, as outlined in an FEA analysis of a disk brake caliper bracket. A push cart won't see highway loads, but it still gets repeated stress from curbs, folding, trunk loading, rough cart paths, and parking on wet slopes.
That's also why manufacturing quality matters more than people think. If you're curious how complex bracket geometry gets when fit and repeatability matter, this overview of additive manufacturing for automotive is useful background. The same basic lesson applies to golf gear. Small shape differences in a bracket can change alignment a lot.
If you want a broader look at how braking setups affect golf carts and related equipment, Caddie Wheel's guide to golf cart brakes is a helpful companion read.
How to Identify the Right Brake Bracket and Check Compatibility
Most bad bracket purchases happen for one reason. The replacement looks close enough in the product photo, so it gets ordered anyway. Then the holes line up poorly, the cable sits at the wrong angle, or the brake arm contacts the wheel too early on one side and too late on the other.
Start with the bracket you already have
Take the wheel off if needed and look at the bracket bare. Don't start with brand names. Start with geometry.
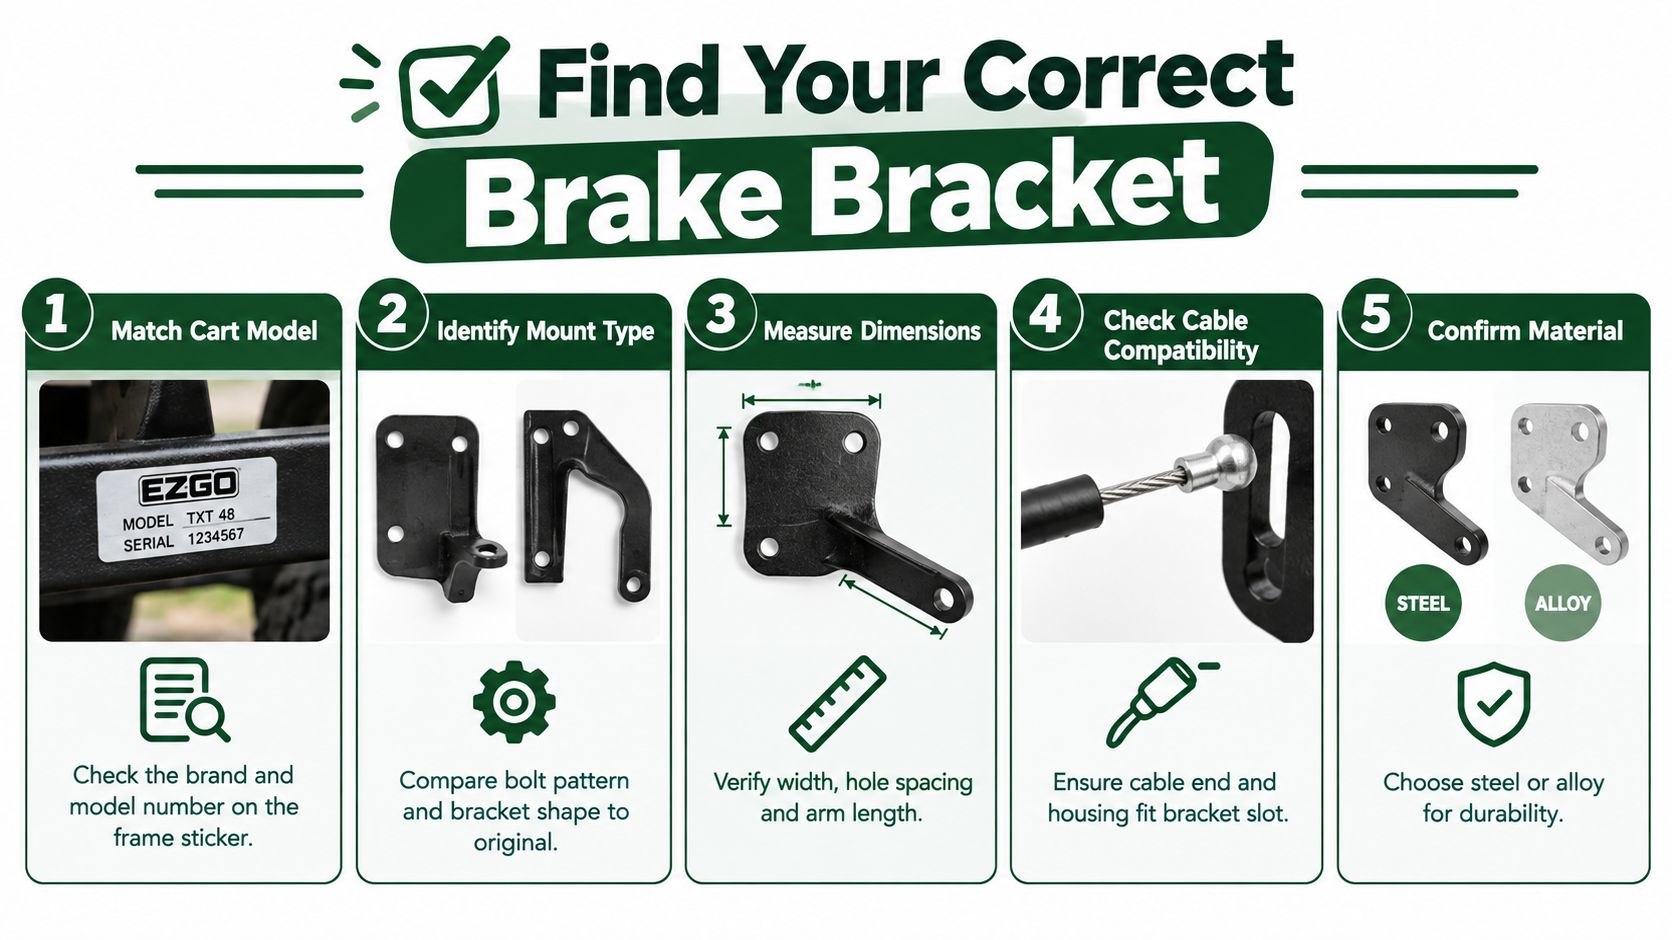
Check these features first:
- Mounting pattern: Count the bolts and note whether they sit inline, offset, or on a small plate.
- Bracket shape: Flat tab, bent arm, boxed mount, or wraparound support.
- Cable entry path: Straight pull, angled pull, or slot-and-clamp style.
- Brake contact style: Pad pressing the wheel, locking pin, drum-style actuator, or mini caliper arrangement.
A push cart manufacturer may use the same frame tubing across several models but change the wheel hub, axle spacing, or folding joint. That's why the bracket that “fits Brand X” can still be wrong for your exact cart.
The compatibility check that saves time
Use a simple at-home check before ordering. Put the old bracket on a table and measure the essentials, then photograph it next to a ruler. I'd compare:
| Feature | What to compare | Why it matters |
|---|---|---|
| Hole spacing | Center-to-center distance | Wrong spacing forces crooked mounting |
| Arm length | From mount to brake contact point | Changes leverage and pad position |
| Offset | How far the bracket sits from frame tube or wheel | Too little or too much causes rub |
| Slot width | Cable end and housing fit | Poor fit creates slack or binding |
| Side orientation | Left or right specific | Mirror-image parts get misordered often |
This is the same mindset installers use with other mounting hardware. A good camera mounting bracket guide shows the same principle clearly. Match the mounting style, dimensions, and use case, not just the general appearance.
A bracket can be close in shape and still be wrong where it counts. Hole spacing and offset decide whether the brake works cleanly.
What to compare before you click Buy
Some quick checks matter more than the product title:
- Three-wheel versus four-wheel frames: Rear geometry can differ enough to change cable pull angle.
- Wheel size and tire width: A bracket that sits fine with one wheel may rub with a slightly different tire profile.
- Fold clearance: On some carts, the brake bracket has to clear a hinge or support strut when folded.
- Material and stiffness: Thin stamped parts may fit but flex more than the original.
If you're fitting a power-assist setup as well, bracket compatibility gets more important because you're stacking hardware in a tight area. A product-specific mount such as the Caddie Wheel bracket line is the kind of example worth looking at when you want cart-specific fitment rather than guessing from a universal plate.
Installing and Adjusting Brake Brackets for Reliable Performance
A clean install usually comes down to patience before tightening. Most bracket problems aren't caused by the final turn of the wrench. They start earlier, when washers are stacked in the wrong order, the bracket sits on dirt or old corrosion, or the bolts don't engage enough thread.
Seat the bracket square before tightening
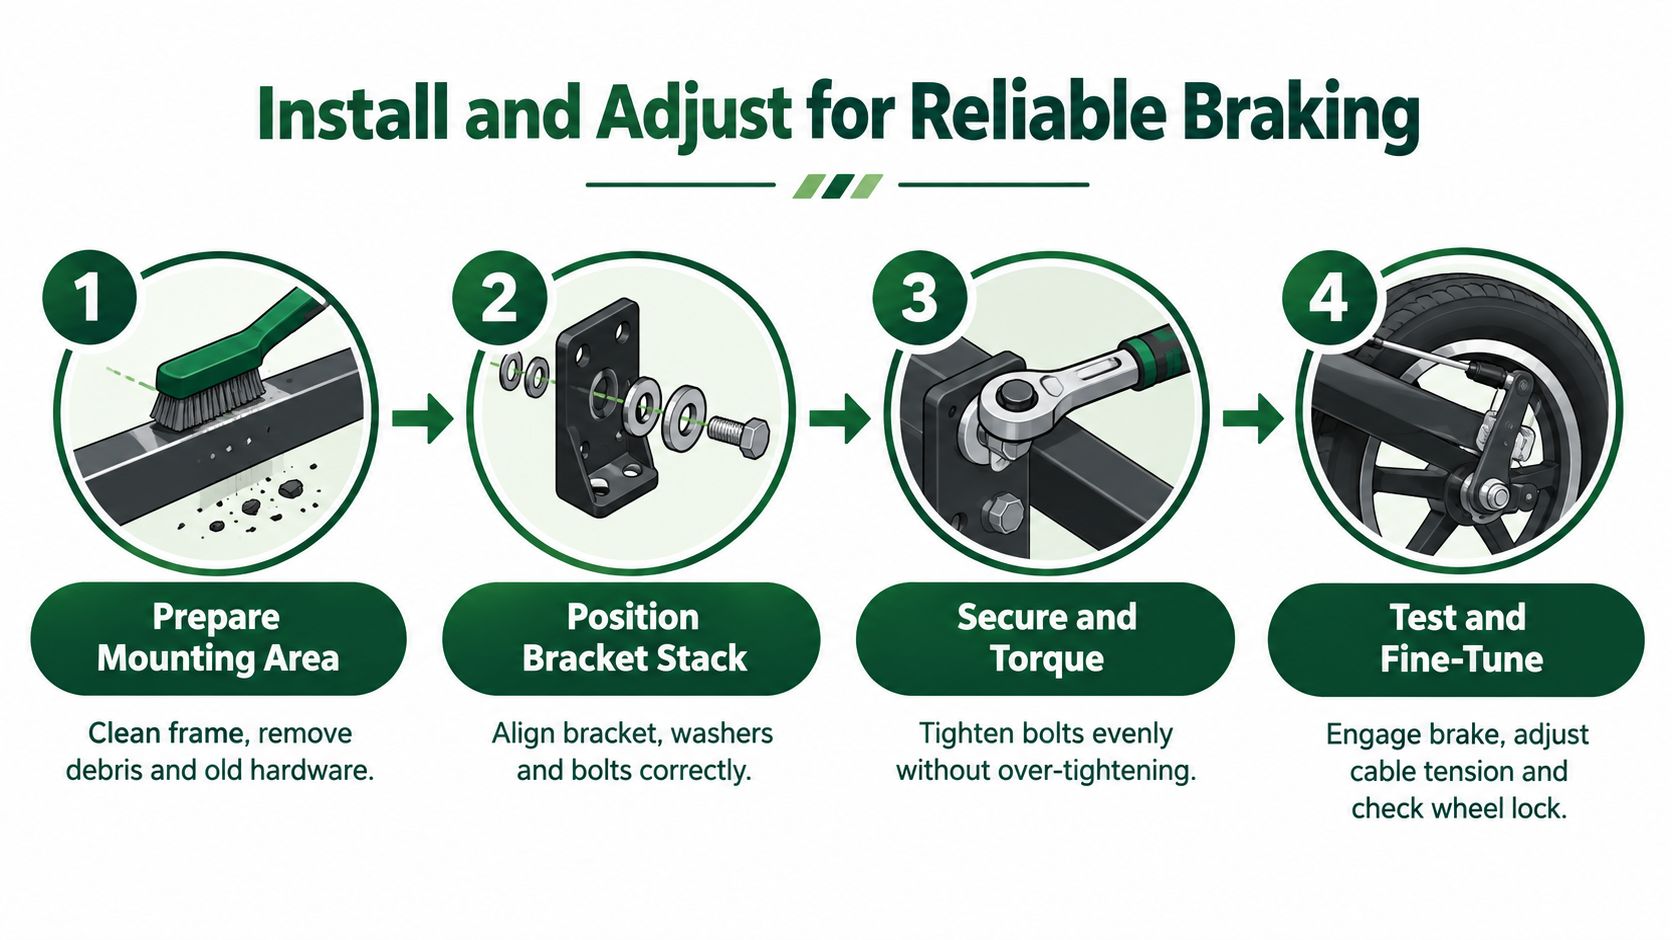
Clean the mount first. Brush off grass grit, old grease, and rust bloom. If paint has lifted or the old bracket fretted against the frame, flatten that contact area as much as possible so the new bracket sits fully.
Then dry-fit the stack. Bolt, washer, spacer, bracket, frame. Make sure the bracket isn't being twisted into place by hardware that's too long or too short. For bracket or spacer-based disc brake mounting, SRAM lists a key thread-engagement benchmark of 5 to 7 mm for thru-bolt or flat-mount systems and 9 to 13 mm for post-mount systems in its disc brake caliper mounting specifications PDF. Push carts aren't bicycles, but the installation principle carries over directly. Verify the mounting stack-up before final tightening so you don't end up with weak engagement or bottomed-out bolts.
Tighten for alignment, not just clamping force
The highest-torqued fasteners in automotive brake assemblies are typically the bracket bolts, with common front-axle ranges of about 75 to 130 ft-lbs (100 to 175 Nm) and rear-axle ranges of about 55 to 90 ft-lbs (75 to 120 Nm), according to this AutoZone torque guide. By comparison, guide or slide pin bolts are often much lower, around 35 to 50 ft-lbs, which shows how much more load the bracket fasteners are designed to manage in a brake assembly, as explained in this brake caliper bracket bolt torque guide.
That doesn't mean you should transfer those torque numbers to a golf push cart. You shouldn't. It does mean the bracket fastener's job is more serious than the nearby moving hardware, so random hand-tightening isn't good enough. Use the cart maker's hardware guidance when you have it. If you don't, tighten evenly, watch for bracket shift as the bolts seat, and stop if the bracket starts to pull out of square.
Shop habit: Snug both fasteners first, cycle the brake by hand, then do final tightening only after the bracket proves it can engage and release without side load.
Adjust until the brake holds and releases cleanly
After the bracket is mounted, check the brake through its full movement. You want even contact, no cocking to one side, and no drag once released.
Use this sequence:
- Engage by hand first: Move the brake arm or caliper manually before using the cable. You're checking hardware alignment, not cable tension yet.
- Watch the contact point: The pad or locking surface should meet squarely, not on one leading edge.
- Set cable tension last: Over-tension can hide a bad bracket position for a while, but it won't fix it.
- Test under load: Put the cart on a gentle slope and confirm the brake holds without requiring excessive lever travel.
Bracket shape also affects how cleanly a formed metal part resists twist. If you want a practical look at why bends, flanges, and hole placement change stiffness so much, this guide on how to design bent parts is worth a read.
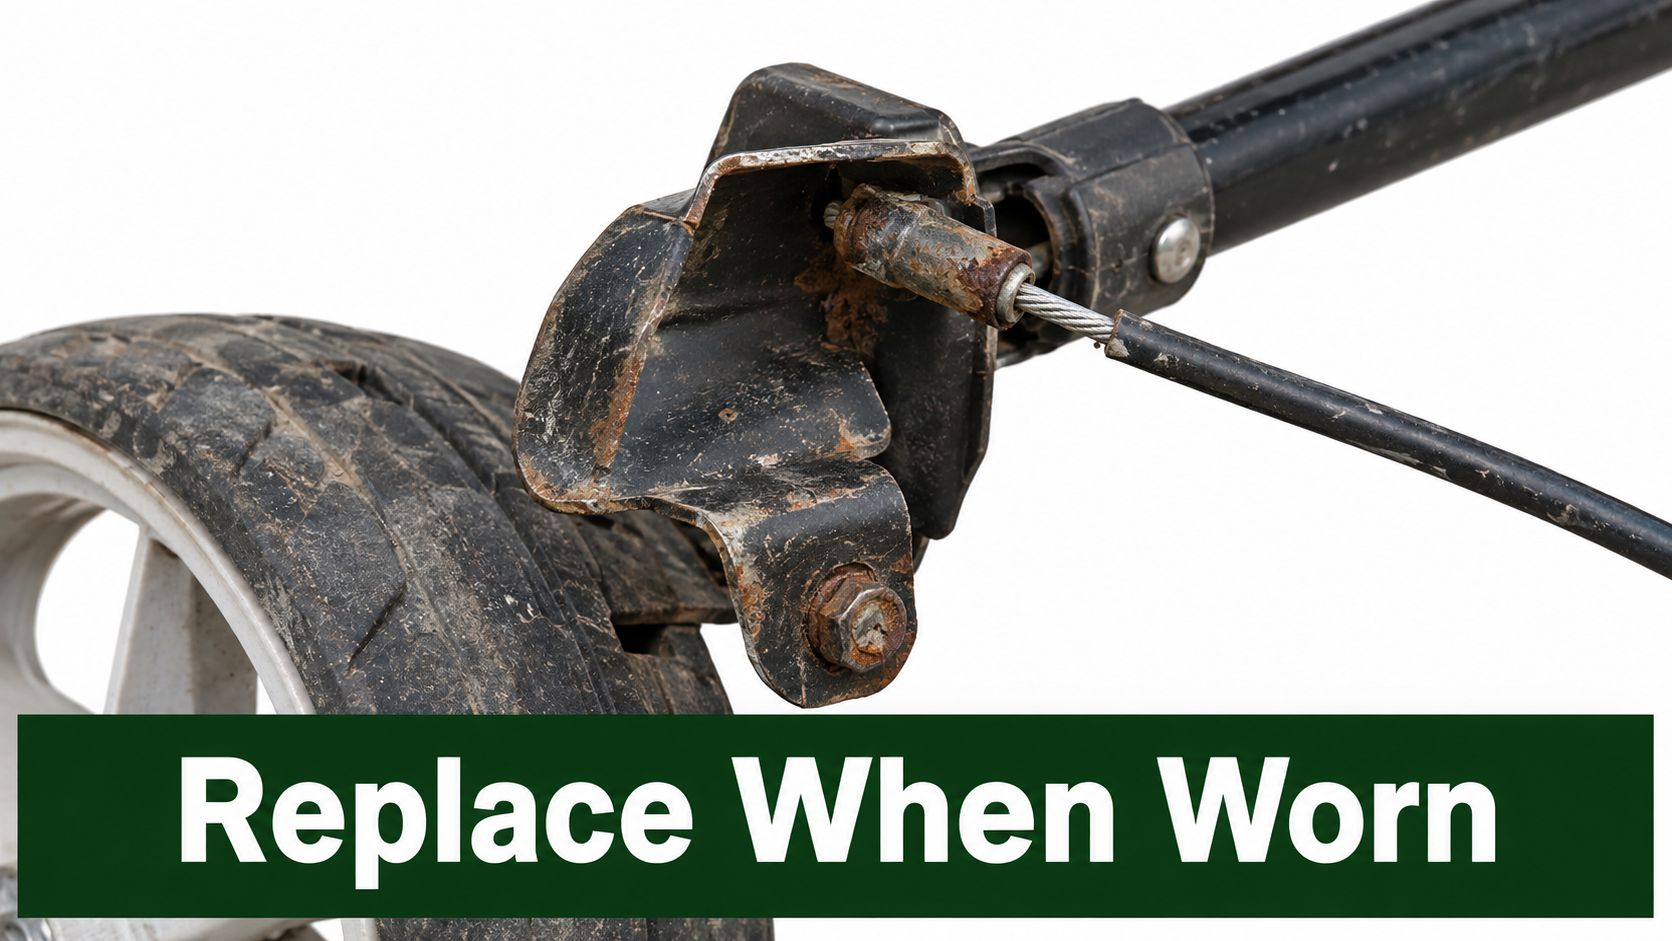
Common Brake Bracket Problems and When to Replace
The bracket doesn't need to crack in half to be bad. That's the mistake I see most often. Golfers inspect for obvious breakage, find none, then keep fighting a brake that drags, chatters, or won't hold on a slope.
Wear that can be cleaned versus wear that ends the part
Neutral maintenance guidance for disc brake caliper brackets notes that these parts are wear parts, not passive supports. Their pad abutment faces, pin bores, and mounting holes can groove, corrode, and elongate over time. Surface rust can sometimes be cleaned, but grooved abutment surfaces, binding after re-greasing, or elongated bolt holes are replacement conditions, according to this Parts Advisory brake caliper bracket terminology page.
That translates well to push carts.
Cleanable issues usually look like light rust staining, dried mud, or a small burr where the brake contact surface can still be dressed smooth. Replacement issues show up as wear that changes shape or movement. If the brake arm rocks sideways because the hole has gone oval, the bracket is done. If the contact face has a visible groove that keeps pulling the brake into the same crooked path, the bracket is done.
Failure modes golfers actually notice
These are the patterns that show up on the course:
- Holds on flat ground, slips on hills: The bracket flexes or lets the brake contact unevenly under real load.
- Brake releases late: Corrosion or a distorted mount leaves the moving part hanging up.
- Intermittent scrape every wheel rotation: The bracket sits slightly out of plane, so the brake kisses the wheel or rotor once per turn.
- Constant need for readjustment: Microscopic movement at worn mounting holes changes position each round.
A bracket can also interfere with brake movement if clearance disappears. In heavy-vehicle brake systems, inspection procedures call for the vehicle to be parked on a flat surface with the air system charged and the service brake applied before measuring clearances. The documented minimum acceptable clearances are 1/4 inch side-to-side and 1/2 inch in the direction of travel, with free stroke between 3/8 inch and 3/4 inch, and inadequate clearance can interfere with travel as pads wear, according to the EBC technical data sheet. A push cart uses a different system, but the lesson still fits. Clearance matters, and interference gets worse as parts wear.
If a bracket needs repeated adjustment to stay usable, treat that as a wear symptom, not a personality trait of the cart.
Preventive Maintenance to Extend Brake Bracket Life
Brake brackets live low to the ground, right where wet grass, bunker sand, fertilizer residue, and parking-lot grime collect. That's why carts used in dry inland conditions often age very differently from carts used near the coast or through wet winters.
Moisture changes the bracket more than most golfers expect
Recent brake materials research notes that chloride-rich environments promote pitting corrosion and crack initiation, and that humidity and corrosion materially change tribological behavior, as discussed in this Springer paper on brake material behavior in corrosive conditions. For golf push carts, that means corrosion isn't just cosmetic. A bracket that looks merely rusty can start binding at contact points or lose clean alignment at the holes and edges that matter.
Golfers who play oceanfront courses, early-morning dew rounds, or shoulder-season golf where road salt residue gets tracked into trunks should inspect more often than fair-weather players.
A simple routine that actually works
You don't need a complicated service schedule. You need consistency.
- After wet rounds: Rinse or wipe off grit, then dry the bracket area instead of folding the cart and trapping moisture.
- At wheel-cleaning time: Check for fresh rust bloom, rubbed shiny spots, and any new groove where the brake contacts.
- During cable adjustment: Wiggle the bracket by hand. Any movement at the mount means stop and inspect before the next round.
- Before storage: Don't leave the cart folded and wet in a trunk or garage corner.
A broader maintenance mindset helps here too. Caddie Wheel's article on essential golf cart maintenance tips lines up well with the same habit that saves brackets. Clean parts last longer, and stored moisture creates expensive surprises.
What not to do
Don't bury a rough bracket under heavy grease and call it fixed. Grease can help moving contact points, but it won't correct elongation, distortion, or corrosion damage at the mount.
Keep the bracket clean enough that you can see metal changes early. Dirt hides the exact wear pattern you need to catch.
Final Checks for Safe and Confident Braking
A push-cart brake should feel boring in the best way. You engage it, the cart stays put, you release it, and the wheels roll free without argument. If the brake only works after constant fiddling, something is still wrong.
Before the next round, do a short check in the driveway or parking lot. Lock the brake on flat ground and make sure both sides engage the way they should. Roll the cart onto a gentle slope and confirm it holds without needing extra force. Release the brake and listen for rub. Then lift each side slightly and spin the wheel to catch drag you might miss while walking.
The right call is usually straightforward. If the bracket matches the cart, sits square, and shows no shape-changing wear, adjustment can solve a lot. If the mounting holes have gone sloppy, the contact faces are grooved, or the bracket keeps shifting after tightening, replacement is the safer and faster fix.
Good brake brackets don't just stop movement. They reduce pushing effort because you're not fighting a cart that drags, creeps, or tracks unevenly through the round.
If you're upgrading or dialing in a push cart setup, Caddie Wheel offers electric power-assist systems and cart-specific bracket kits designed to fit standard push carts without a complicated install. If your brake and mounting hardware are part of the reason walking feels harder than it should, it's worth taking a look at Caddie Wheel and seeing what fits your cart.
Share:
Golf Trolley Lithium Batteries Explained and How to Choose
Snap Up Bracket Install Guide for the Caddie Wheel