Testing a battery's capacity isn't just about reading the label—it's about discovering the real amount of juice it can actually hold. The process is straightforward: you charge it up completely, then discharge it under a controlled load, measuring the energy output until it hits its cutoff voltage. This simple test is the key to understanding why your favorite devices seem to die faster and faster over time.
Why Your Battery's Real Capacity Matters
Ever had that frustrating moment when your drone's flight time is suddenly cut short, or your trusty power bank gives up the ghost way sooner than it used to? The culprit is almost always its actual battery capacity, which can be a far cry from the number printed on the case. This is the crucial difference between a battery's advertised 'rated capacity' and its true, usable power.
With every single charge and discharge cycle, a battery's ability to store energy slowly fades. It's a completely normal process, but things like how you use it, the temperatures it's exposed to, and your charging habits can speed it up. A battery that was originally rated for 5,000 mAh might only hold 4,000 mAh after a year of heavy use. That's a 20% loss in runtime you can definitely feel.
Knowing how to test battery capacity gives you a serious advantage. You can:
- Diagnose Performance Issues: Finally get a real answer if a device's poor runtime is due to a worn-out battery.
- Keep Things Safe: Spot a failing battery before it becomes a potential safety hazard.
- Verify What You Paid For: Check if that brand-new battery actually lives up to its advertised specs.
Think about it in terms of an electric golf cart. A declining battery directly impacts how many holes you can play before it quits. Keeping an eye on its health is essential, and our guide on golf cart battery maintenance offers some great tips for extending its life.
Ultimately, testing reveals the real-world health of your power source. It puts you back in control, letting you make smart decisions about your electronics instead of just guessing.
Before you can run a proper battery test, you need to speak the language. Think of a battery like a small water tank. The total amount of water it can hold is its capacity, which we measure in milliamp-hours (mAh) or amp-hours (Ah). So, a 5,000 mAh battery can theoretically supply 5,000 milliamps for one hour. Simple enough.
The rate at which water flows out of that tank is the current, measured in amps (A). A bigger hose drains the tank faster, just like a power-hungry device chews through a battery’s charge. This relationship is everything when it comes to setting up a realistic test.
Getting the Terminology Right
To get a capacity reading you can actually trust, you have to nail down a few core concepts. These aren't just technical jargon—they're the rules of the road for performing a safe, accurate test without frying your battery.
- Nominal Voltage: This is the battery's standard, "happy" voltage. For a typical lithium-ion cell, that's 3.7V. For a big old lead-acid car battery, it's 12V.
- Cutoff Voltage: This is the absolute "empty" point. Pushing a battery below this voltage can cause permanent, irreversible damage. For most lithium-ion batteries, you'll want to stop the discharge around 2.8V to 3.0V.
- C-Rate: This term just describes how fast you're discharging the battery relative to its total capacity. A 1C rate on a 2,000 mAh battery means you're pulling 2,000 mA (or 2A) from it. A gentler 0.5C rate would be a 1,000 mA draw. Pro tip: slower discharge rates almost always give you a more accurate (and slightly higher) capacity reading.
Getting these variables right is the difference between a wild guess and a scientifically sound measurement. If you just hook things up and hope for the best, you’re not really testing anything.
Modern testing protocols have gotten incredibly precise. Advanced methods now use cyclic testing in controlled environments, even factoring in rest periods and temperature changes to mimic how a battery actually behaves in the real world. This has slashed statistical errors in capacity measurement down to less than 1%—a huge leap from older, cruder techniques. You can dig deeper into these advanced battery testing findings if you're curious.
Understanding these fundamentals doesn't just let you run a test; it helps you interpret what the final numbers really mean for your device's runtime and overall health.
Before we get into the testing methods, it helps to have a quick cheat sheet for the most common battery types you'll encounter. Each has its own personality when it comes to voltage and lifespan.
Common Battery Types and Key Characteristics
| Battery Type | Nominal Voltage (V) | Typical Cycle Life (Cycles) | Best For |
|---|---|---|---|
| Lithium-Ion (Li-ion) | 3.6 - 3.7V | 500 - 1,500 | Smartphones, laptops, EVs |
| Lithium-Polymer (LiPo) | 3.7V | 300 - 500 | Drones, RC hobby gear, thin devices |
| Nickel-Metal Hydride (NiMH) | 1.2V | 500 - 1,000 | Rechargeable AA/AAA, power tools |
| Lead-Acid | 2.1V per cell (12.6V total) | 200 - 500 | Cars, backup power systems (UPS) |
This table is just a starting point, but it gives you a good sense of the landscape. Knowing what you're working with is the first step toward getting a meaningful test result.
The DIY Method With a Multimeter and Resistor
For those who enjoy a hands-on approach, you can learn how to test battery capacity with tools you might already have kicking around your workshop. This method uses a classic constant-resistance discharge test, which only requires a multimeter, a specific power resistor to act as the load, and a timer. It’s a foundational technique that really shows you the core principles of battery discharge.
First things first, you'll need to fully charge the battery you want to test. Once it hits 100%, you’ll connect your resistor across the battery's terminals. This creates a simple circuit that will slowly and safely drain the power. Your multimeter, connected in parallel, becomes your window into the battery's state, letting you monitor the voltage as it drops.
Here are the essential tools and materials to get ready on your workbench.
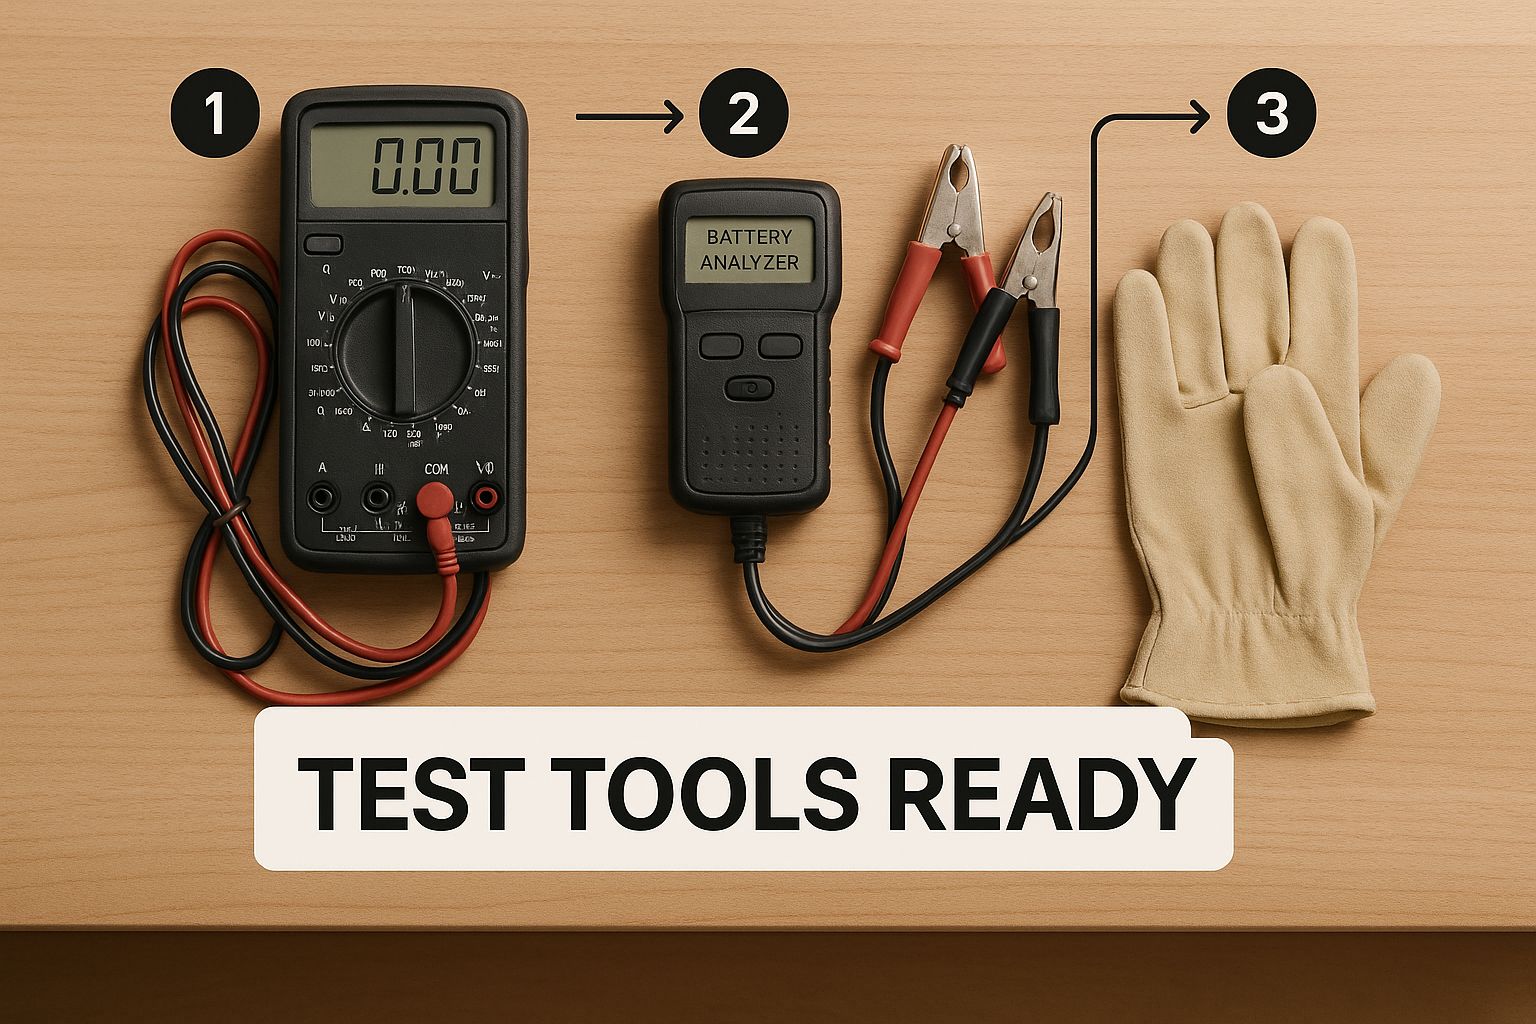
Having this setup ensures you have everything you need for an accurate and safe test.
Setting Up Your Test Correctly
Choosing the right resistor is the most critical part of this whole process. If its resistance is too low, it will draw way too much current, which could cause it to overheat and become a safety hazard. A good starting point is to aim for a gentle discharge rate, like C/5 (which means discharging the battery over five hours). You can dust off Ohm's Law (Voltage ÷ Current = Resistance) to calculate the ideal resistor value for your specific battery.
Once your circuit is live, start your timer and begin logging the voltage at regular intervals—every 15 or 30 minutes works well. Your goal is to keep recording the voltage drop until the battery reaches its predetermined cutoff voltage. For most lithium-ion cells, this is safely around 3.0V. Pushing a battery below this threshold can cause permanent damage, so keep a close eye on your multimeter.
This classic approach of applying a constant-resistance load has been a reliable method for years. It's a practical way to track a battery's health over time by establishing a baseline capacity and then re-testing periodically to monitor deterioration. You can find more insights on constant-resistance load testing from industry standards.
Calculating the Final Capacity
When the test is finally over, you'll have a log of voltage readings and the total discharge time. Because the current changes slightly as the voltage drops in this kind of test, the final calculation is more of a solid approximation than a lab-grade measurement.
Here’s how to crunch the numbers to find the capacity:
- Calculate Average Current: Record the starting and ending current, then find the average. For instance, if it started at 1A and ended at 0.8A, your average is 0.9A.
- Convert to Amp-Hours (Ah): Multiply that average current by the total discharge time in hours. If your test ran for 4.5 hours, the math would be 0.9A x 4.5h = 4.05 Ah.
- Convert to Milliamp-Hours (mAh): Just multiply the Ah value by 1000. In this case, 4.05 Ah x 1000 = 4050 mAh.
That final number is your estimated battery capacity. While it's not as precise as what you'd get from a dedicated tester, this DIY method provides a solid, real-world measurement and gives you an excellent hands-on understanding of how batteries actually work.
Getting Accurate Results With a Dedicated Tester
While the DIY multimeter method is a fantastic way to learn the ropes, it definitely has its limitations. When you need repeatable precision and don't want to babysit the process, nothing beats a dedicated battery capacity tester.
These handy tools range from simple USB gadgets for checking power banks to sophisticated, multi-function hobby chargers built for serious enthusiasts. Their biggest advantage? Automation and accuracy.
A dedicated tester performs a constant-current discharge, which is worlds more precise than the fluctuating current you get in a simple resistor test. It automatically handles the entire process—from draining the battery at a steady, user-defined rate to stopping exactly at the safe cutoff voltage. This completely eliminates the guesswork and manual number-crunching, showing you the final capacity right on its screen.
This level of control is essential for accurately tracking a battery's health over time. For example, when pros analyze modern lithium-ion batteries, they run specific charge-discharge cycles to monitor capacity fade. A full cycle at a C/2 rate between fixed voltages is often performed every 50 to 100 cycles to see how much the capacity has degraded—which is typically 20%-30% over its lifespan. For a deeper dive, check out how experts track battery degradation.
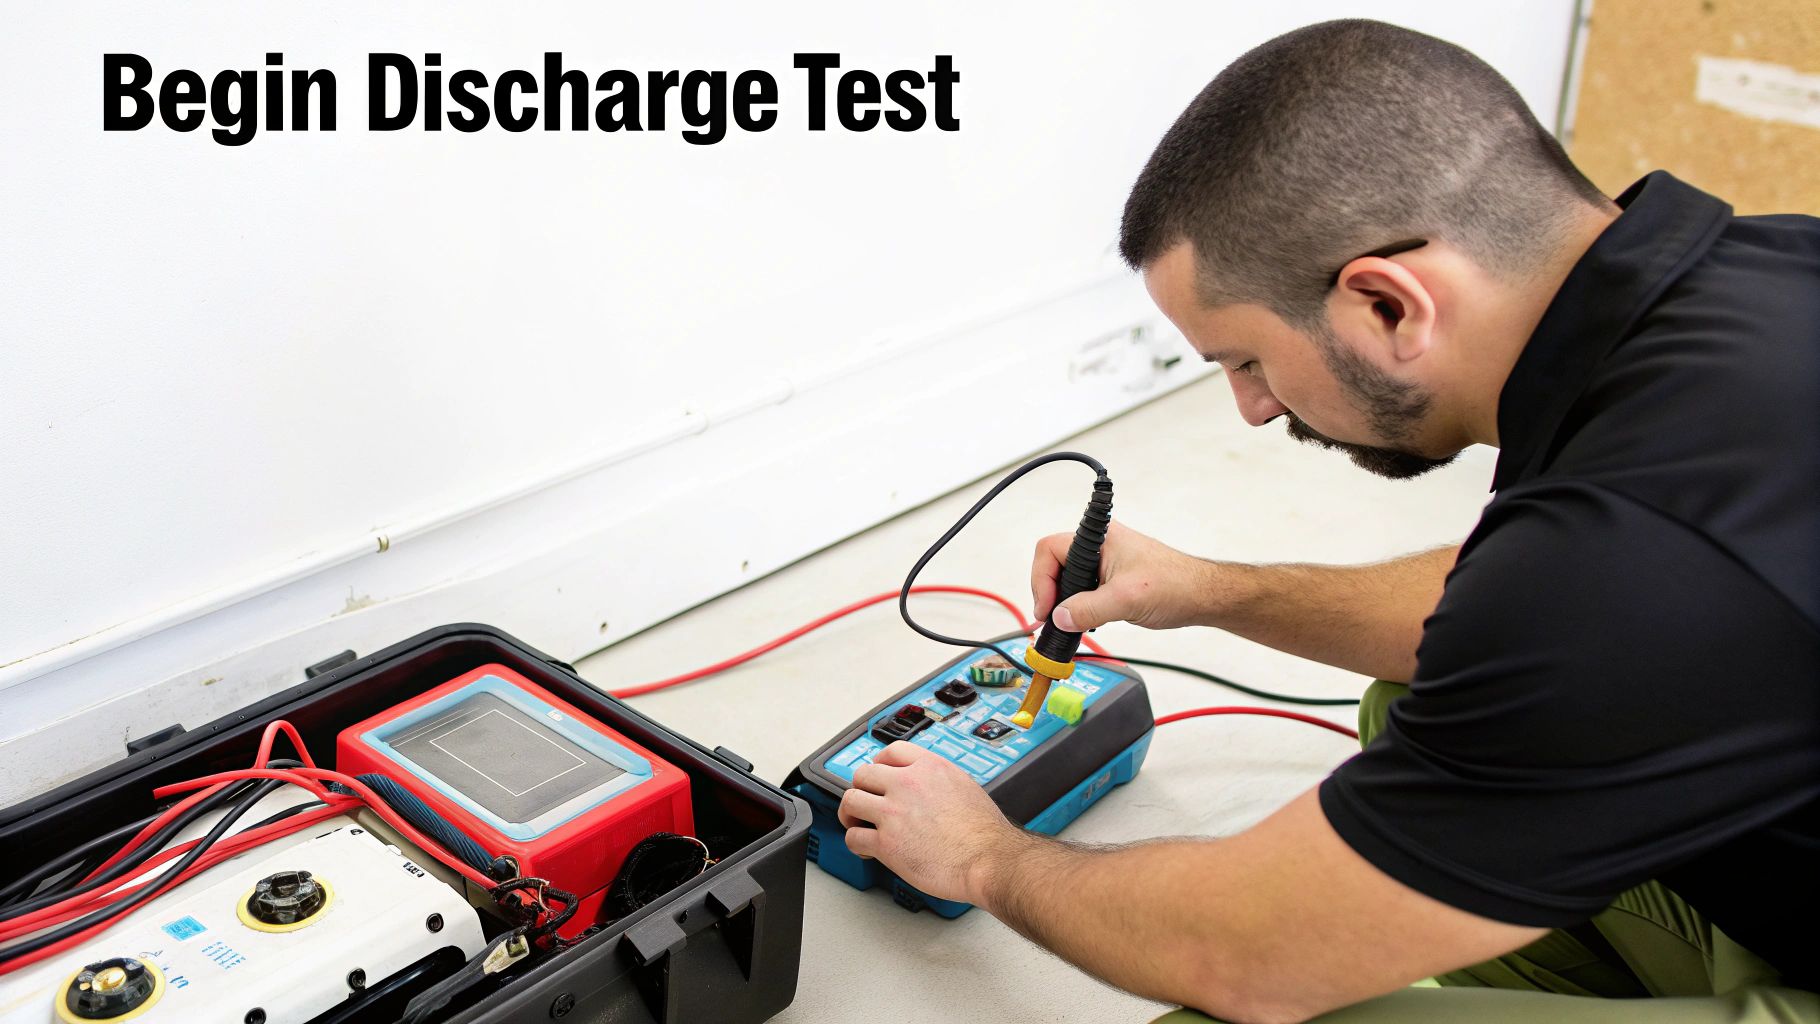
Setting Up a Test With a Hobby Charger
Let's walk through a real-world scenario using a popular hobby charger—a versatile tool for anyone who tinkers with different battery types. The process is surprisingly straightforward and delivers lab-quality results right on your workbench.
First, you’ll connect your fully charged battery to the device. Next, you’ll navigate through the menu to find the "Discharge" or "Analyze" function. From there, it's just a matter of punching in a few key parameters to set up the test.
Here’s what you’ll typically set:
- Battery Chemistry: This is critical. Select the correct type (LiPo, Li-ion, NiMH, etc.) to make sure the charger uses the right voltage limits.
- Discharge Current: Set the rate at which you want to drain the battery. A slow, steady rate like 0.5A or 1A will give you the most accurate results.
- Cutoff Voltage: This is your safety net. You need to define the "empty" point for the battery. For a standard Li-ion cell, this is usually set somewhere between 2.8V and 3.0V.
Once you hit "start," the charger takes over. It will maintain a perfectly constant current, keep an eye on the voltage, and stop the test the moment it hits your cutoff point. Then, it will display a precise capacity reading in mAh. This is how you test battery capacity like a pro.
Checking Battery Health on Your Phone and Laptop
You don't always need special equipment to figure out how much life your batteries have left. For the devices you use every day, like your laptop and smartphone, the tools for a solid health check are already built-in, giving you a quick glimpse into their remaining lifespan.
If you’re on a Windows laptop, you can generate a surprisingly detailed battery report with a simple command. It gives you two crucial numbers: Design Capacity (what it held when brand new) and Full Charge Capacity (what it can hold right now). The gap between those two figures tells you exactly how much your battery has degraded. Mac users can find the same kind of info right in System Settings, under the Battery section.
Accessing Device Battery Reports
The process is just as simple for your phone.
- iOS: Apple makes it incredibly easy. Just head to "Battery Health" in your settings, and it will show you the maximum capacity as a clean percentage of its original state.
- Android: While some Android manufacturers include a native health check, many users rely on trusted apps like AccuBattery. It gives a more detailed analysis, but it needs to track a few charge cycles to get an accurate reading.
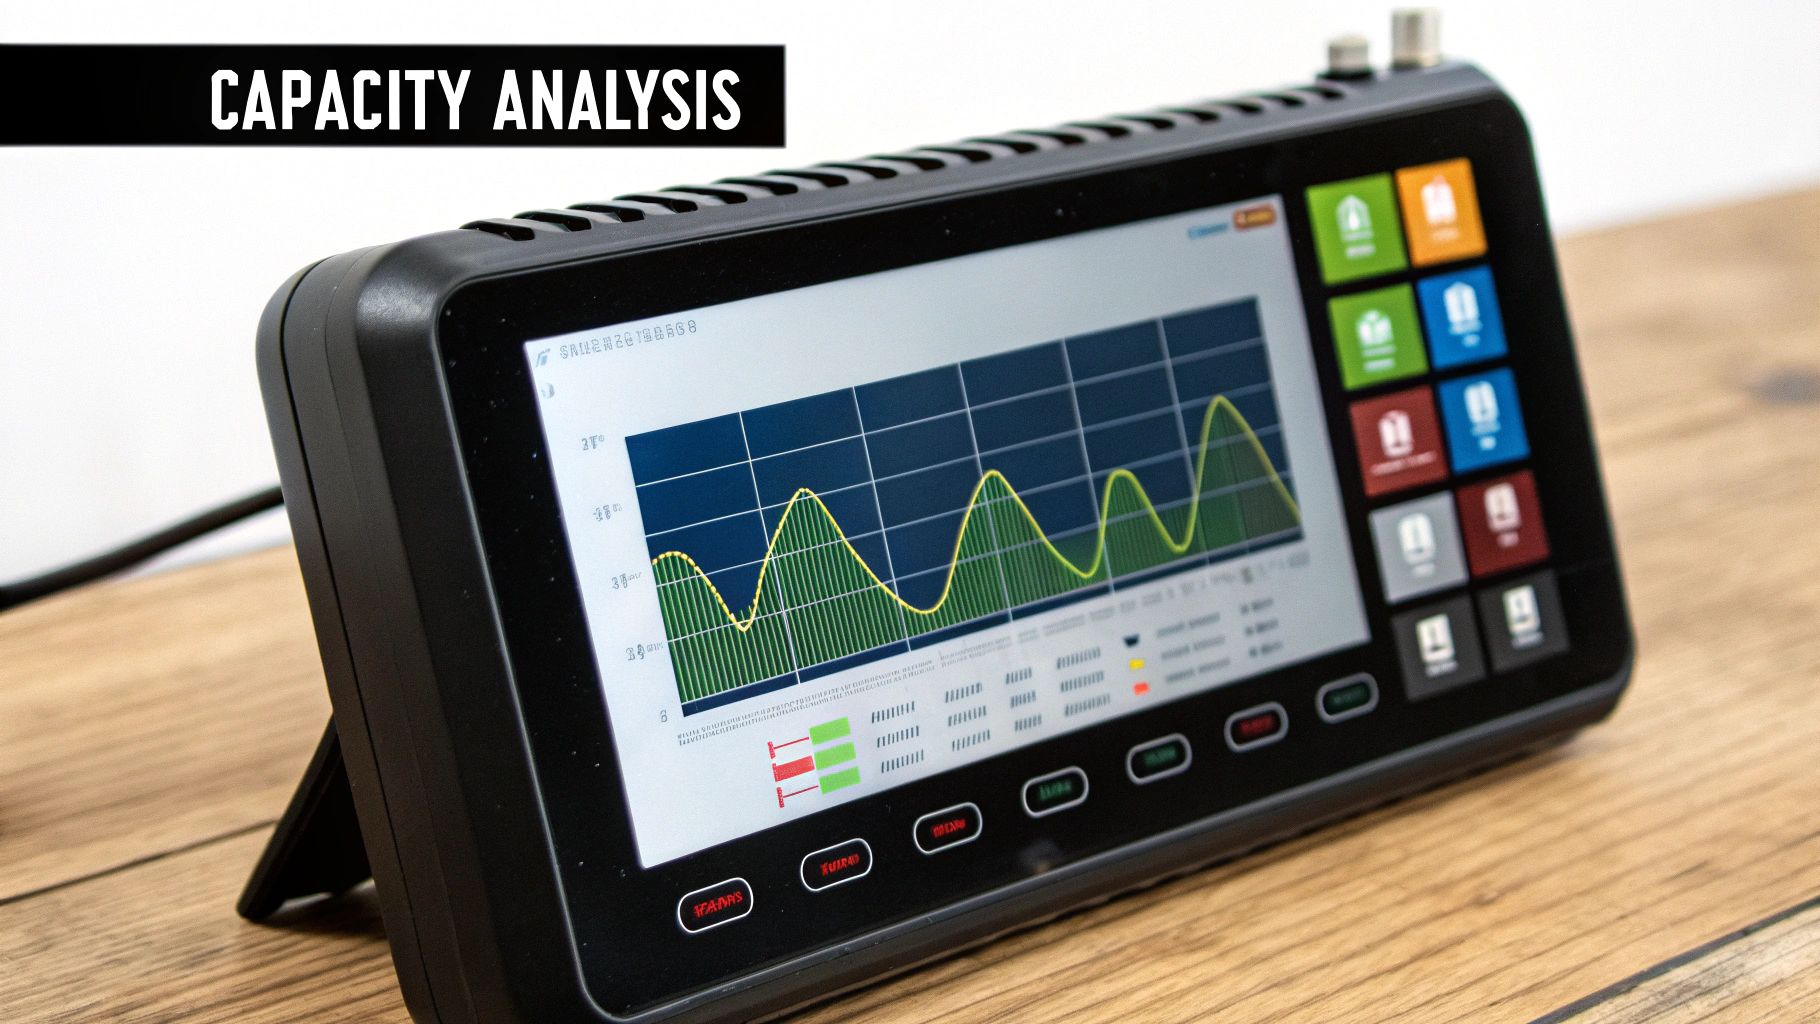
This State of Health (SOH) graph below is a great visual for how a typical battery loses its punch over time.
As you can see, the sharpest drop in capacity often happens within the first 100 cycles. After that, the degradation usually slows down and becomes more gradual.
Knowing this data helps you set realistic expectations. A laptop that’s down to 75% of its original capacity is naturally going to die a lot faster than it used to. It's the same principle used to monitor much larger power systems. For instance, understanding how long golf cart batteries last involves tracking similar signs of aging. These simple checks empower you to decide if a battery replacement is on the horizon, long before poor performance becomes a real headache.
What Do Your Test Results Mean? It's Time for Action
Alright, you've run the test and now you have a number in milliamp-hours (mAh). This is the moment of truth—this little number tells you everything about your battery's real-world health.
The next move is to compare your result against the battery's original "design" capacity. You can usually find this printed right on the battery's label. This quick comparison gives you a straightforward percentage of its remaining life.
Let's say you tested a battery originally rated for 5,000 mAh and your test came back with 3,800 mAh. To find its current health, just divide the new number by the original (3800 ÷ 5000) and multiply by 100. That gives you 76%.
This percentage isn't just a random stat; it's a clear signal telling you what to do next.
Why the 80% Threshold Matters
In the world of electronics, 80% capacity is the unofficial line in the sand. Once a battery drops below this point, you’re going to start noticing some serious performance problems. It’s not a gradual decline anymore; it’s a cliff.
- Shorter Runtimes: This is the most obvious one. Your device just doesn't last as long between charges.
- Sudden Shutdowns: A worn-out battery can’t handle sudden demands for power. This is why older phones often die unexpectedly, even when they say they have 20% charge left.
- Sluggish Performance: To prevent those unexpected shutdowns, many devices will throttle down their processor speed when they detect a weak battery. Everything feels slow.
A battery at 75% health doesn't just give you 25% less runtime—its performance becomes wildly unpredictable. It loses the ability to handle power spikes, making your device unstable just when you need it most.
Knowing this empowers you to make a smart call. For a smartphone, 76% health is a clear sign to start planning for a battery replacement. For a drone, it means your flights will be shorter and riskier. And for bigger systems, learning how to boost your golf cart power often starts with a similar battery health check.
This is how a simple test transforms from a number on a screen into a powerful diagnostic tool.
Got Questions About Battery Testing?
After getting your hands dirty with the testing methods, a few practical questions always seem to pop up. Nailing down these details is key to getting the most out of your tests and making sure you’re reading the results right.
How Accurate Are These Battery Capacity Tests?
The accuracy of your test really boils down to the method you're using. If you want the gold standard, a dedicated electronic tester is the way to go. It holds a perfectly constant-current load, giving you results that are typically within 1-3% of the battery's true capacity. It’s as precise and repeatable as it gets.
On the other hand, the DIY multimeter-and-resistor setup is a fantastic way to learn the ropes, but it’s less precise. You can probably expect errors in the 5-10% range because the current will naturally dip as the battery's voltage drops. And what about software reports from your phone or laptop? They're decent estimations from internal monitoring, but nothing beats a physical discharge test for a definitive answer.
When Should I Replace a Battery?
The rule of thumb most people follow is to start thinking about a replacement when a rechargeable battery’s capacity falls below 80% of its original rating. Once it dips below that threshold, you'll almost certainly notice shorter runtimes and other annoying performance issues.
For instance, a smartphone or laptop with less than 80% battery health is notorious for unexpected shutdowns, especially when you're pushing it hard. For gear where failure isn't an option—like drones or medical devices—many folks tighten that up to an 85% or 90% replacement threshold just to be safe.
Can I Test Single-Use Alkaline Batteries?
Yep, you absolutely can measure the capacity of non-rechargeable batteries like alkalines using the exact same discharge methods. The big thing to remember, though, is that it's a one-and-done, destructive test.
Once you drain that AA battery to see what it's made of, it’s completely spent. This kind of testing is usually just to check if a manufacturer's claims hold up or to see how different brands stack up against each other in the real world. It's not something you'd do for regular maintenance, since the battery is toast afterward.
At Caddie Wheel, we know a reliable battery is non-negotiable for a great day on the course. Our high-capacity battery is built to last up to 36 holes, so you have all the power you need to walk the course without wearing yourself out. It's time to upgrade your push cart and enjoy the game more. Learn more at https://caddiewheel.com.
Share:
Does Golf Burn Calories for Better Fitness and Performance
Battery Powered Push Golf Carts An Essential Guide