A battery gauge for a golf cart is the single most important instrument telling you how much juice you have left to finish your round. Think of it as your cart's fuel gauge—get a bad reading, and you could find yourself stranded a long way from the clubhouse.
Why Your Battery Gauge Is Your Caddie on the Course
Picture this: you’re on the 15th hole, miles from the pro shop, and your cart starts to crawl. That sinking feeling, often called range anxiety, is more than enough to ruin an otherwise great round of golf. This is where your battery gauge proves its worth, acting less like a simple meter and more like your most trusted caddie on the course. It’s the one tool that gives you the critical intel you need to finish strong.

A reliable battery gauge is more critical now than ever before. The golf cart market has moved on from simple lead-acid battery packs to more complex, higher-voltage systems. That shift makes it nearly impossible to estimate your remaining charge by “feel” anymore. With more products promising enough power for 18 to 36 holes, an accurate gauge has become a must-have for any serious golfer. You can discover more insights about the evolving golf cart battery market and see why precise monitoring is now the standard.
Beyond the Needle
The key to smart on-course management is to move beyond just glancing at the needle or percentage. A good battery gauge for golf cart lets you make informed decisions based on real-time data, not guesswork. This empowers you to:
- Avoid Range Anxiety: Play every hole with the confidence that you have more than enough power to get back.
- Plan Your Round: Take on challenging terrain or decide to play an extra nine without a second thought.
- Protect Your Investment: Proper battery management, guided by accurate readings, helps extend the overall lifespan of your batteries.
By learning to interpret what your gauge is really telling you, you transform it from a passive display into an active strategic tool. It helps you understand how your playing style and the course itself are eating into your cart’s energy. That knowledge ensures you never have to cut a round short because of an unexpectedly dead battery.
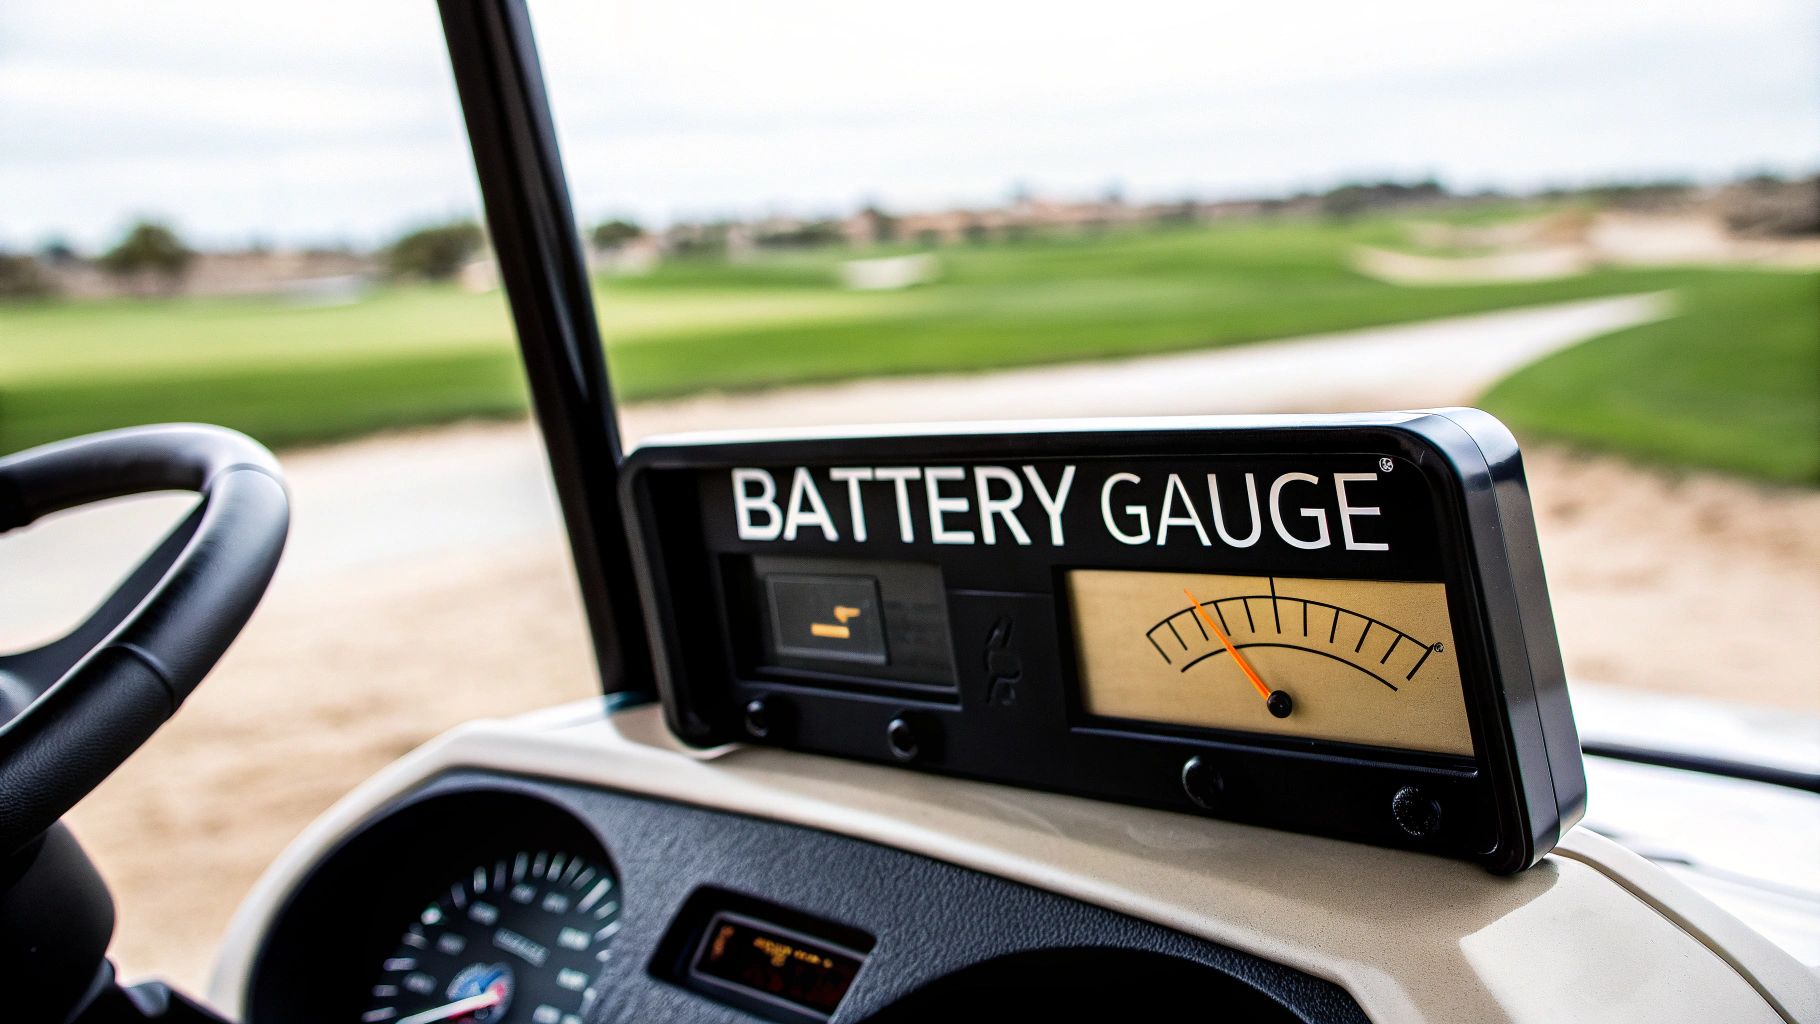
How to Read Your Golf Cart Battery Gauge
Learning to read your battery gauge for a golf cart is the first step to truly mastering your power on the course. Think of it this way: not all gauges speak the same language. Knowing what yours is telling you can be the difference between sinking that final putt on the 18th and getting stranded by the water hazard on the 14th.
Most golf carts come with one of two displays: a classic analog gauge or a modern digital one. Each has its own personality and way of communicating how much juice you have left.

An analog gauge is a lot like the fuel needle in an older car—a simple sweeping needle over a scale, usually marked from 'F' (Full) to 'E' (Empty). They’re familiar and easy to read at a glance, but they can be a bit deceptive. That needle might stay glued to 'Full' for the first five or six holes, then suddenly start dropping like a rock, making it tough to judge your actual remaining power.
A digital gauge, on the other hand, is more like your smartphone's battery icon. It gives you a much more direct, and often more precise, look at your battery life. These displays cut out the guesswork, providing clear, specific numbers you can count on.
Analog vs Digital Battery Gauge at a Glance
To help you quickly understand the key differences, here's a simple breakdown of what each gauge brings to the table.
| Feature | Analog Gauge | Digital Gauge |
|---|---|---|
| Display | Physical needle over a printed scale ('F' to 'E') | LED/LCD screen with numbers, bars, or voltage |
| Precision | General estimate; can be less accurate | High precision, often showing exact percentage or voltage |
| Readability | Quick glance, but requires some interpretation | Direct and clear; minimal guesswork |
| Pros | Simple, familiar, and intuitive to understand the concept | Accurate, provides detailed data, better for power management |
| Cons | Can be misleading, especially at full charge | Can be more complex (e.g., voltage readings), slightly higher cost |
Ultimately, whether you're working with a classic needle or a crisp digital display, the goal is the same: know your numbers so you can plan your round.
Interpreting Digital Displays
Digital gauges usually come in a few different flavors. Getting familiar with yours is the key to making smart decisions on the course.
- Percentage Readout: This is the gold standard. It shows your charge as a clean number, like 85%. It's direct, easy to understand, and gives you a precise metric to work with.
- Bar Graph: Many digital meters use a series of bars—typically 10 of them—that disappear as you use power. It’s a great visual cue. Just remember, each bar represents roughly 10% of your total charge.
- Voltage Display: Less common but very useful for the technically inclined, this display shows the real-time voltage of your battery pack. This number requires a bit more interpretation, as voltage naturally dips under load (like going up a hill) and recovers on flat ground.
For a deeper dive into making sense of your cart's power levels, this comprehensive battery meter for golf cart guide is a fantastic resource.
Here's the key takeaway: no matter what type of display you have, its reading is just a snapshot in time. A 50% charge on a flat, perfectly manicured course will get you a lot farther than 50% on a soggy, hilly track.
Learning to pair the information from your gauge with your knowledge of the course and conditions is a crucial skill. It’s what separates the pros from the amateurs in power management and guarantees you’ll always have enough charge to make it back to the clubhouse.
Why Voltage Readings Can Be Deceptive
Have you ever been cruising along, confident your gauge is showing a full or nearly-full charge, only to watch it suddenly nosedive? It’s a frustratingly common experience, but it’s probably not a faulty gauge. It’s a symptom of how most basic meters measure your cart's power.
Many standard gauges are essentially just voltmeters. For modern batteries, relying on voltage alone is a recipe for being stranded on the back nine.
Think of it like a can of pressurized whipped cream. It sprays out with consistent, strong pressure until the very end, and then it just sputters and dies without warning. The pressure doesn't gradually decrease; it stays high and then drops off a cliff.
Lithium batteries, in particular, behave this way. They’re engineered to maintain a high, stable voltage for almost their entire discharge cycle. This is fantastic for performance—delivering consistent power to your motor—but it completely fools simple voltage-based gauges into thinking the battery is fuller than it actually is.
State of Charge vs. State of Health
To really get what your battery gauge is telling you, you need to understand the difference between two key concepts: State of Charge and State of Health. They sound similar, but they measure two completely different things.
- State of Charge (SOC): This is your battery's current fuel level, shown as a percentage. An SOC of 100% means it's fully charged, while 20% means you're running on fumes. It’s a snapshot of your available energy right now.
- State of Health (SOH): This is about the battery's overall lifespan and its ability to hold a charge compared to when it was brand new. An older battery might charge to 100% SOC, but its SOH could be only 70%. That means it holds significantly less total energy than it used to. To learn more, check out our complete guide to golf cart battery lifespan.
Grasping this difference is critical. An old battery with a low SOH will show "full" on a basic gauge but will drain much, much faster than a new battery showing the same reading.
The Lithium Battery Challenge
The shift to lithium-ion technology has made simple voltage gauges even less reliable. A traditional lead-acid battery's voltage drops fairly steadily as it discharges, giving you a somewhat predictable decline. A lithium pack, however, holds its voltage steady until it's nearly empty.
Because of this, a basic voltmeter can mislead you by 20-30% of your actual remaining capacity, a trend highlighted across the industry. You can read the full research about the golf cart battery market to see how this shift is impacting modern golf carts.
A "volts-only" battery gauge for a golf cart with a lithium battery is like a speedometer that's stuck on 60 mph until you suddenly run out of gas. It looks great until the moment it doesn't.
This is exactly why more advanced SOC meters, which actually measure the flow of energy instead of just voltage, are becoming the standard for anyone who wants a true reading of their cart's remaining power.
Turning Gauge Readings Into On-Course Strategy
A 50% reading on your battery gauge doesn’t always mean you have half a round left to play. Smart power management is all about learning to translate that number into real-world range by becoming a master of variables. Every course, and every day, throws a unique set of power-draining challenges at your cart that your gauge simply can’t see.
For instance, a steep incline on the back nine is going to chew through your battery’s charge far more aggressively than a flat, manicured fairway. Your gauge reading is the starting point; your on-course strategy is what gets you back to the clubhouse without a hitch.
Adjusting Your Expectations
Think of your battery's charge like a budget. You start the day with a set amount, and every action you take—every press of the accelerator—makes a withdrawal. Some withdrawals are small, like cruising down a cart path. Others are significant. To avoid running out of juice mid-round, you have to mentally adjust your expected range based on the conditions you’re facing.
Factors that demand more power and will absolutely shorten your range include:
- Aggressive Acceleration: Punching the accelerator after every shot drains the battery much faster than smooth, gradual starts.
- Heavy Loads: Carrying extra bags, coolers, or a second passenger adds weight, forcing the motor to work harder on every single rotation.
- Course Conditions: Driving through wet, soft turf or thick rough creates way more resistance and uses more energy than cruising on a dry cart path.
This flowchart shows how to start your mental calculation before you even tee off, based on one of the most important factors: the age of your battery.
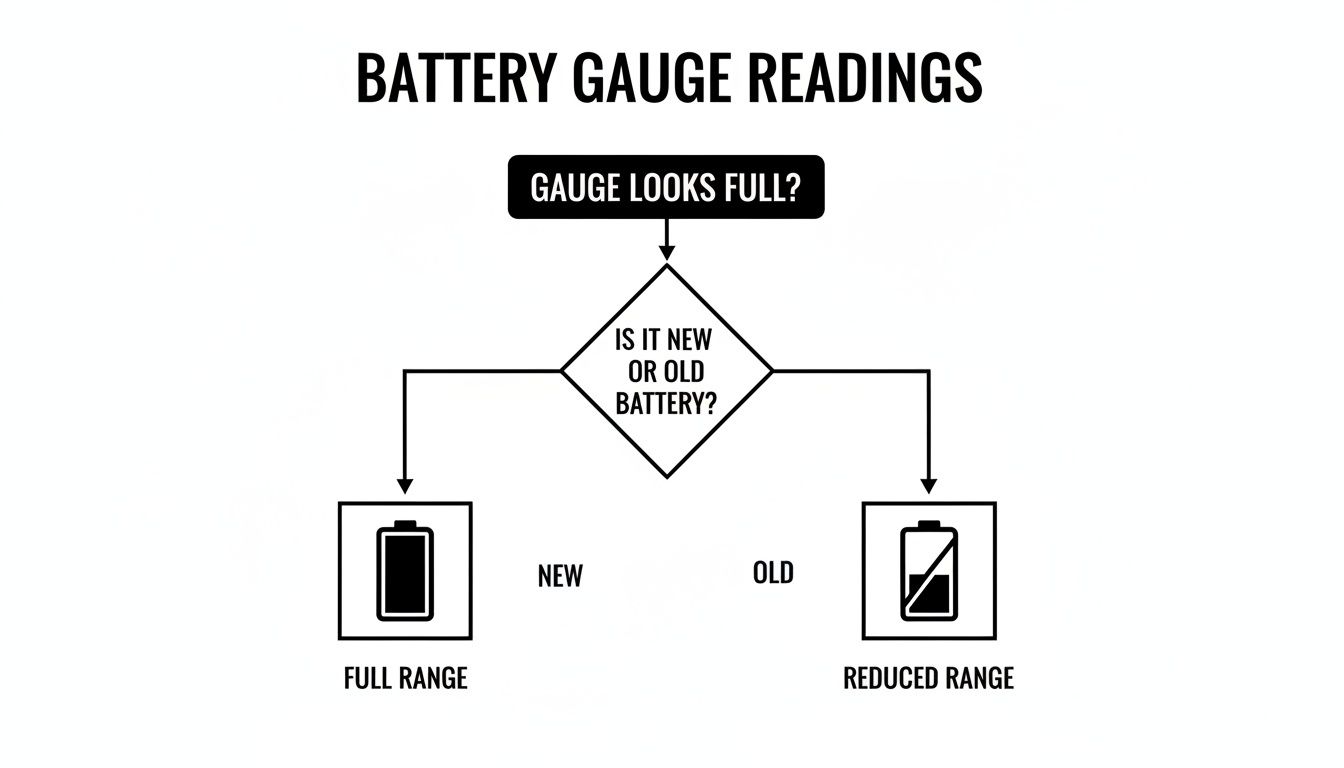
This decision tree nails a critical first step. A full gauge on an older, well-used battery provides a much smaller real-world energy budget than the exact same reading on a brand-new one.
From Data to Decisions
The unique geography and usage patterns of modern golf are making a precise battery gauge for a golf cart more vital than ever, especially for players in hilly or hot regions where batteries are constantly under stress. As more golfers rely on powered carts, a gauge that accurately reports the remaining range becomes an essential tool for planning how to use that energy over varied terrain and through changing weather.
The key is to turn your gauge reading into an actionable strategy. If your gauge shows 60% and you know the hilliest part of the course is still ahead, it might be wise to take the cart path instead of driving on the fairway to conserve power.
Getting a real feel for your battery gauge is crucial for optimizing your game and planning your route, especially on more challenging courses. For anyone looking for new places to test their range-management strategy, you can explore some of the best golf courses near Orlando. By actively managing your power consumption, you turn your gauge from a simple meter into a strategic partner on the course.
Maximizing Your Caddie Wheel's Power and Range
All the theory behind a battery gauge for golf cart becomes practical strategy when it's time to hit the course with your Caddie Wheel. Knowing its specific indicators turns you into a smarter golfer, ensuring you get the most out of its impressive range on every single round.
The Caddie Wheel keeps things simple. Instead of a complex digital screen, it uses a straightforward system of LED lights on the remote control to tell you everything you need to know.
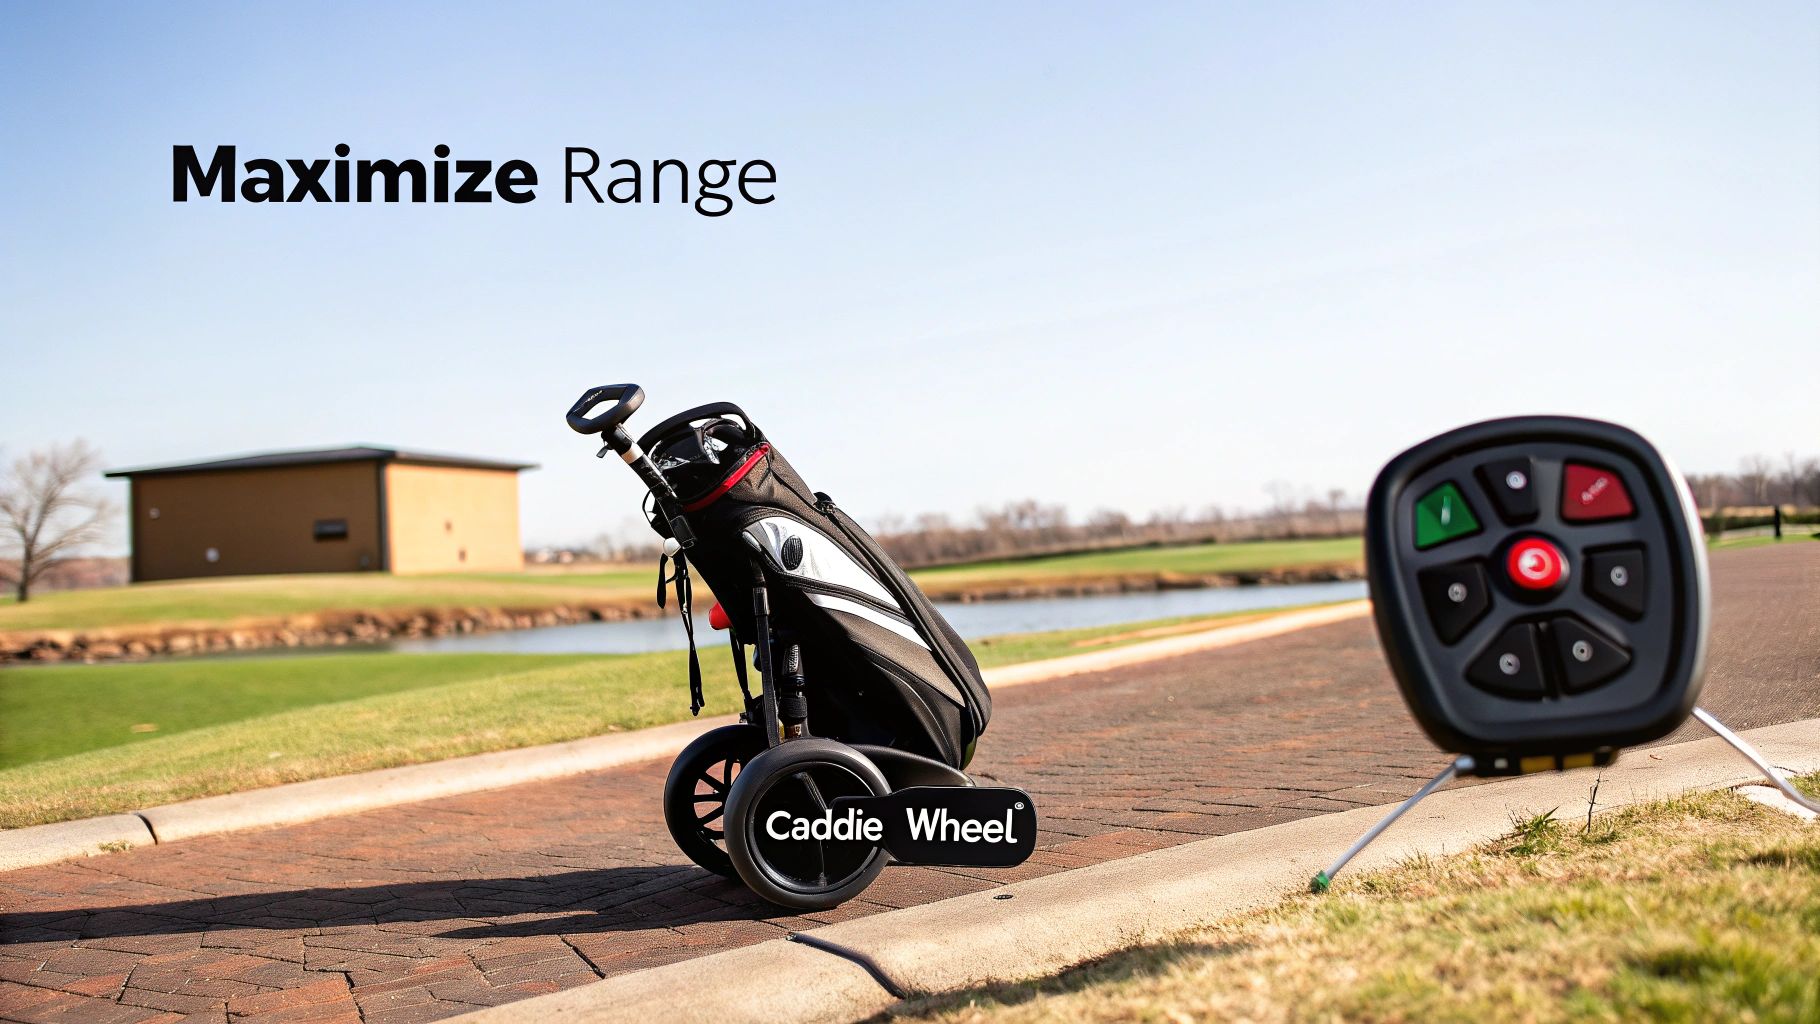
Learning to read these lights is the key. They give you instant feedback not just on battery life, but also on the connection between your remote and the wheel itself. This dual-purpose system is designed for quick glances, so you can stay focused on your game, not on fiddling with a device.
Decoding the Remote's LED Indicators
Think of the remote's lights as a simple language that's easy to learn. Each color and pattern tells a different part of the story, from how much juice you have left to your signal strength. Once you've got it down, you’ll never be caught off guard mid-round.
Here’s a quick guide to what the lights mean:
- Solid Green Light: You’re good to go. This means a full or nearly full charge and a strong, stable connection. It's your green light to tackle the course with confidence.
- Flashing Green Light: As the battery starts to drain, the light will begin to flash. This is your first heads-up that you're digging into your power reserve.
- Solid Red Light: This is the low-battery warning you need to pay attention to. When you see solid red, it’s time to conserve power and start thinking about heading back to the clubhouse.
- Flashing Red Light: This isn't a battery issue—it's usually a signal that there's a connectivity problem between the remote and the wheel. A quick fix is often to just turn both off and on again to re-sync them.
The smartest way to manage your Caddie Wheel’s power is to treat the flashing green light as your halfway point. This simple mental trick ensures you always have more than enough power to finish your round, even on those long, hilly courses.
Pre-Round Checks for Peak Performance
A few moments of prep before you tee off can guarantee a smooth, uninterrupted round. Making this simple checklist a habit will ensure your Caddie Wheel is ready to perform at its best every time.
- Confirm a Full Charge: Always start with a fully charged battery. After it's done charging, check the remote for a solid green light to confirm it’s at 100%.
- Test the Connection: Before you head to the first tee, power on both the Caddie Wheel and the remote. Make sure you see that solid green light, which confirms a strong link.
- Check the Terrain: Take a quick look at the course map. If you know the back nine is full of hills, you can be mindful of your speed settings on the front nine to save some energy for the climb.
These small habits are part of a larger battery care strategy. For more in-depth advice on keeping your equipment in top shape, you can explore our complete guide to golf cart battery maintenance.
By pairing these smart pre-round checks with an understanding of the remote’s indicators, you’ll maximize both the power and the enjoyment you get from every walk on the course.
Troubleshooting Common Battery Gauge Problems
There's nothing worse than heading out for a round, only to realize you can't trust your battery gauge for a golf cart. When it starts giving you funky readings—stuck on full, plummeting to empty out of nowhere, or just jumping around—it kills your confidence. It’s not just an annoyance; a faulty gauge can leave you stranded a long way from the clubhouse.
Thankfully, you don't always need a mechanic. Many of the most common issues have simple fixes you can handle yourself. The first place to start is always with a quick visual inspection of your battery bank.
Nine times out of ten, inaccurate readings come from one of two culprits:
- Loose Connections: Jiggle the wires leading to and from your battery terminals. Everything should be snug and secure. A loose wire can cause those frustrating, intermittent readings or make the gauge cut out entirely.
- Corrosion Buildup: That chalky, white or greenish powder caked on your battery terminals is a classic sign of trouble. Corrosion acts like an insulator, blocking the flow of electricity and sending false signals to your gauge.
Cleaning up corrosion is a five-minute job that makes a huge difference. Just mix some baking soda and water, scrub it on with an old brush to neutralize the acid, and then use a wire brush to get the terminals shining again. This small bit of maintenance can often bring a wayward gauge back to life instantly.
Verifying Your Gauge's Accuracy
If you've cleaned the terminals and tightened the connections but the gauge is still acting up, it might be out of sync with your battery's actual state of charge. The easiest way to find out for sure is to grab a multimeter and take a direct voltage reading.
Set your multimeter to DC volts and touch the probes directly to the main positive and negative terminals of your battery pack. Now, compare that number to what your cart’s gauge is showing. If you see a big difference, you can be confident the problem lies with the gauge, not the batteries themselves.
An inaccurate gauge doesn't always mean it's broken. Over time, some digital gauges can lose their calibration and need to "re-learn" your battery's full and empty points.
Recalibration and Advanced Testing
Many modern digital gauges have a built-in recalibration process. Typically, this involves fully charging the batteries and then driving the cart until they're nearly depleted. This cycle helps the gauge reset its high and low-end parameters, restoring its accuracy.
If you want to dig even deeper into your battery's true performance, our guide on how to test battery capacity provides a straightforward method. A capacity test can help you figure out if the issue is a simple gauge error or a sign that your batteries are starting to lose their punch.
Frequently Asked Questions
Even with a solid understanding of how they work, battery gauges for golf carts can throw you some curveballs out on the course. Let's tackle a few of the most common questions golfers run into.
Why Does My Gauge Drop So Fast on Hills?
Ever watched your battery gauge nosedive the second you start climbing a steep hill, only to pop back up when you reach the top? You're not imagining things. This is a classic case of voltage sag.
To power your cart up an incline, the motor has to pull a massive amount of electrical current from the battery. This heavy draw temporarily drags the battery pack's voltage down. Since most basic gauges are just glorified voltmeters, they read this dip as a sudden, dramatic loss of charge. Once you're back on flat ground, the motor's demand drops, the voltage bounces back, and your gauge reading recovers. It's a particularly common sight with older lead-acid batteries.
Can I Upgrade the Gauge on My Older Golf Cart?
Absolutely. Swapping out that old-school analog needle for a modern digital State of Charge (SOC) meter is one of the most popular and worthwhile upgrades you can make to an older cart. These newer gauges give you a far more accurate picture of your battery life, usually as a simple percentage.
Most aftermarket kits come with a device called a shunt, which is the real star of the show. It measures the actual amount of energy flowing out of your battery, which is a much more reliable method than just reading voltage. While plenty of golfers with a basic toolkit can handle the installation, you will be working with the cart's electrical system. If you're not comfortable with that, it's always smart to have a pro handle it.
The real beauty of an SOC meter is its stability. Because it's tracking total energy consumption over time, it isn't fooled by temporary voltage sag on hills. This gives you a much truer sense of how much range you actually have left.
How Does Cold Weather Affect My Gauge and Range?
Cold weather is the arch-nemesis of all batteries, and your golf cart is no exception. As the temperature drops, the chemical reactions inside the battery that generate electricity slow way down. This cuts into your battery's total capacity and its ability to deliver power on demand. For traditional lead-acid batteries, a cold snap can slash your range by as much as 40%.
Your gauge will reflect this reality, showing a lower reading than it would for the same charge level on a warm day. Even high-tech lithium batteries lose some of their punch in the cold. The takeaway is simple: always factor in the temperature when you're planning a round. A "full" charge on a frosty morning won't get you nearly as far as it will on a sunny afternoon.
Ready to stop guessing and start golfing with confidence? The Caddie Wheel simplifies power management so you can focus on your game, not your battery. Experience the freedom of effortless walking and extended range on any course.
Learn more about the Caddie Wheel and upgrade your game today!
Partager:
A Practical Guide to Golf Cart Lithium Battery Conversion
A Hands-On Guide to Golf Cart Motor Repair