Getting your charging routine right is the secret sauce to a long-lasting, high-performing golf cart. It’s not just about plugging it in; it’s about creating a consistent habit that’s tailored to your specific battery type. Whether you're running on traditional lead-acid batteries or a newer lithium-ion setup, the right charger and a few smart habits make all the difference. For most carts, this boils down to one simple rule: recharge after every use, make sure it gets a full cycle, and keep those connections clean.
Understanding Golf Cart Batteries and Chargers
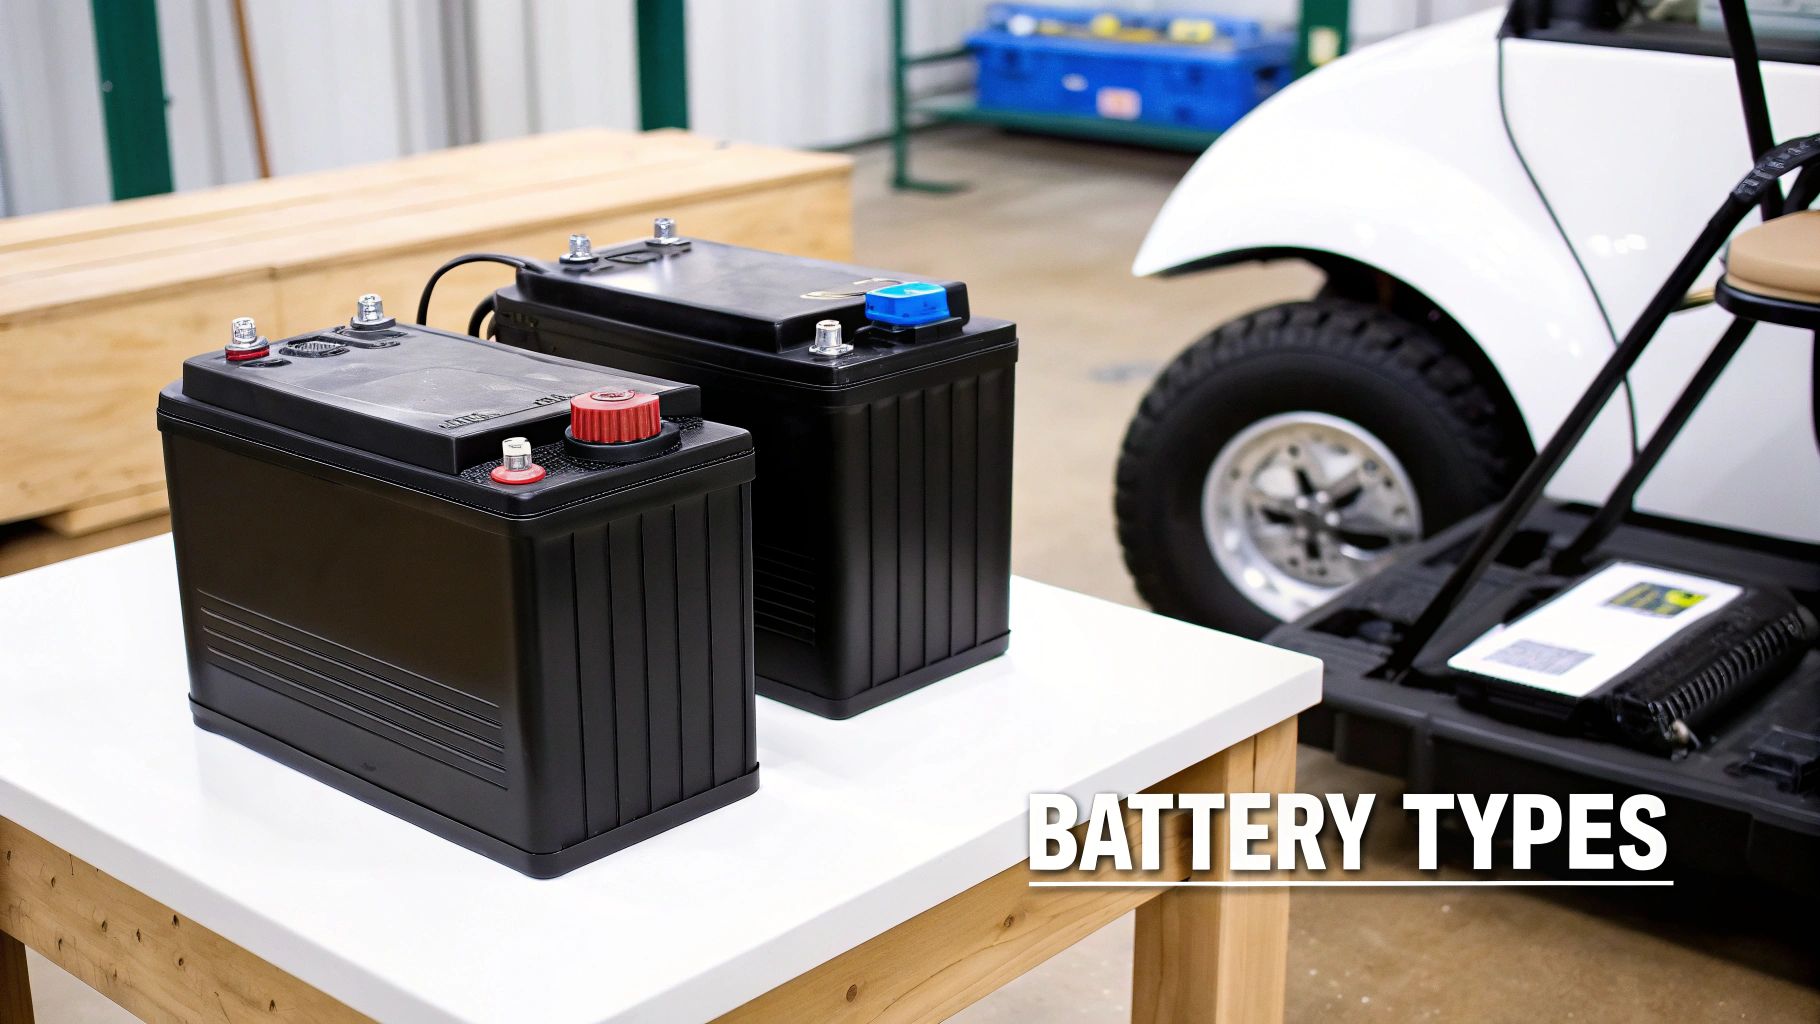
Before you even think about plugging anything in, the first step is to know what’s actually powering your cart. The golf cart battery world is split into two main camps: the old-school lead-acid batteries and the modern lithium-ion ones. They work on completely different principles and demand unique charging methods to get the best performance and lifespan out of them. Knowing which one you have isn’t just a good idea—it’s non-negotiable.
Lead-acid batteries are the workhorses we’ve seen for decades. They’re reliable and have a lower upfront cost. Lithium-ion, on the other hand, is the lighter, more efficient newcomer that’s quickly becoming the standard in new carts and innovative accessories like the Caddie Wheel. You can usually figure out what you've got by checking for labels on the battery casing itself or by cracking open your cart’s manual.
Why does this matter so much? Because using the wrong charger is like putting diesel in a gasoline engine. It’s a recipe for disaster. A charger built for a lead-acid battery won’t deliver the right voltage or charging algorithm for a lithium pack, and vice-versa. This can lead to undercharging, overcharging, or worse, permanent damage.
Key Differences in Charging Needs
The real difference between these two battery types comes down to their charging cycles and maintenance needs. Nail these habits, and you’ll be rewarded with a power source that’s reliable round after round.
Here’s a quick look at what sets them apart:
- Lead-Acid Batteries: These guys love being kept at or near a full charge. You should plug them in after every single use, no matter how short your trip was. If you let them sit discharged, a nasty process called sulfation begins, where lead sulfate crystals build up on the battery plates and permanently slash their capacity.
- Lithium-Ion Batteries: These are way more forgiving. They don’t have a "memory effect" and don't need a full discharge before you plug them in. In fact, they’re happier with partial charges than deep cycles. This makes "opportunity charging"—plugging them in for short bursts whenever it’s convenient—a perfectly good strategy.
To make it even clearer, let's compare them side-by-side.
Battery Type Charging At a Glance
Here’s a simple table that breaks down the best charging practices for the two most common types of golf cart batteries.
| Feature | Lead-Acid Batteries | Lithium-Ion Batteries |
|---|---|---|
| Charging Frequency | After every use, regardless of duration. | Can be charged anytime; no need for a full cycle. |
| Ideal Charge Level | Keep as close to 100% as possible when stored. | Best stored between 30% and 80% charge. |
| Deep Discharging | Avoid at all costs; it causes permanent damage. | Tolerates it better, but frequent deep cycles reduce lifespan. |
| "Opportunity Charging" | Not recommended. | Ideal. Plug in for short periods when convenient. |
| Maintenance | Requires regular watering and terminal cleaning. | Virtually maintenance-free. |
This table is a great starting point, but always remember to double-check the manufacturer's specific recommendations for your cart and battery model.
The world of electric mobility has blown up far beyond the golf course. We're seeing golf carts in gated communities, at resorts, on industrial campuses, and even for last-mile urban transport. This boom has fueled demand for more accessible options, like electric-assist push carts that give you a lightweight alternative to a full motorized cart. You can learn more about this market expansion from Global Market Insights.
This evolution is exactly why understanding modern battery tech, like the lithium-ion systems in products like the Caddie Wheel, is so crucial. By getting a handle on the basics for your specific battery, you ensure your gear is always ready to go. For a deeper dive, you might be interested in our detailed guide on what to expect for your golf cart battery lifespan.
The Correct Way to Charge Your Golf Cart
You might think charging your golf cart is as simple as plugging in your phone, but there’s a right way and a wrong way to do it. The difference between the two is what separates a battery that lasts for years from one that dies an early death. Nailing down a consistent routine not only ensures a full, reliable charge but also actively prevents damage.
Let's walk through the exact steps, from the pre-charge safety checks to knowing when the job is actually done.
Before you even think about plugging anything in, give your gear a quick visual inspection. Look over the charger’s AC and DC cords. Are there any cracks, frays, or exposed wires? A damaged cord isn't just a performance issue; it’s a serious safety hazard and needs to be replaced immediately.
Next, take a look at the battery terminals and the cart’s charging port. Any sign of corrosion—that chalky white or greenish buildup—can block the flow of electricity, leading to a frustratingly slow or incomplete charge.
The Connection Sequence Matters
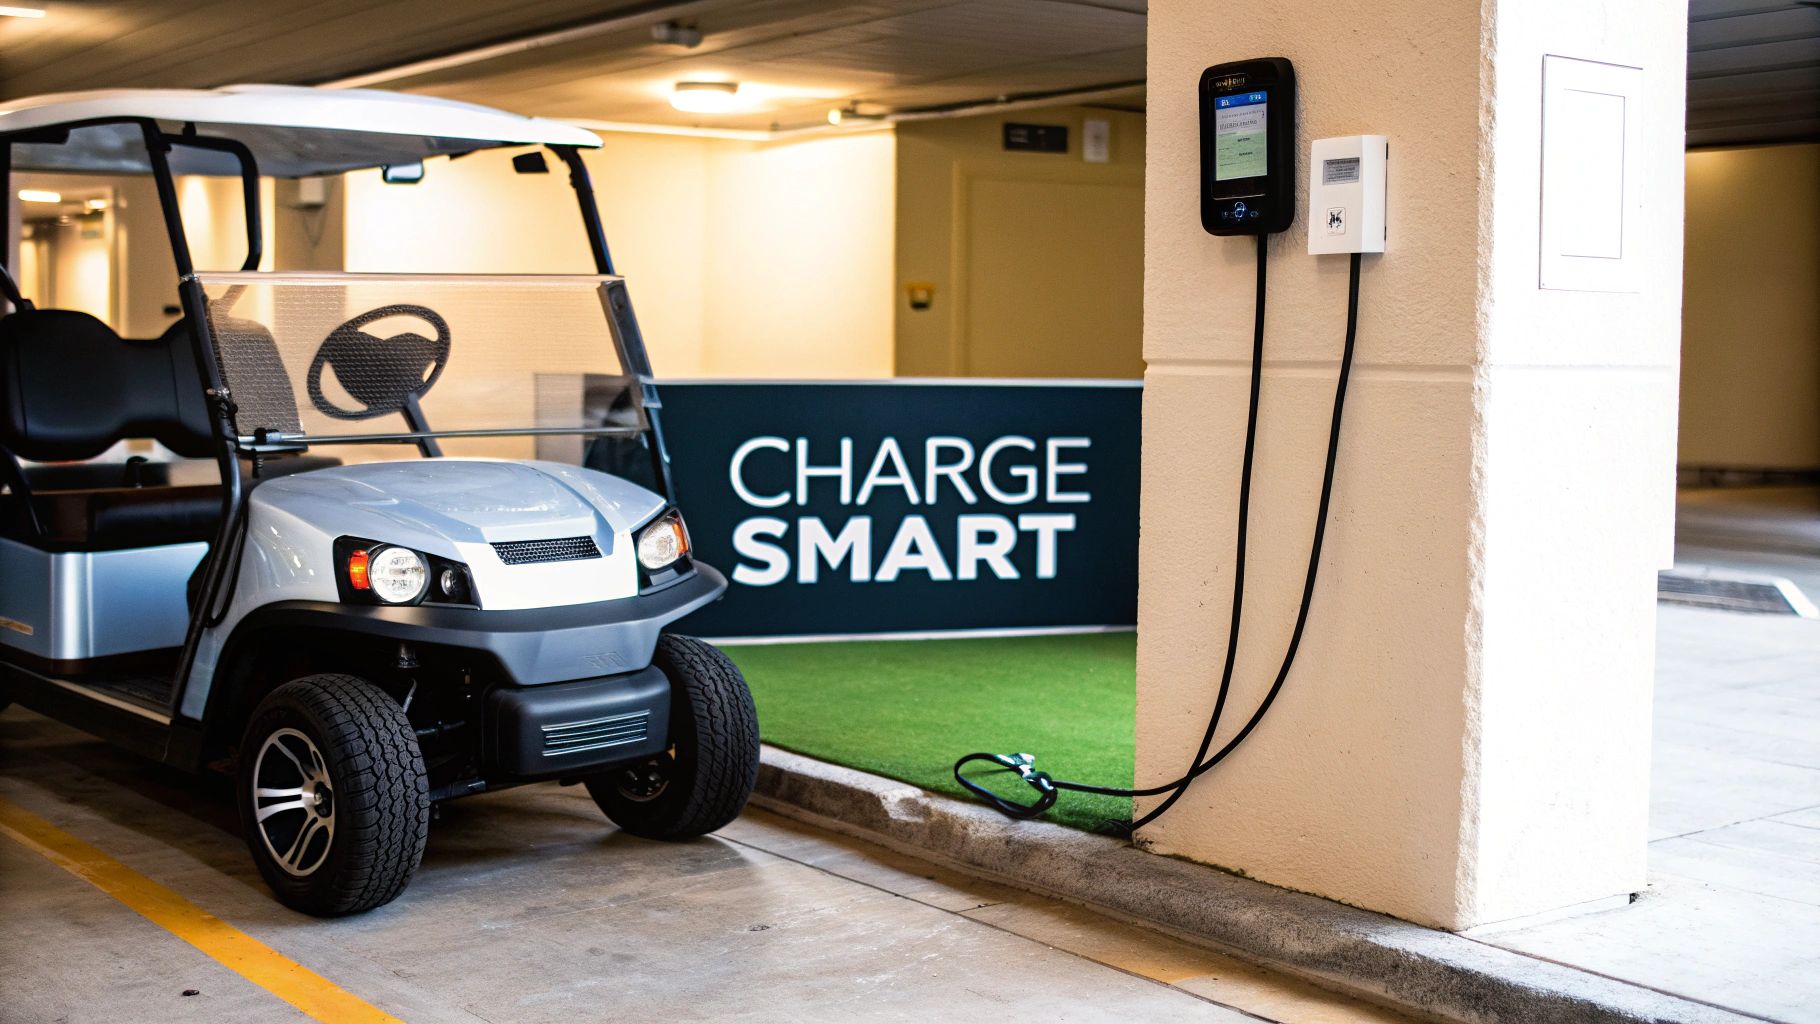
Once you’ve confirmed everything looks good, the order you connect the charger is critical. This isn't just a suggestion; it's a key step to prevent electrical sparks. Why does that matter? Lead-acid batteries can vent flammable hydrogen gas during charging, and a spark is the last thing you want nearby.
Always follow this sequence:
- First, make sure your cart is parked in a well-ventilated space, like an open garage, to let any gasses safely dissipate.
- Connect the charger's DC plug firmly into the golf cart's charging port. You should feel it seat securely with a click.
- Only after the charger is connected to the cart should you plug the charger's AC cord into a grounded wall outlet.
This simple "cart first, then wall" rule minimizes the risk of a spark right at the battery connection. Making this a habit is fundamental to safe charging.
Expert Tip: Avoid using a standard household extension cord. If you absolutely must, use a heavy-duty, 12-gauge cord rated for your charger’s amperage. A flimsy cord can overheat, posing a fire risk and delivering insufficient power, which ultimately results in an undercharged battery.
Decoding Charger Lights and Finalizing the Charge
With everything connected, your charger will whir to life, usually with an audible hum and some indicator lights. These lights are your window into the charging process, though their meanings can differ between models. Typically, a solid or blinking light means charging is in progress.
Modern "smart" chargers are great because they automatically monitor the battery’s voltage, tapering off the current as it gets close to full. Once the battery is topped off, the indicator light will usually change color (like from red to green) or simply shut off. This signals the charger has switched to a "float" or maintenance mode, which keeps the battery full without overcharging it.
It's really important to let the charger run its full cycle without interruption. Pulling the plug early, especially with lead-acid batteries, contributes to a gradual loss of capacity over time.
When the charge is complete, just reverse the connection process:
- Unplug the AC power cord from the wall outlet first.
- Then, disconnect the DC plug from the golf cart.
This sequence prevents any final sparks as you unhook everything.
A Special Note on Caddie Wheel Charging
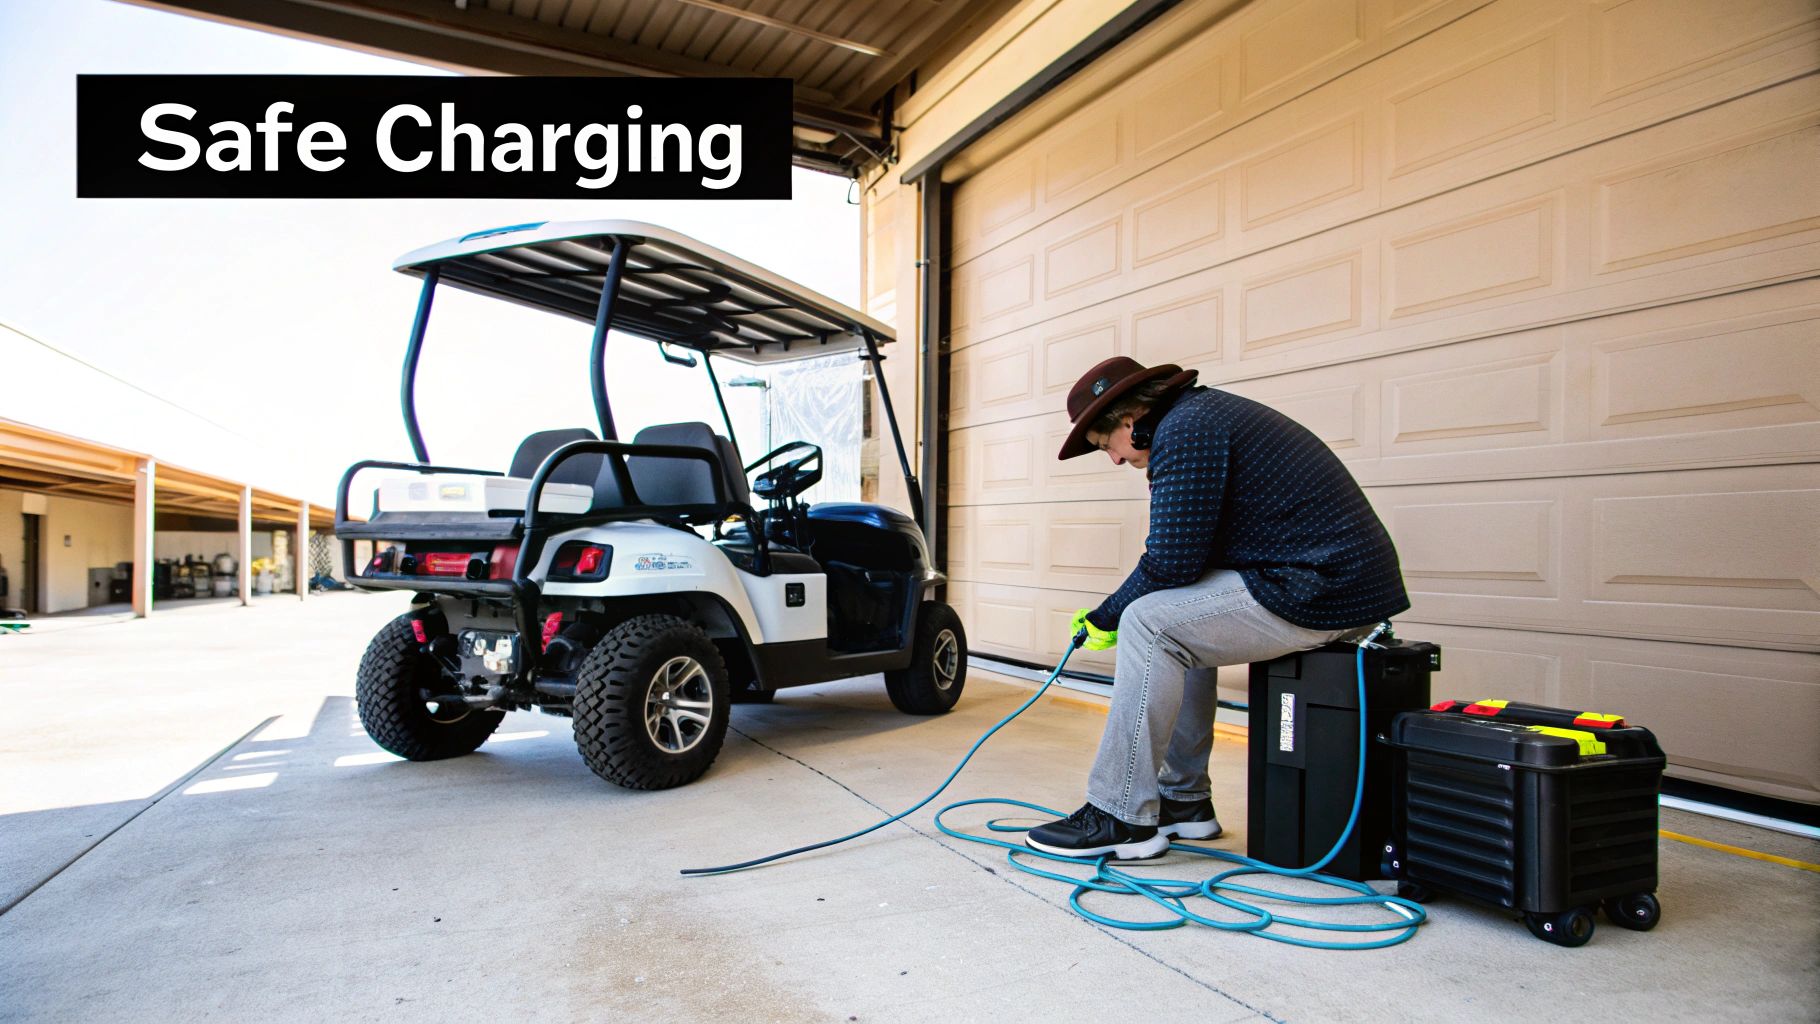
For those of you using an accessory like the Caddie Wheel, the process is even more straightforward. Its modern lithium-ion battery and portable smart charger are built for convenience. The same safety principles apply—always inspect your equipment—but the lightweight design lets you bring the battery right to the outlet.
Just connect the charger to the battery, plug it into any standard wall outlet, and let the smart tech do the rest. Its rapid-charge capability means you can easily power up between rounds, so you’re never caught without juice when you need it most.
How to Select the Right Charger for Your Cart
Choosing the right charger for your golf cart is one of those things that’s far more important than most people think. It’s not just a power cord—it's the life support system for your expensive battery pack. Using a cheap or incompatible charger is the fastest way to kill your batteries, tank your cart’s performance, and even create a serious safety hazard.
Think of your charger as a personal trainer for your batteries. Just like athletes need a specific diet to perform their best, lead-acid and lithium-ion batteries require very different charging algorithms to stay healthy. A charger that isn’t perfectly matched to your battery’s chemistry, voltage, and capacity can cause real, permanent damage.
What kind of damage? Undercharging a lead-acid battery leads to sulfation, where nasty little crystals build up on the battery plates and choke its ability to hold a charge. Overcharging is even worse. It can literally boil the electrolyte fluid inside, cause dangerous overheating, and warp the battery plates beyond repair.
Decoding Charger Specifications
To make the right call, you need to get familiar with a few key specs. Don't worry, it's easier than it sounds. The three non-negotiables you need to match are voltage, amperage, and the connector type. Getting these right is the first and most critical step in charging golf carts correctly.
- Voltage (V): This is mission-critical. The charger's voltage must match your cart's battery system voltage. Most carts run on 36V, 48V, or 72V systems. Trying to use a 36V charger on a 48V cart will do nothing, and using a 48V charger on a 36V cart is a recipe for disaster. To find your cart’s voltage, just count the number of water fill caps on your batteries and multiply by two. For instance, six 8-volt batteries make a 48-volt system.
- Amperage (A): Think of this as the speed of the charge. A higher amp rating delivers power faster. While a 15-amp charger will eventually get a 48V system charged, a 25-amp model will do it much more quickly. But faster isn't always better—pushing too many amps too quickly can generate excess heat, which can stress older batteries.
- Connector Type: The plug at the end of the cord has to be a perfect match for your cart's charging port. There’s no forcing it. Common plugs include the Crowfoot, the D-shaped Powerwise plug, and the round three-pin plug found on many Club Car models.
Smart Chargers Versus Manual Chargers
Once you’ve nailed down the core specs, your next choice is between a modern "smart" charger and an old-school manual one. For just about every golf cart owner out there, a smart charger is the only way to go.
Smart chargers are a set-it-and-forget-it solution. They automatically sense when the battery pack is full and then switch over to a maintenance or "float" mode. This technology makes overcharging impossible and is perfect for keeping lead-acid batteries healthy during the off-season.
Manual chargers, on the other hand, are dumb. They just keep pumping out power until you remember to unplug them. They require you to babysit the process and are a leading cause of fried batteries due to simple human error. The slightly higher cost of a smart charger is cheap insurance for your expensive battery pack. If you want to dive deeper, this guide on finding the best LiPo battery charger has some great insights into different features.
This shift toward smarter tech is happening across the entire industry. Modern golf carts are evolving fast, with manufacturers adding everything from efficient lithium-ion battery systems to GPS and Bluetooth to improve the experience.
Portable chargers, like the one that comes with the Caddie Wheel, are the pinnacle of this convenience. They are almost always smart chargers, designed from the ground up to be lightweight, tough, and dead simple to use for golfers on the move. For a more detailed look, check out our complete guide on picking the best golf cart battery charger for your specific setup.
Developing Smart Habits to Maximize Battery Life
Your golf cart’s battery is its engine. Plain and simple. And just like any engine, its lifespan and performance hinge entirely on how you treat it. If you want years of reliable service from your cart, you have to develop smart, consistent habits around charging. This goes way beyond just plugging it in—it's about understanding what keeps your specific type of battery happy.
One of the biggest myths that just won't die is the old "memory effect." It’s a holdover from ancient nickel-cadmium batteries. Many golfers still think they need to run their battery completely dead before charging it. For any modern golf cart battery, especially lithium-ion, that’s not just wrong, it’s actively harmful.
Let's clear the air on that and a few other common questions to build a routine that actually protects your investment.
The Right Time to Charge
When to plug in your cart is probably the biggest point of confusion out there, and the answer comes down to what kind of battery you have.
For traditional lead-acid batteries, the rule is absolute: charge it after every single use. I don't care if you just drove to the clubhouse and back. These batteries are happiest when they’re kept at or near a full state of charge. Letting a lead-acid battery sit even partially discharged for a day or two allows for sulfation—a nasty process where lead sulfate crystals build up on the battery plates, permanently killing its capacity.
Lithium-ion batteries, like the one that powers a Caddie Wheel, are a completely different ballgame. They’re way more flexible and don't care about sulfation. In fact, they love what we call opportunity charging. This just means you can plug them in whenever it's convenient, even for short bursts, without needing to wait for them to drain. Topping off your lithium battery for an hour before a round? Perfect.
Think of it like this: A lead-acid battery is a marathon runner who needs a massive recovery meal after every race, no matter how short. A lithium-ion battery is a sprinter who performs best with quick, frequent energy boosts throughout the day.
Avoiding Common Charging Mistakes
Beyond just the timing, there are a handful of common mistakes that will quietly eat away at your battery's life. Just knowing what they are is half the battle. One of the worst habits, especially for lead-acid batteries, is the partial charge. If you plug in your cart but pull the plug before the charger says it's done, you're preventing the battery from properly balancing its cells. This is a slow but sure way to ruin it.
To help you get the most out of your investment, we've put together a quick table outlining the most frequent errors golfers make and how to sidestep them for a healthier battery.
| Common Charging Mistakes and How to Avoid Them | | :--- | :--- | :--- | | Common Mistake | Potential Damage | Corrective Action | | Partial Charging | Prevents cell balancing and causes sulfation in lead-acid batteries. | Always allow the charger to complete its full cycle until it shuts off automatically. | | Using the Wrong Charger | Can lead to overcharging or undercharging, damaging plates and reducing capacity. | Use only the manufacturer-recommended charger designed for your battery’s specific chemistry. | | Ignoring Water Levels (Lead-Acid) | Exposes battery plates to air, causing irreversible sulfation and corrosion. | Check water levels monthly. Top off after charging using only distilled water. | | Charging a Hot Battery | Can accelerate chemical degradation and permanently reduce the battery’s overall lifespan. | Let the battery cool down for at least 30 minutes after a long run before plugging it in. |
Being mindful of these simple practices can make a world of difference. It's not about being complicated; it's about being consistent.
Storing Your Cart for the Off-Season
For a lot of us, the cart gets parked for the winter. What you do during this downtime will determine whether your battery is ready to go in the spring or ready for the scrap heap. You can't just park it and forget it.
For lead-acid batteries, the winterization process is critical:
- First, give the batteries a full, complete charge.
- Next, clean the terminals thoroughly to get rid of any corrosion.
- If you can, hook up a "battery tender" or a smart charger with a maintenance or "float" mode. This little device will trickle just enough power to keep the batteries topped off without overcooking them.
- No tender? You'll have to manually give the cart a full charge every 4-6 weeks. Set a reminder on your phone.
For lithium-ion batteries, storage is a breeze. You actually don't want to store them at a full 100% charge, as that can stress the cells over time. The sweet spot is between 50% and 80%. Just get the battery into that range, turn it off, and store it somewhere cool and dry. It'll hold that charge for months with almost no loss.
Troubleshooting Common Charging Problems
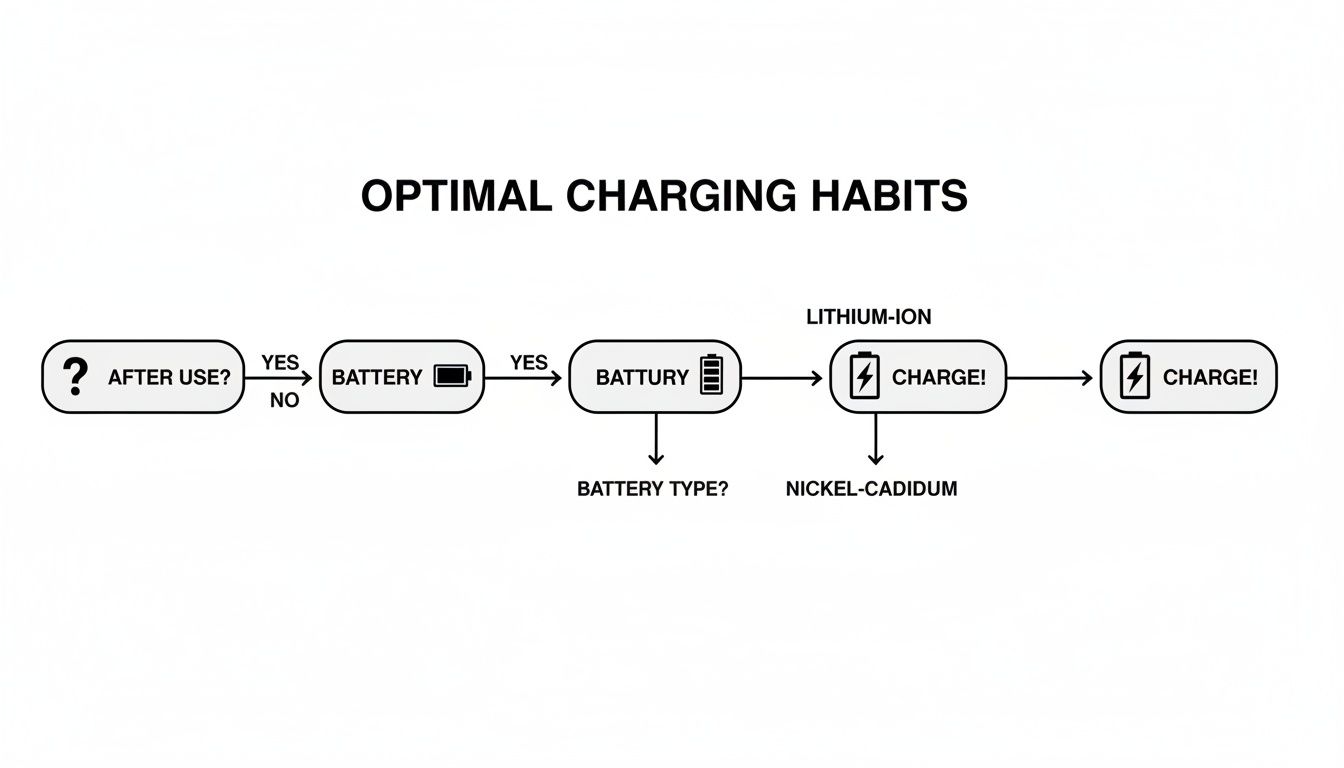
This visual gives you a quick decision-making process for your charging routine, kicking off with the simple but crucial step of knowing your battery type. The main takeaway? A consistent, smart approach to charging golf carts is your best defense against most problems.
Even with perfect habits, you'll eventually have that frustrating moment. You plug in your cart, expecting the familiar hum of the charger, and get… nothing. Silence. Before you panic, take a breath. More often than not, the fix is surprisingly simple and something you can handle yourself in minutes.
Before you start tearing things apart, always check the basics first. You’d be surprised how many "major" charging issues are solved with this simple checklist.
- Check Your Power Source: Is the outlet even working? It sounds obvious, but plug in a lamp or your phone to be sure. A quick peek at your circuit breaker to see if it’s tripped is also a smart move.
- Secure All Connections: A slightly loose plug is a classic culprit. Give the charger plug a firm push into both the cart’s port and the wall outlet. Sometimes all it needs is a little wiggle to make a solid connection.
- Inspect Cords and Wires: Do a quick visual scan of your charger’s AC and DC cords. Look for any noticeable frays, cracks, or spots where the cord might have been pinched. Any damage can stop the electricity right in its tracks.
If you’ve run through these steps and are still met with silence, it’s time to dig a bit deeper.
Diagnosing the Charger and Cart
When the simple fixes don't work, the next job is to figure out whether the problem is with the charger itself or the cart's battery system. One common scenario is hearing the charger click on, but the batteries just won't take a charge. This is a big clue that often points away from the charger and toward the battery pack.
The first place to look on the cart is the battery terminals. Pop the seat and check for any fuzzy, white, or greenish buildup. This corrosion acts like an insulator and can completely block the connection. A few minutes with a wire brush and a paste of baking soda and water can often get you back in business instantly.
If the terminals are sparkling clean, you might need to grab a multimeter. When you’re dealing with charging troubles, knowing how to use a multimeter to test continuity is a game-changer. This simple tool can help you spot breaks in the wiring or test the voltage of each battery to hunt down a dead cell.
A single bad battery in a pack can prevent the entire set from charging. Many chargers require a minimum voltage to even turn on, and if one failed battery drops the pack's total voltage too low, the charger will never activate. This is an incredibly common issue, especially in older lead-acid battery packs.
Interpreting Error Codes and Blinking Lights
Thankfully, modern smart chargers often do the diagnostic work for you. Instead of just playing dead, they might flash a specific pattern of lights to tell you exactly what’s wrong. Don't ignore these signals—they’re your best clue for a quick fix.
Your charger's manual is your best friend here, as it will have a chart explaining what each sequence of blinking lights means. Some of the most common error codes include:
- Low Battery Voltage: The pack is too drained for the charger to safely start its cycle.
- High Battery Voltage: This could point to a serious internal fault in one of the batteries.
- Temperature Fault: The battery pack is either too hot or too cold to charge safely.
- Charger Fault: This indicates the problem is inside the charger unit itself.
Learning to read these signals can save you hours of guesswork. If you're hitting a wall with persistent problems, our guide on common golf cart battery issues and their solutions provides more detailed advice.
Frequently Asked Questions About Charging Golf Carts
Even with a solid routine, questions about charging golf carts always seem to pop up. It's a topic filled with nuances, and getting clear, straightforward answers can make a huge difference in your battery's health and your peace of mind. We've pulled together some of the most common questions from golfers and course managers to help you navigate your charging routine with confidence.
Think of this section as your quick-reference guide. From charging times to the tell-tale signs of a dying battery, these are the answers you need to keep your cart running smoothly.
How Long Does It Take to Fully Charge a Golf Cart Battery
This is the classic "it depends" question, but we can definitely narrow it down. The time it takes to charge a golf cart battery hinges on a few key things: the battery's type, its age, how much you've drained it, and your charger's power (amperage).
A standard 48-volt lead-acid system, which you'll find in many fleet and personal carts, will typically take anywhere from 8 to 14 hours to reach a full charge from a deeply discharged state. This is exactly why overnight charging is the standard practice for most golfers.
On the other hand, modern lithium-ion batteries have a major advantage here. Systems like the one in a Caddie Wheel are built for speed and convenience, often reaching a full charge in just 3 to 6 hours. That rapid charging capability is a real game-changer, allowing for a quick top-off between morning and afternoon rounds.
Can I Leave My Golf Cart Plugged in All the Time
Whether you can leave your cart plugged in indefinitely comes down to one thing: how smart your charger is. If you're using a modern "smart" charger, the answer is a confident yes. These chargers are designed to monitor the battery's status. Once it hits 100%, they automatically shut off or switch to a low-power "maintenance" or "float" mode.
This maintenance mode is actually great for lead-acid batteries. It keeps them topped off and prevents self-discharge without the risk of overcharging. For lithium-ion batteries, it's perfectly safe, though not strictly necessary for their long-term health.
However, if you're using an older, manual charger without this auto-shutoff feature, leaving it plugged in is a recipe for disaster. These "dumb" chargers will just keep pumping current into a full battery, causing it to overheat, boil off electrolyte, and suffer permanent damage.
Is It Bad to Charge a Golf Cart After Only a Short Use
The answer here depends entirely on your battery chemistry.
- For Lead-Acid Batteries: It’s not only okay but highly recommended to charge after every single use, no matter how brief. Lead-acid batteries hate being left in a partially discharged state. Every minute they sit below a full charge contributes to sulfation, a process that slowly strangles their capacity.
- For Lithium-Ion Batteries: This isn't a concern at all. Lithium batteries don't have a "memory effect" and are perfectly happy with partial charges. This flexibility allows for "opportunity charging"—plugging it in for a quick 30-minute boost whenever you get the chance.
The best universal habit is to simply plug your cart in when you're done for the day. That way, it’s always ready for your next tee time.
What Are the Signs My Golf Cart Batteries Are Going Bad
Your batteries will usually give you a few clear warning signs that they're nearing the end of their life. Catching them early can save you from being stranded on the back nine.
The most obvious indicator is a significant drop in range. If your cart used to handle 18 or even 36 holes with ease but now struggles to finish a single round, your batteries are likely on their last legs.
Other common signs to watch for include:
- Longer Charging Times: The batteries take much longer than they used to for the charger to indicate a full cycle.
- Reduced Power: The cart feels sluggish, especially when you accelerate or try to climb a hill.
- Physical Changes: Look for any bulging or cracking in the battery casings.
- A "Rotten Egg" Smell: This distinct sulfur smell during charging is a major red flag for a failing lead-acid battery.
If you spot any of these symptoms, it’s time to get your battery pack professionally tested.
At Caddie Wheel, we believe in making your walk on the course as effortless as possible. Our innovative electric assist wheel, powered by a fast-charging lithium-ion battery, lets you enjoy up to 36 holes without the strain. Learn more about how you can upgrade your push cart.
Share:
The Ultimate Guide to Electric Golf Walking Carts
Choosing the Best All Terrain Cart Your Ultimate Guide