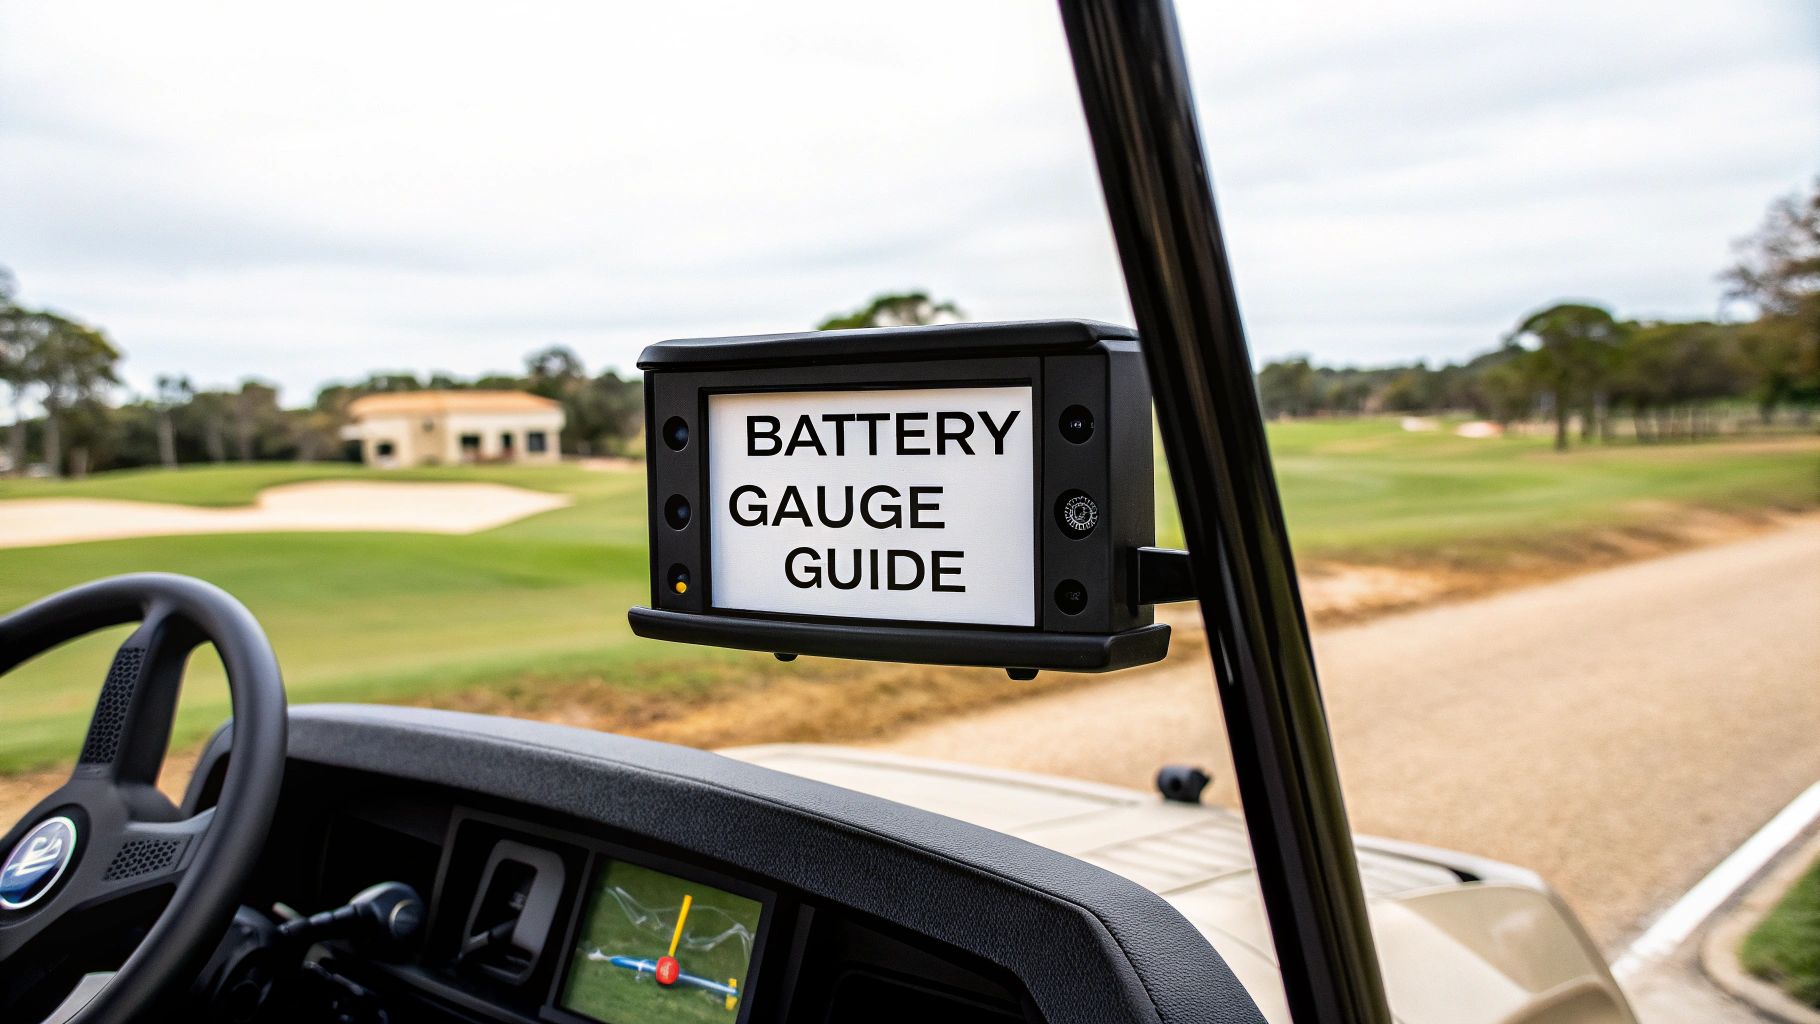
You're on the 14th hole, staring down a steep incline, when your golf cart starts to lose steam. That familiar pang of range anxiety kicks in. In that moment, the most important piece of equipment you own isn't your driver or your putter—it's the golf cart battery gauge.
This little dial is your direct line of communication to your cart's power source, and learning to speak its language is the key to a stress-free round.
This guide isn't just about what the gauge is; it's about making it an essential part of your on-course strategy. Too many golfers have felt that sinking feeling of being stranded, but understanding this one instrument can completely change your game. It’s how you know exactly how much juice you have left, avoid killing your expensive batteries, and make sure you never have to walk back to the clubhouse.
Whether you're in a full-size cart or using a modern motorized caddie like the Caddie Wheel, the core principles of power management are the same. It all comes down to mastering the basics for an uninterrupted, enjoyable day on the links.
From Anxiety to Confidence
Think of your battery gauge as more than just a "fuel" meter—it's your cart's main diagnostic tool. Ignoring it is like driving a car without a functioning gas gauge. You're just guessing and hoping you make it home. When you really learn how to read it, you unlock a new level of control.
- Peace of Mind: Stop worrying about whether you’ll make it through all 18 holes.
- Battery Protection: You'll avoid deep discharges that permanently cripple your batteries, saving you hundreds of dollars in replacement costs.
- Maximized Range: Make smarter choices on the course to conserve power, giving you the confidence to tackle 18, or even 36, holes without a second thought.
Think of your gauge as a translator. It takes your battery's complex electrical health and turns it into a simple visual you can act on. Learning its language is the first step to becoming a more capable and confident cart owner.
This guide will give you the practical know-how to read any gauge, troubleshoot common issues, and adopt charging habits that keep your cart running strong. We'll cover everything from the old-school analog dials to the smart indicators on the Caddie Wheel. By the end, you'll see your battery gauge not as a source of uncertainty, but as your key to a better day on the course.
How to Accurately Read Your Golf Cart Battery Gauge
Think of your golf cart's battery gauge as more than just an "E" to "F" dial. It’s your translator, turning the complex electrical health of your battery into a simple language you can understand on the fly. Learning to read it right is the secret to ditching range anxiety and playing with total confidence. It’s the difference between hoping you have enough juice and knowing you do.
First things first, you need to know what kind of gauge you're working with. Most carts have one of three styles:
- Analog Needle: The classic dashboard dial. It gives you a quick, at-a-glance feel for your charge level, usually with handy color-coded zones.
- LED Bar Graph: A simple series of lights—often green, yellow, and red—that wink out one by one as your battery drains. It's clean and intuitive.
- Digital Display: This is the most precise of the bunch, showing you the State of Charge (SOC) as an exact percentage or a specific voltage number.
This infographic nails why understanding your gauge is so crucial. It turns that nagging feeling of anxiety into a sense of control on the course.
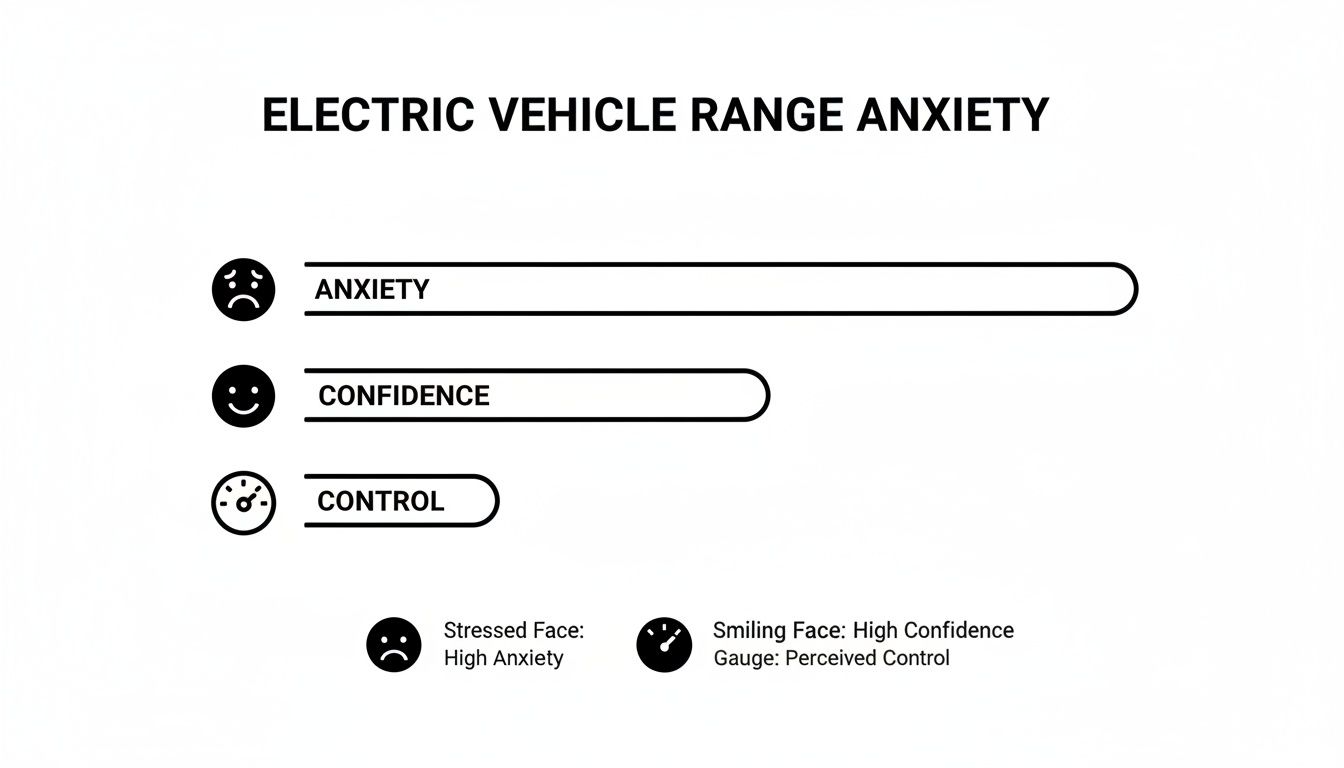
Honestly, getting a handle on your battery meter is the single best way to kill the stress of getting stranded halfway through the back nine.
Why Voltage Isn't Always Fuel
It’s easy to think of your gauge like a gas meter in a car, but there’s a critical difference. Your gauge is actually a voltmeter, which measures electrical pressure. Picture a water balloon filled to the brim—the pressure is high. As water squirts out, the pressure drops. A fully charged battery is the same; it has high voltage that falls as you drive.
But here’s the catch: that reading can trick you. When you floor it or climb a steep hill, the motor demands a massive surge of power, causing the voltage to dip temporarily. Your gauge might plunge into the red, making the battery look much weaker than it really is.
For a true, accurate reading, always check the gauge after the cart has been sitting still for a few minutes. This resting voltage is the only reliable indicator of how much range you actually have left.
Translating Readings for Different Batteries
The type of battery powering your cart completely changes how you should interpret the gauge. Lead-acid and lithium-ion batteries behave in very different ways.
Lead-acid batteries lose voltage at a nice, steady rate, which makes a simple voltmeter a pretty dependable tool. Lithium-ion batteries, on the other hand, hold a very stable voltage for most of their charge cycle and then drop off a cliff right at the end. This makes a voltmeter much less useful for lithium; a digital gauge showing an exact percentage is the way to go.
The industry's shift to 6V batteries, a segment expected to grow at over 4.1% CAGR through 2034, highlights just how critical system compatibility is. This standard is perfectly tailored for golf cart electronics, delivering the steady performance innovators like Caddie Wheel depend on. More importantly, accurate SOC monitoring helps prevent the 15-25% capacity loss from improper charging that plagues up to 70% of under-monitored battery packs. You can dig deeper into these trends and stats over at Gminsights.com.
Key Takeaway: Always know your battery chemistry. What looks like a healthy charge on a lead-acid battery could mean something totally different for a lithium-ion setup. Getting this wrong is a surefire way to get stranded.
Your Quick Reference Voltage Chart
To make things easy, here’s a chart to help you translate the resting voltage of a common 48V system into a practical State of Charge. Use this as your cheat sheet for making smart decisions on the course.
Battery State of Charge Voltage Chart for 48V Systems
Use this quick-reference chart to translate your gauge's voltage reading into an approximate percentage of remaining battery life for both Lead-Acid and Lithium-Ion batteries.
| State of Charge (%) | 48V Lead-Acid Voltage (Resting) | 48V Li-ion Voltage (Resting) |
|---|---|---|
| 100% | 50.9V | 52.0V |
| 80% | 50.0V | 51.2V |
| 60% | 49.0V | 50.8V |
| 50% (Stop!) | 48.4V | 50.5V |
| 20% | 47.0V | 49.5V |
| 0% | 46.1V | 40.0V |
For anyone running lead-acid batteries, that 50% mark is your real "empty" line. Constantly draining them below this point causes permanent damage and will kill your batteries in no time. Treating 48.4V as your signal to head back to the clubhouse is the single best thing you can do to protect your investment.
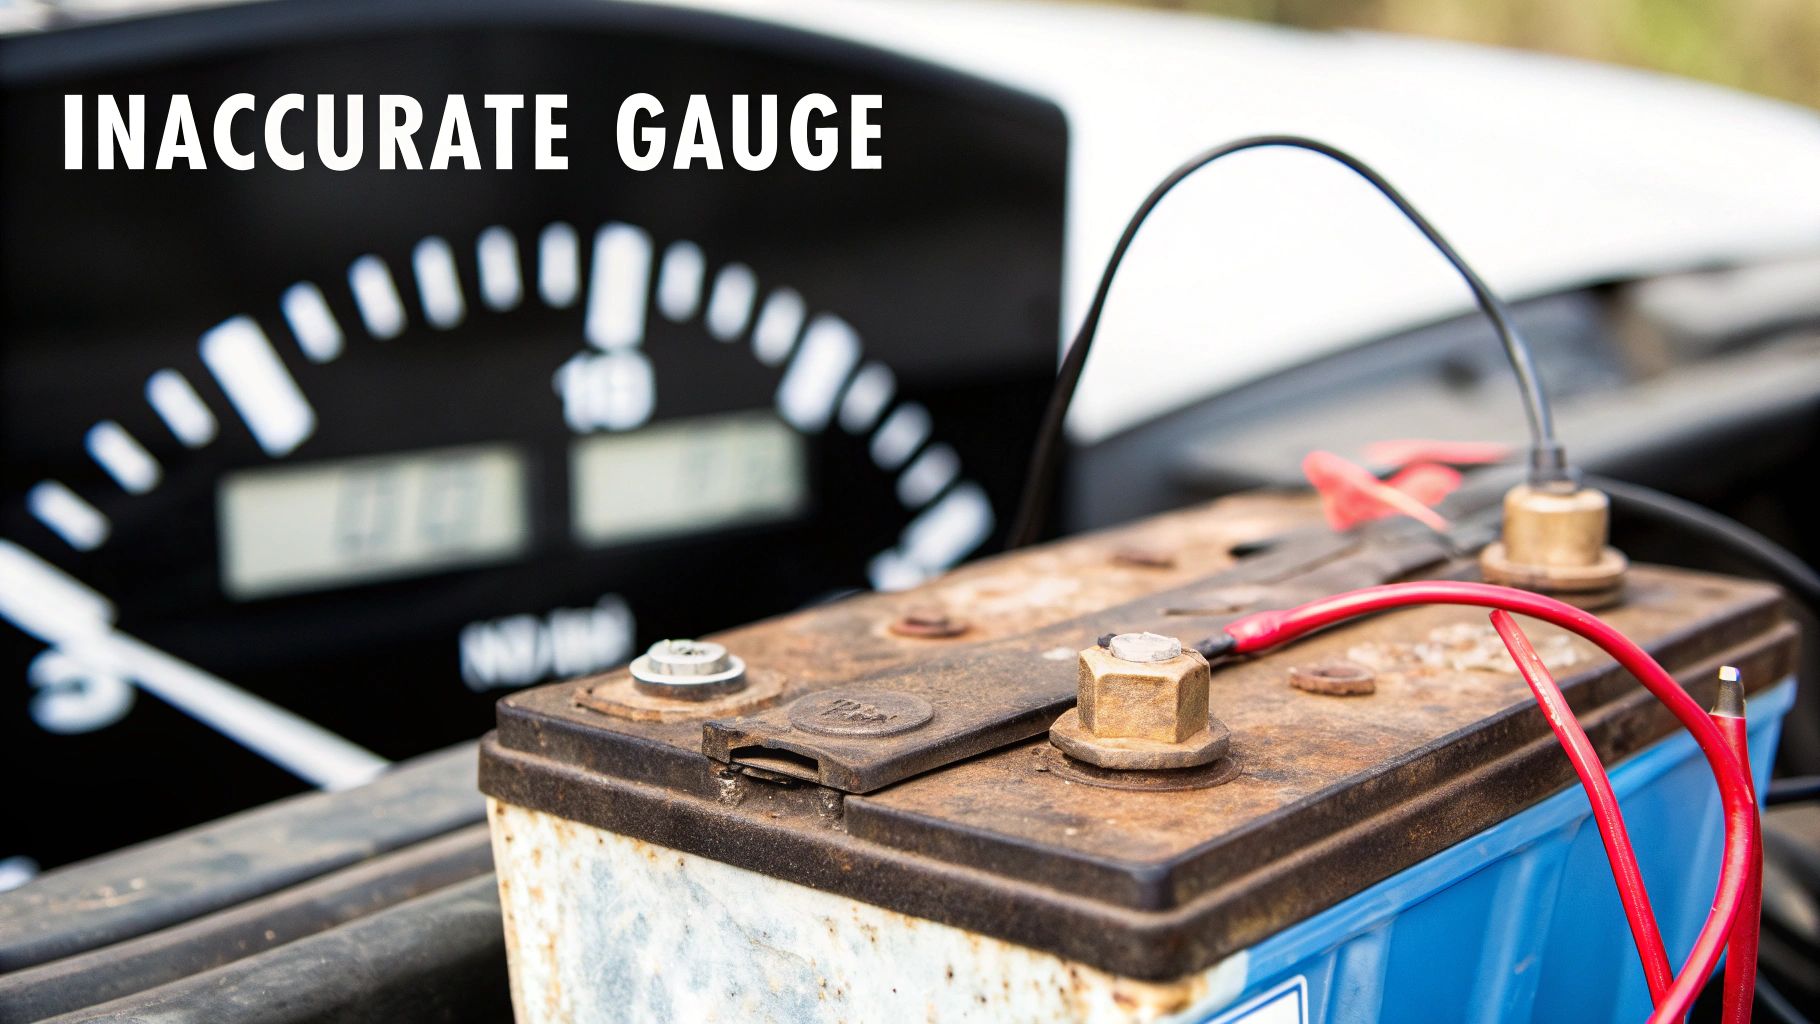
Common Reasons Your Gauge Gives Inaccurate Readings
Ever look down at your golf cart's battery gauge and get the feeling it's making things up as it goes? One minute it’s full, the next it’s dipping into the red, only to pop back up again a few seconds later. If this sounds familiar, you're not alone. The good news is this frustrating behavior usually isn't a sign of a broken gauge. It's just the gauge trying its best to interpret real-world conditions that can be pretty misleading.
Understanding what causes these quirky readings is the first step toward trusting what your dashboard is telling you. Let's pull back the curtain on why your gauge might seem to be lying and what’s really going on with your batteries.
The Myth of Surface Charge
One of the most common culprits behind a false reading pops up right after you unplug the charger, particularly with old-school lead-acid batteries. Immediately after a charge cycle, a temporary, higher-than-normal voltage sits on the battery plates. This is what's known as surface charge.
If you check your gauge right away, it’ll likely scream 100% (or even higher), giving you a false sense of security. But this superficial charge burns off fast once you start driving or even just let the cart sit for a bit.
For a true reading, you need a little patience. Wait at least four to six hours after the charger finishes. This gives that surface charge time to fade, revealing the battery's actual resting voltage and letting your gauge give you an honest number.
How External Factors Skew Your Readings
Your cart's performance isn't just about what's under the seat; the world outside plays a huge role. Just like the weather can mess with your swing, it can also impact your battery's output and your gauge's accuracy.
- Extreme Temperatures: Batteries are kind of like Goldilocks—they hate it when it's too hot or too cold. Bitter cold can slash a battery's effective capacity by up to 40%, making your gauge drop way faster than you'd expect. On the flip side, intense heat can make the voltage read artificially high while silently cooking your batteries and shortening their lifespan.
- Heavy Loads: At its core, your gauge is just a voltmeter. When you stomp on the accelerator or tackle a steep hill, the motor demands a massive surge of power. This causes the battery's voltage to "sag" under the strain, and you'll see the gauge take a nosedive. Don't panic—it's not a sign of a weak battery, just a real-time reflection of the heavy workload. The needle will bounce right back once you're on flat ground.
Hidden Electrical Gremlins
Sometimes, a wacky gauge has nothing to do with the battery's actual charge and everything to do with the wiring that connects it all. These tiny electrical issues can cause major headaches. In fact, many phantom readings trace back to problems in the electrical system, like worn or corroded issues with golf cart battery cables that mess with the power getting to the gauge.
Something as simple as a loose connection at a terminal, a corroded ground wire, or a frayed wire behind the dash can introduce resistance into the circuit. This resistance chokes the flow of electricity, preventing the gauge from getting a clean, accurate voltage signal. These are some of the first things to check if your gauge becomes consistently unreliable. The fix is often simple, and our guide on the top golf cart battery problems can help you hunt them down.
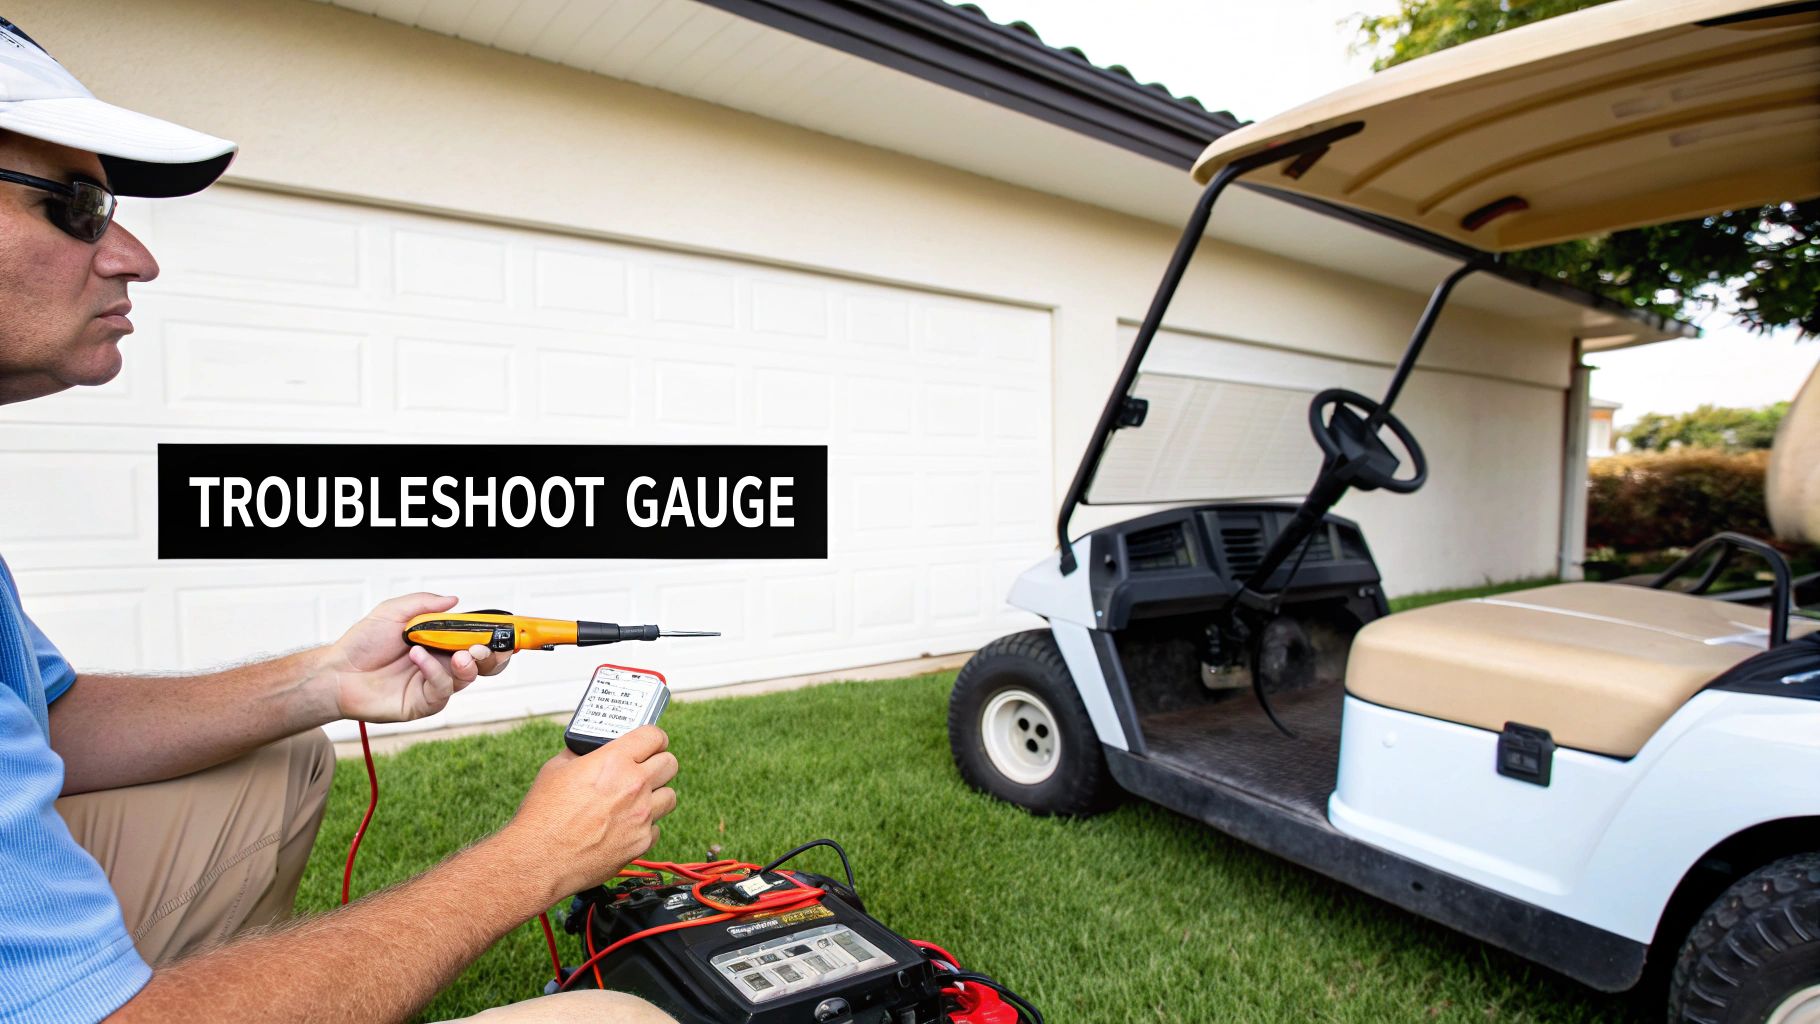
A Step-by-Step Guide to Troubleshooting Your Battery Gauge
When your golf cart’s battery gauge starts acting up, it’s more than just a minor inconvenience—it feels like a breach of trust. How are you supposed to know if you’ll make it through the back nine? But before you start dialing a mechanic, you should know that you can often track down and fix the problem yourself with just a couple of simple tools.
This guide will walk you through the process, step by step. The goal isn’t to turn you into an electrical engineer overnight, but to give you the confidence to find the root cause, whether it's a simple loose wire or a battery pack that needs a little TLC. Let's get that dashboard telling the truth again.
Confirming the Reading with a Multimeter
First things first: we need to figure out if the gauge is lying or if it’s telling you an unpleasant truth about your batteries. A multimeter is your lie detector for this job. It gives you a direct, unbiased voltage reading right from the source, no questions asked.
Here’s how to get a clean reading from your battery pack:
- Safety First: Turn the cart's key to the OFF position and flip the tow/run switch to "Tow".
- Access the Batteries: Pop open the seat to get to your battery compartment.
- Find the Main Terminals: You’re looking for the main positive (+) and main negative (-) terminals for the entire pack. These are the two connection points for the cart's main power cables.
- Take the Reading: Set your multimeter to DC Volts. Touch the red probe to the main positive terminal and the black probe to the main negative.
Now, compare the multimeter’s number to what your dashboard gauge says. If there’s a huge difference, the problem is almost certainly with the gauge itself or its wiring. But if the readings are pretty close, your gauge is working fine—and your battery pack might genuinely be low on juice or have a deeper health issue.
Pro Tip: For the most accurate baseline, let your batteries rest for at least a few hours after a full charge. This allows any "surface charge" to fade away, giving you a true State of Charge reading.
Inspecting Wires and Terminals for Corrosion
Nine times out of ten, a wonky battery gauge comes down to a bad electrical connection. Electricity needs a clean, clear highway to travel, and even a little bit of corrosion or a loose wire can create a traffic jam that throws your readings way off.
Your next job is to play detective with a flashlight. You’re hunting for the little gremlins that mess with the electrical signal.
- At the Battery: Check the main positive and negative terminals. See any crusty white, blue, or greenish buildup? That corrosion is an insulator, and it’s choking off the flow of electricity.
- Behind the Dash: Gently check the wires connected to the back of your gauge. Make sure they're pushed on tight and the connections look clean. A wire that’s wiggled loose from bumpy rides is a super common culprit.
- The Ground Wire: Pay extra attention to the gauge's negative (ground) wire. For an accurate reading, it needs a rock-solid, clean connection to the battery pack’s main negative terminal. A bad ground is famous for making a gauge read full all the time.
If you spot any corrosion, switch the cart to "Tow" and disconnect the main battery cables. Use a wire brush and a paste of baking soda and water to scrub the terminals clean. Once they're clean and dry, reconnect everything snugly. You’d be surprised how often this simple cleanup solves the problem.
For a deeper look into your battery's overall health, check out our guide on how to test battery capacity, which can help you understand the true condition of your power source.
Best Practices for Maximizing Battery Life and Range
An accurate golf cart battery gauge is a fantastic tool, but it's a reporter, not a miracle worker. It tells you the state of your batteries, but it can’t improve their health on its own. If you want to get the most life and distance out of your expensive battery pack, it all comes down to prevention and smart habits. This is how you shift from just reading the meter to actively caring for your power source—and how you turn a standard cart into one that can confidently chew through 36 holes.
The good news? This isn't complicated. We're talking about simple, consistent routines that pay off big time in performance and longevity. By nailing your charging strategy and doing a bit of basic upkeep, you're protecting your investment and making sure your cart is always ready to roll.
Perfect Your Charging Routine
How and when you charge your batteries has the single biggest impact on how long they last. A sloppy, inconsistent approach can cripple a brand-new set of batteries in a shockingly short time. On the flip side, a disciplined routine can help them outperform their expected lifespan.
The golden rule is simple: recharge your cart after every single use. It doesn’t matter if you played a full 18 holes or just zipped down to the mailbox. Plug it in. This simple habit is crucial for traditional lead-acid batteries, as it prevents the lead plates from hardening—a process called sulfation that permanently kills capacity.
Here are the key charging habits to lock in:
- Charge After Every Use: This keeps your batteries near a full state of charge, which is their happiest and healthiest state.
- Use the Right Charger: Always, always use the charger designed for your specific battery type and voltage. A mismatched charger can undercharge them or, far worse, overcharge and cook them for good.
- Allow Full Cycles: Plug it in and let the charger do its thing until it shuts off automatically. Constantly interrupting the cycle can mess with the charger's algorithm and leave you with a partial charge.
Think of a consistent charging schedule as a healthy diet for your batteries. It gives them the steady energy they need to perform at their best and wards off the long-term damage that comes from neglect.
Perform Essential Battery Maintenance
Beyond charging, a little hands-on care makes a world of difference. These simple tasks only take a few minutes a month but can stop a ton of problems in their tracks, from wonky gauge readings to total battery failure.
If you have traditional lead-acid batteries, checking the water level is non-negotiable. The electrolyte fluid should always cover the lead plates inside each cell. When you top them off, use only distilled water. Tap water is full of minerals that will build up on the plates and choke their efficiency.
Keeping the battery terminals clean is a must for everyone, regardless of battery type. A crusty, corroded terminal is like a roadblock for electricity. It restricts power flow, makes your motor work harder, and can cause your gauge to give you wildly inaccurate readings. A quick scrub with a wire brush and a baking soda/water paste will ensure a clean, solid connection. For a deeper dive, our complete guide to golf cart battery maintenance has you covered.
The Impact of Modern Battery Technology
The push for more range and less work is driving some serious innovation in battery tech. The golf cart battery market is on track to hit USD 224.97 million by 2030, a boom fueled by the shift to electric carts and better battery chemistries. Lithium-ion batteries are leading the charge, offering more power in a lighter package and an incredible lifespan of up to 6,000 charge cycles.
These modern packs also feature advanced Battery Management Systems (BMS) that prevent overcharging—a critical feature for products like the Caddie Wheel that need a high-capacity battery to reliably power through a full 36 holes.
Proper care is universal. Learning about safe charging practices and general battery buying tips for LiPo batteries can be surprisingly helpful, as the core principles of managing voltage, current, and temperature apply across the board. Whether you're running old-school lead-acid or a modern lithium pack, smart maintenance is the key to unlocking the maximum performance and range your golf cart has to offer.
Understanding the Caddie Wheel Power Indicators
While a traditional golf cart battery gauge gives you a broad overview, the Caddie Wheel brings power monitoring into the modern age. Forget a clunky dial on a dashboard. The Caddie Wheel integrates its power indicators right into the remote control, putting that crucial feedback directly into the palm of your hand. This keeps you constantly in the loop without ever breaking your focus on the game.
The whole system is built around simplicity and confidence. It's not about deciphering complex voltage numbers; it's about getting clear, actionable signals that let you manage your round like a pro. Nailing these indicators is the key to unlocking the full 36-hole potential of your Caddie Wheel and enjoying a truly worry-free walk on the course.
Reading the Remote Control LEDs
The heart of the Caddie Wheel’s power management system is the set of LED lights on the remote. Think of it less like a simple gauge and more like an intelligent communication tool. Each light gives you an immediate, easy-to-understand snapshot of your remaining power reserves.
Here’s a quick breakdown of what those lights are telling you:
- Four Green Lights: You're at or near 100% charge. This is your green light to tackle even the most demanding courses with total confidence.
- Three Green Lights: Your battery is still in great shape, sitting somewhere between 75% and 90%. You've got more than enough juice for a full 18-hole round.
- Two Green Lights: You’ve hit the halfway point, with roughly 50% to 75% capacity left. This is a good time to start being mindful of your power usage, especially if you're planning on playing more than 18.
- One Green Light: This is your early heads-up, signaling you have about 25% charge remaining. You can comfortably finish your current round, but you should definitely plan to recharge soon.
- Flashing Red Light: This is the critical low-battery warning. It means your Caddie Wheel is running on fumes and needs to be charged immediately to avoid a complete shutdown on the course.
By glancing at the remote every so often, you can make smarter strategic decisions mid-round. For instance, if you see two lights left before starting the back nine, you might dial back the speed on flat fairways to save energy for the hills up ahead.
Maximizing Range with Smart Usage
Your Caddie Wheel is built for endurance, but how you use it has a direct impact on its range. The variable speed control on your remote is your best friend for managing energy. Cruising at a slower, steady pace on flat terrain uses significantly less power than running at full throttle.
Think of it just like driving a car—smooth acceleration and consistent speeds are way more fuel-efficient than flooring it from a standstill. By matching your speed to the terrain, you can easily stretch your battery life and ensure you have plenty of power left for that second round of 18. This transforms the remote from a simple controller into an active part of your on-course strategy.
Got a Few More Questions? Let's Clear Them Up.
Even after you get the hang of your battery gauge, a few questions always seem to pop up. Let's tackle some of the most common ones I hear from cart owners. Think of this as a quick chat to iron out any last-minute wrinkles in your understanding.
Is It Normal for My Gauge to Fluctuate While Driving?
Yes, that’s not just normal—it's exactly what it’s supposed to do. Your gauge is giving you a live look at your battery's voltage, which is like its electrical "pressure."
When you stomp on the accelerator or start climbing a steep hill, the motor suddenly demands a massive amount of power. This causes the voltage to temporarily "sag," or dip. That's why you'll see the needle dive into the yellow or red when you put the cart under a heavy load. Once you're cruising on flat ground again, the demand drops, the voltage bounces back, and the gauge settles into a more accurate reading.
How Long Should My Golf Cart Batteries Last with Good Care?
This one really comes down to two things: the type of batteries you have and how well you treat them. A solid maintenance routine—charging after every single use, keeping water levels topped off (for lead-acid), and never running them bone dry—makes all the difference.
- Lead-Acid Batteries: With consistent care, you can expect a good 4 to 6 years out of a set.
- Lithium-Ion Batteries: They cost more upfront, but their robust chemistry means you're looking at 8 to 10 years of service, sometimes even longer.
Good habits are the single biggest factor here.
If you take away one thing for extending battery life, let it be the 50% rule. Never, ever let your battery pack dip below a 50% state of charge. Doing so prevents the kind of deep discharge damage that permanently kills lead-acid batteries and will dramatically prolong their lifespan.
Can I Upgrade My Old Analog Gauge to a New Digital One?
Absolutely, and it's one of the best upgrades you can make to your cart. Swapping that old-school analog needle for a precise digital gauge is a game-changer. It's a fairly simple DIY project that gives you a much sharper, more accurate picture of your battery's real-time health.
Most digital gauges are designed to pop right into the standard dashboard cutout, so the physical installation is usually a breeze. The most important part is just making sure you buy a gauge that matches your cart’s system voltage (36V or 48V) and can be programmed for your specific battery chemistry, whether that's lead-acid or lithium. That's the secret to getting dead-on accurate readings.
Ready to eliminate pushing fatigue and enjoy the walk? The Caddie Wheel brings effortless power to your existing push cart, letting you conquer 36 holes with ease. Learn more and upgrade your game today at caddiewheel.com.
Share:
How Much Is a Golf Cart? A Complete Buyer's Guide
The Ultimate Guide to 4 Wheel Push Golf Carts