Charging your golf cart might seem as simple as plugging in a phone, but getting it right is the secret to protecting your batteries and making sure your cart is always ready for the course. It’s a routine that, once perfected, preserves your battery's health for years.
The Essentials of a Perfect Charge
Properly charging a golf cart is less about flicking a switch and more about adopting a habit that keeps your battery performing at its peak. Think of it as the foundation for a long-lasting, reliable cart.
The single most important rule? Always use the correct charger for your specific battery type and voltage. It doesn't matter if it's a 36V, 48V, or 72V system—using an incompatible or generic charger is a fast track to ruining an expensive battery pack.

When you plug in a modern "smart" charger, it actually communicates with your battery. You should hear a distinct click as it connects, followed by the low hum of its cooling fan. That’s your first sign that the charging cycle has successfully kicked off.
Why Consistent Charging Beats Sporadic Top-Ups
Consistency is your battery's best friend. Golf cart batteries, especially the traditional lead-acid types, perform best when they’re fully recharged after each significant use. Letting the battery run down until it’s nearly dead can cause irreversible damage and seriously shorten its lifespan.
Here’s why a regular charging schedule is so critical:
- Maximizes Lifespan: Regular full charges prevent sulfation in lead-acid batteries and keep lithium cells properly balanced.
- Ensures Reliability: A fully charged cart is a dependable one. You won't find yourself stranded on the back nine because of a preventable power issue.
- Improves Performance: A healthy, well-maintained battery delivers consistent power and speed from the first tee to the 18th green.
The goal is to build a simple habit: after every round, you clean your clubs, and you plug in your cart. Making it a non-negotiable part of your post-golf routine is one of the most effective golf cart battery charging tips for max longevity.
This simple discipline isn't just a good idea—it's become a massive economic factor in the golf world. The electric golf cart market is projected to hit an incredible USD 2.58 billion by 2033. As millions of new carts hit the links, it’s no surprise that the market for dedicated battery chargers is also expected to double, which really underscores how important good charging practices are. You can learn more about this growing market over on DataIntelo.com.
Creating a Safe and Efficient Charging Station
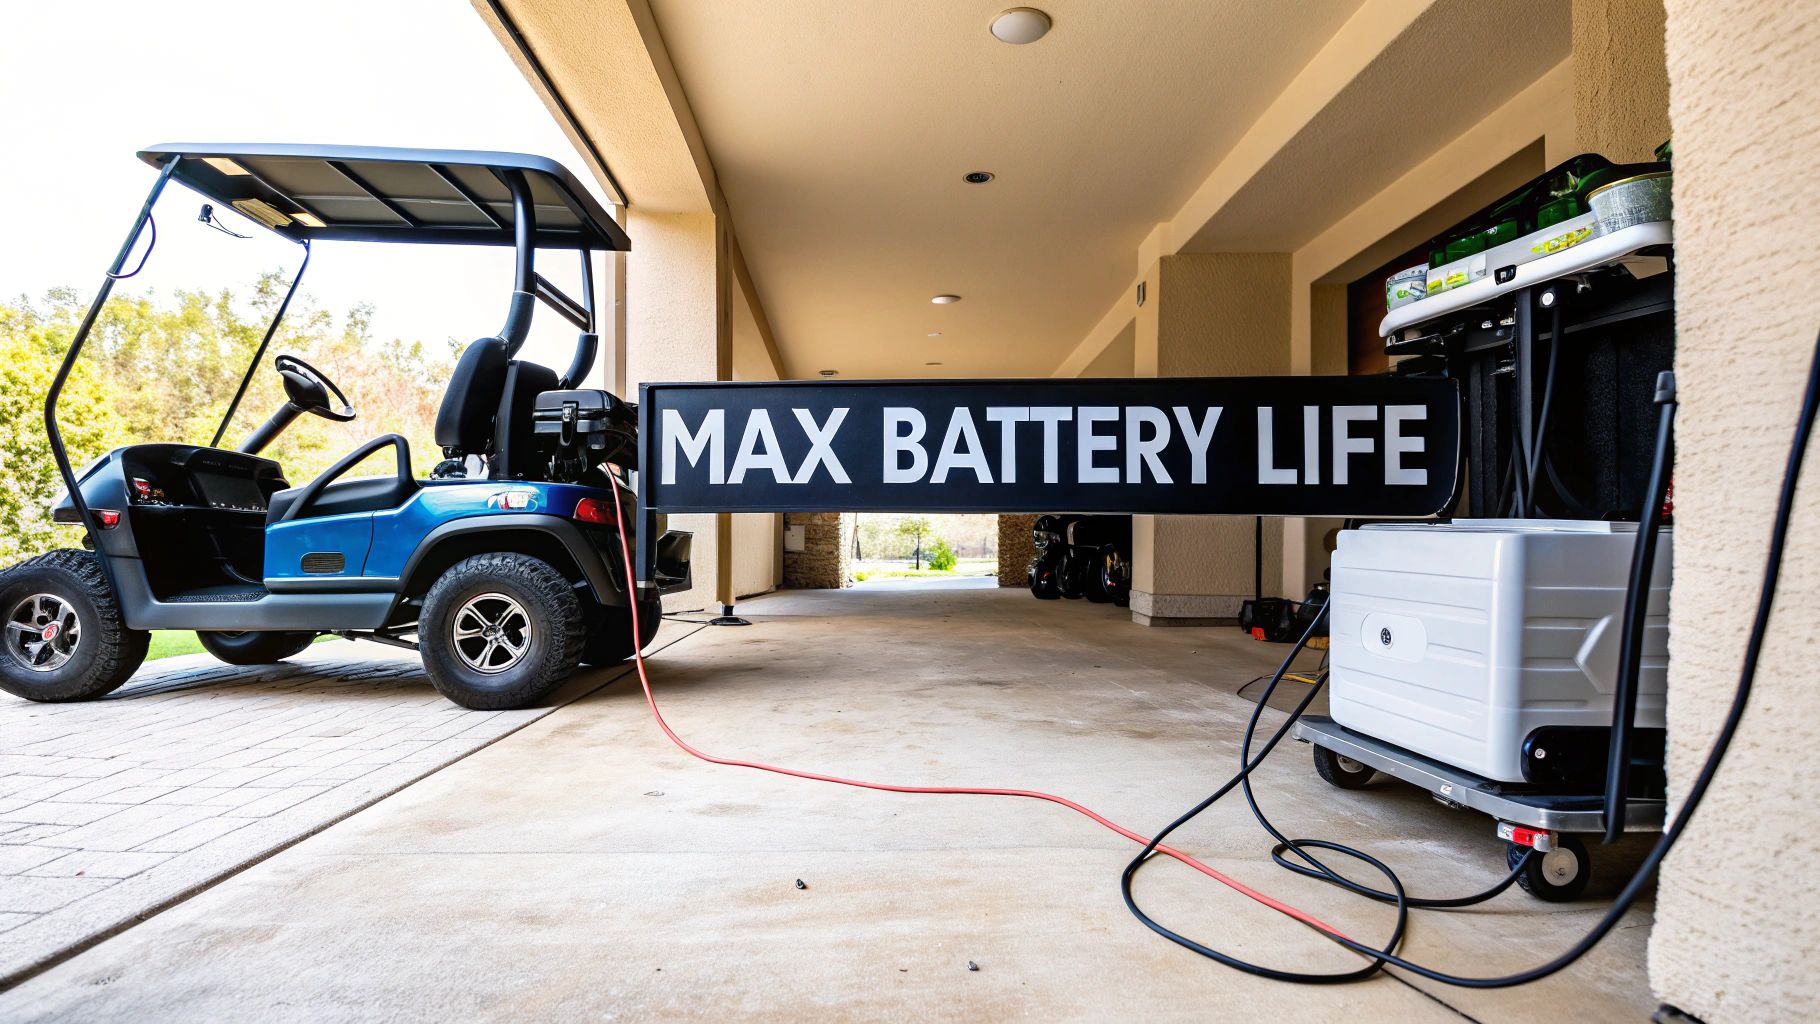
Before you even think about plugging in your golf cart, let's talk about where you'll be charging it. Setting up a dedicated, safe charging station isn't just a "nice-to-have" — it's the single most important thing you can do to prevent accidents and make sure your charger works properly. Think of it as building the right workshop for an important job.
Your first priority should be finding a spot that’s both dry and well-ventilated. This is absolutely critical for traditional lead-acid batteries, which naturally give off hydrogen gas while charging. This gas is flammable, so you need to give it a clear path to escape. A stuffy, closed-off garage is the last place you want that gas to build up.
Inspect Your Equipment Before Every Charge
Once you have your space sorted, get into the habit of giving your gear a quick once-over before every charge. This isn't negotiable. A simple visual check of your charger's cables and connectors can literally prevent a fire. You’re looking for any signs of wear and tear that could spell trouble.
What to keep an eye out for:
- Frayed or Cracked Cables: Exposed wires are a major red flag and a serious electrical hazard.
- Corrosion on Connectors: Any greenish-white buildup on the plug can cause a poor connection, which leads to overheating.
- Damaged Plugs: Check for bent prongs on the wall plug or a connection that feels loose in the cart’s receptacle.
A clean, snug connection is key to an effective charge. If it's loose or dirty, it creates resistance, which in turn generates heat and wastes energy. That means your battery might not even get the full charge it needs. If you spot any damage, don't use the charger until it's been repaired or replaced.
Optimizing Your Charging Environment
Beyond the basics of ventilation and cable checks, a couple of extra steps can make your charging station even safer and more efficient. Make sure the charger itself has room to breathe. Its cooling fan needs clear airflow to stop the unit from overheating, which can shorten its lifespan and tank its performance.
Setting up your charging station correctly is foundational to responsible golf cart ownership. It’s a one-time setup that pays dividends in safety and battery longevity every time you plug in.
These principles of safe charging still hold true even if you're using modern power sources, though the specific risks like gassing are lower. You can learn more about the best practices for a lithium battery charger for your golf cart in our detailed guide. At the end of the day, a clean, organized, and well-inspected charging station minimizes risks and helps you get the most out of every single charge, no matter what kind of battery you have.
The Proper Charging Sequence for Standard Golf Carts
There’s a right way and a wrong way to hook up your golf cart charger, and believe me, the little details make a huge difference. Getting the sequence right isn't just about following the rules; it's a critical step that protects your cart’s charging port, the charger itself, and ultimately, your expensive batteries.
If you take away just one thing, let it be this: always plug the charger into the golf cart first, then plug it into the wall outlet. I've seen countless damaged ports and charger plugs from people doing it the other way around. Reversing the order can cause "arcing"—that little spark you might see—which slowly but surely eats away at the metal contacts. Over time, this leads to a poor connection, overheating, and eventually, a charger that just won't work.
Kicking Off a Healthy Charge
Once you've plugged everything in correctly, your cart and charger will give you a few clues that things are working as they should. You should hear a distinct click as the charger’s internal relay engages. A moment later, the low hum of a cooling fan will likely kick in. These are good sounds—they confirm that the charger is talking to the battery pack and has started to deliver power.
For a routine you can count on, it helps to establish a clear safe work procedure that you follow every single time. It sounds formal, but it just means turning these good habits into an automatic part of your routine.
This simple flowchart breaks down the essential steps before you even think about plugging into the wall.
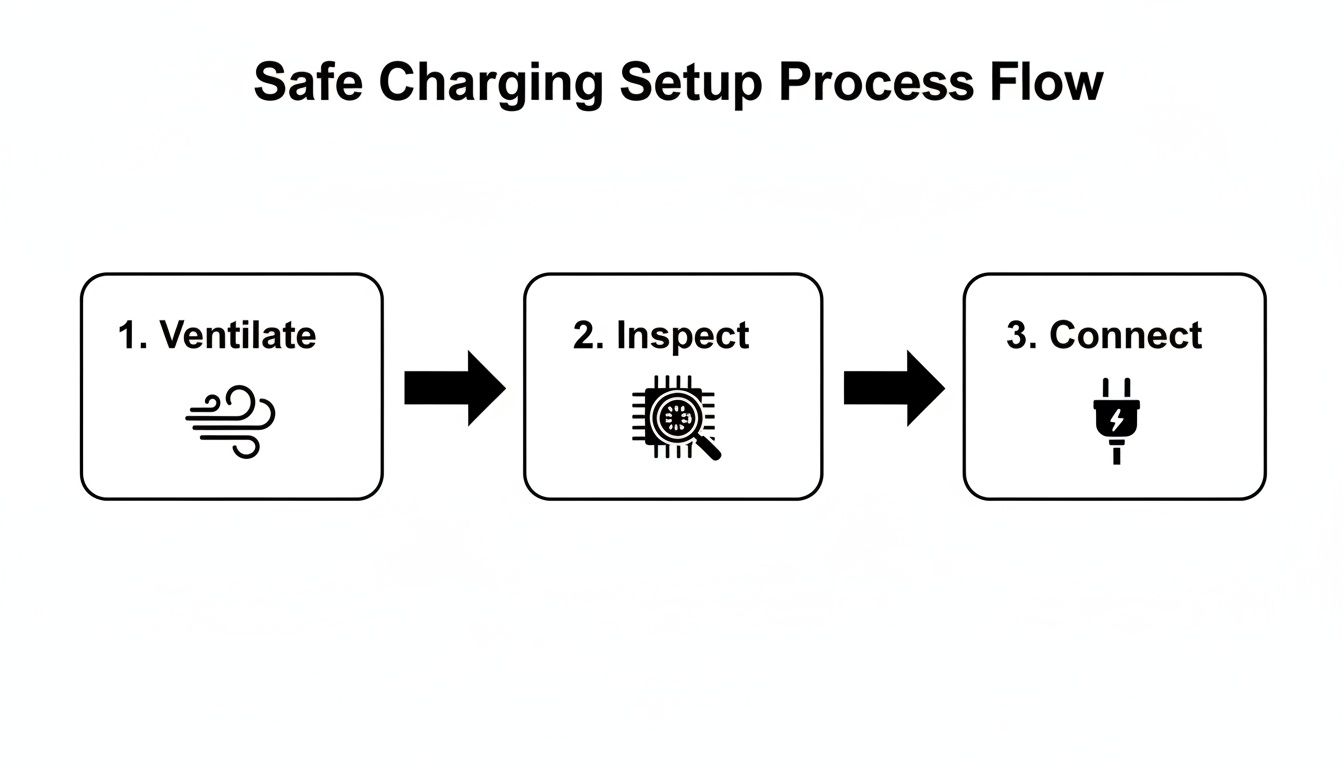
As you can see, the final connection is the last thing you do, and only after you’ve made sure the area is ventilated and your gear is in good shape.
Understanding Your Charger's Signals
Today's "smart" chargers do most of the thinking for you. They automatically adjust the charge rate based on the battery's needs and shut off when the job is done. To keep you in the loop, most use a simple system of lights.
A blinking light usually means the main charging phase is underway. Once you see a solid green light, the battery is typically full.
A common myth is that you need to unplug the charger the second it turns green. Most modern chargers automatically switch to a "float" or "maintenance" mode. In this state, they only provide tiny amounts of power as needed to keep the battery topped off, which prevents overcharging.
If you connect everything and get nothing—no click, no fan, no lights—don't panic. Start with the simplest fixes first.
- Is the Outlet Live? Plug a lamp or your phone charger into the wall outlet to make sure it has power.
- Check the Breaker: A tripped circuit breaker in your garage or shed is a very common culprit.
- Secure the Connections: Give the plugs at both the cart and the wall a little wiggle to ensure they’re seated firmly.
Following this simple sequence and knowing what to look for will give you the confidence to charge your golf cart safely and correctly every time.
A quick reference for what your charger's lights and displays are telling you.
Understanding Your Golf Cart Charger Indicators
| Indicator Signal | Common Meaning | Recommended Action |
|---|---|---|
| Blinking Green Light | The charger is in the bulk charging phase and actively charging the batteries. | Let the charger continue its cycle. This is normal operation. |
| Solid Green Light | The charging cycle is complete, and the batteries are fully charged. | The charger can be disconnected, or left plugged in for maintenance mode. |
| Flashing Red Light | An error has been detected. This could be a bad connection or a battery fault. | Unplug everything. Check all connections and inspect cables. Refer to your charger's manual. |
| No Lights | The charger is not receiving power or is not connected properly. | Verify the wall outlet has power and check that all plugs are securely connected. |
This table should help you quickly diagnose what's happening, but when in doubt, your charger’s user manual is always the best source of truth.
Charging Your Portable Power Assist
Not all golf cart power lives in a massive, built-in battery bank. Modern systems like the Caddie Wheel rely on powerful, detachable batteries that you can bring inside. While they need a slightly different approach than their full-sized cousins, learning the right way to charge them is simple—and crucial for keeping your gear in top shape for years to come.
The secret ingredient here is consistency. For these advanced batteries, the best routine is to recharge after every 18- or 36-hole round. This simple habit does two things: it prevents deep discharges that stress the battery cells over time, and it guarantees you’ll always start your game with a full tank. It’s a small step that pays huge dividends in battery lifespan.
The Right Tools and a Solid Routine
This is non-negotiable: always use the dedicated portable charger that came with your unit. Those chargers aren’t just generic power bricks; they’re specifically calibrated for your battery’s voltage and chemistry. This ensures the optimal charging curve for both speed and safety.
Getting a secure connection is just as important. Make sure the plug is fully seated in the battery's charging port before you plug it into the wall. A loose connection can interrupt the charge or, worse, generate dangerous heat.
Once it's plugged in, a smart charger handles the entire process for you. Much like the chargers for full-size carts, these are designed to be "set and forget."
A lot of golfers worry they need to rush to unplug the battery the second it hits 100%. The good news is, you don’t. Modern smart chargers are designed to automatically shut off when the battery is full and then switch to a maintenance mode, so there's zero risk of overcharging.
This intelligent tech protects your investment without you having to babysit the process.
How to Care for Your Battery Off the Course
How you store your portable battery between rounds matters just as much as how you charge it. Unlike a traditional golf cart that stays parked in the garage, you’ll probably be bringing this unit inside. For the best long-term health, find a cool, dry place away from direct sunlight. Extreme temperatures—both hot and cold—are the enemy and will degrade your battery’s capacity over time.
Just follow these simple off-course habits:
- Charge Indoors: Always charge the battery in a dry, temperature-controlled environment like your home or garage.
- Avoid Extreme Cold: Never, ever charge a battery that’s near or below freezing. This can cause permanent, irreversible damage. If it's cold, let it warm up to room temperature first.
- Long-Term Storage Plan: If you know you won't be golfing for a few months (hello, winter!), store the battery with about a 50-70% charge. Leaving it fully charged or completely dead for long periods can shorten its overall lifespan.
By adopting these simple habits, you’re treating your portable power assist like the valuable piece of gear it is. A little care goes a long way in making sure your Caddie Wheel is powered up and ready for countless rounds to come.
Smart Habits That Extend Your Battery Lifespan
Knowing the right way to plug in your golf cart is one thing, but adopting smart charging habits is what really separates a battery that dies in three seasons from one that's still going strong after six or more. Your routine has a direct impact on how many charge cycles you'll get from your investment, which can save you hundreds, or even thousands, of dollars down the road.
The single most important habit you can build is to recharge your cart after every significant use. This is non-negotiable for traditional lead-acid batteries. When you let them sit in a partially discharged state, nasty little lead sulfate crystals start to harden on the battery plates. This process, known as sulfation, is a top killer of golf cart batteries. Think of it like dental plaque—easy enough to deal with right away, but a real problem if you let it build up.
For that reason, waiting until your battery is almost dead is one of the worst things you can do. A lead-acid golf cart battery isn’t like your smartphone; it can’t handle deep discharges. Recharging consistently after each round keeps the battery healthy and ready to go when you are.
Lead-Acid vs Lithium: Charging Differences
The type of battery powering your cart changes the rules of the game. While both types appreciate regular charging, their internal chemistry and technology are completely different.
- Lead-Acid Batteries: These are the old-school workhorses of the golf world. They absolutely hate being left partially charged and are easily damaged by deep discharges. Their health is almost entirely in your hands.
- Lithium Batteries: Modern lithium packs, like the ones in a Caddie Wheel, are a different breed. They are far more forgiving thanks to a sophisticated Battery Management System (BMS) that acts like an onboard computer, protecting the cells from overcharging, over-discharging, and extreme temperatures.
The BMS is the secret sauce that makes lithium batteries so reliable. It intelligently manages the entire charging process and prevents the common mistakes that would send a lead-acid pack to an early grave. It's a huge reason why their lifespan is so much longer.
Debunking a Myth: Ever heard of "battery memory"? The idea is that a battery loses capacity if you don't fully discharge it every time. That concept only applied to ancient nickel-cadmium technology and has nothing to do with the lead-acid or lithium-ion batteries in modern golf carts. For your cart, the opposite is true—frequent, full charges are always best.
Trust Your Smart Charger
Another critical habit is simply letting your charger do its job. Don't interrupt it. Modern smart chargers are designed to run through multiple stages—like bulk, absorption, and float—to charge the battery safely and completely. Unplugging it early is like taking a cake out of the oven before it's finished baking; it just won’t be right.
Once the main charge is complete and the indicator light turns solid green, the charger automatically switches to a "float" or "maintenance" mode. In this state, it delivers just a tiny trickle of power to counteract natural self-discharge. This keeps the battery topped off without any risk of overcharging, so you can confidently leave it plugged in.
Ultimately, the way you charge your golf cart battery pack directly affects both its lifespan and your total cost of ownership. A traditional flooded lead-acid battery pack typically delivers around 500–800 full charge cycles when cared for properly. In stark contrast, a lithium iron phosphate (LiFePO₄) pack used in modern electric carts and power-assist systems can easily exceed 2,000 cycles. For a golfer who walks the course, disciplined charging habits can easily add two to three extra seasons of life to a battery pack. You can find more insights into the battery market on FutureMarketInsights.com.
Troubleshooting Common Charging Failures
Even with the best habits, you’ll eventually face that frustrating moment: you plug in your golf cart, and nothing happens. It’s a pain, but don't immediately jump to conclusions about a dead battery pack. Most of the time, the culprit is something simple and easy to fix. Let's walk through a quick diagnostic guide to get you back on the course.
The first rule I always follow is to start with the simplest solutions first. It sounds obvious, but you’d be surprised how often the fix is right under your nose. Before you start worrying, run through this basic checklist.
- Check Your Power Source: Is the wall outlet actually working? Grab a phone charger or a small lamp and plug it in to make sure you have power.
- Inspect the Circuit Breaker: Head over to your electrical panel. Has the breaker for your garage or charging station tripped? Flip it back if it has.
- Confirm All Connections: Are both plugs—the one in the wall and the one in the cart—pushed in all the way? A loose connection is a classic reason for a failed charge.
If these basics don't get you going, it's time to dig a little deeper into the specific symptoms.
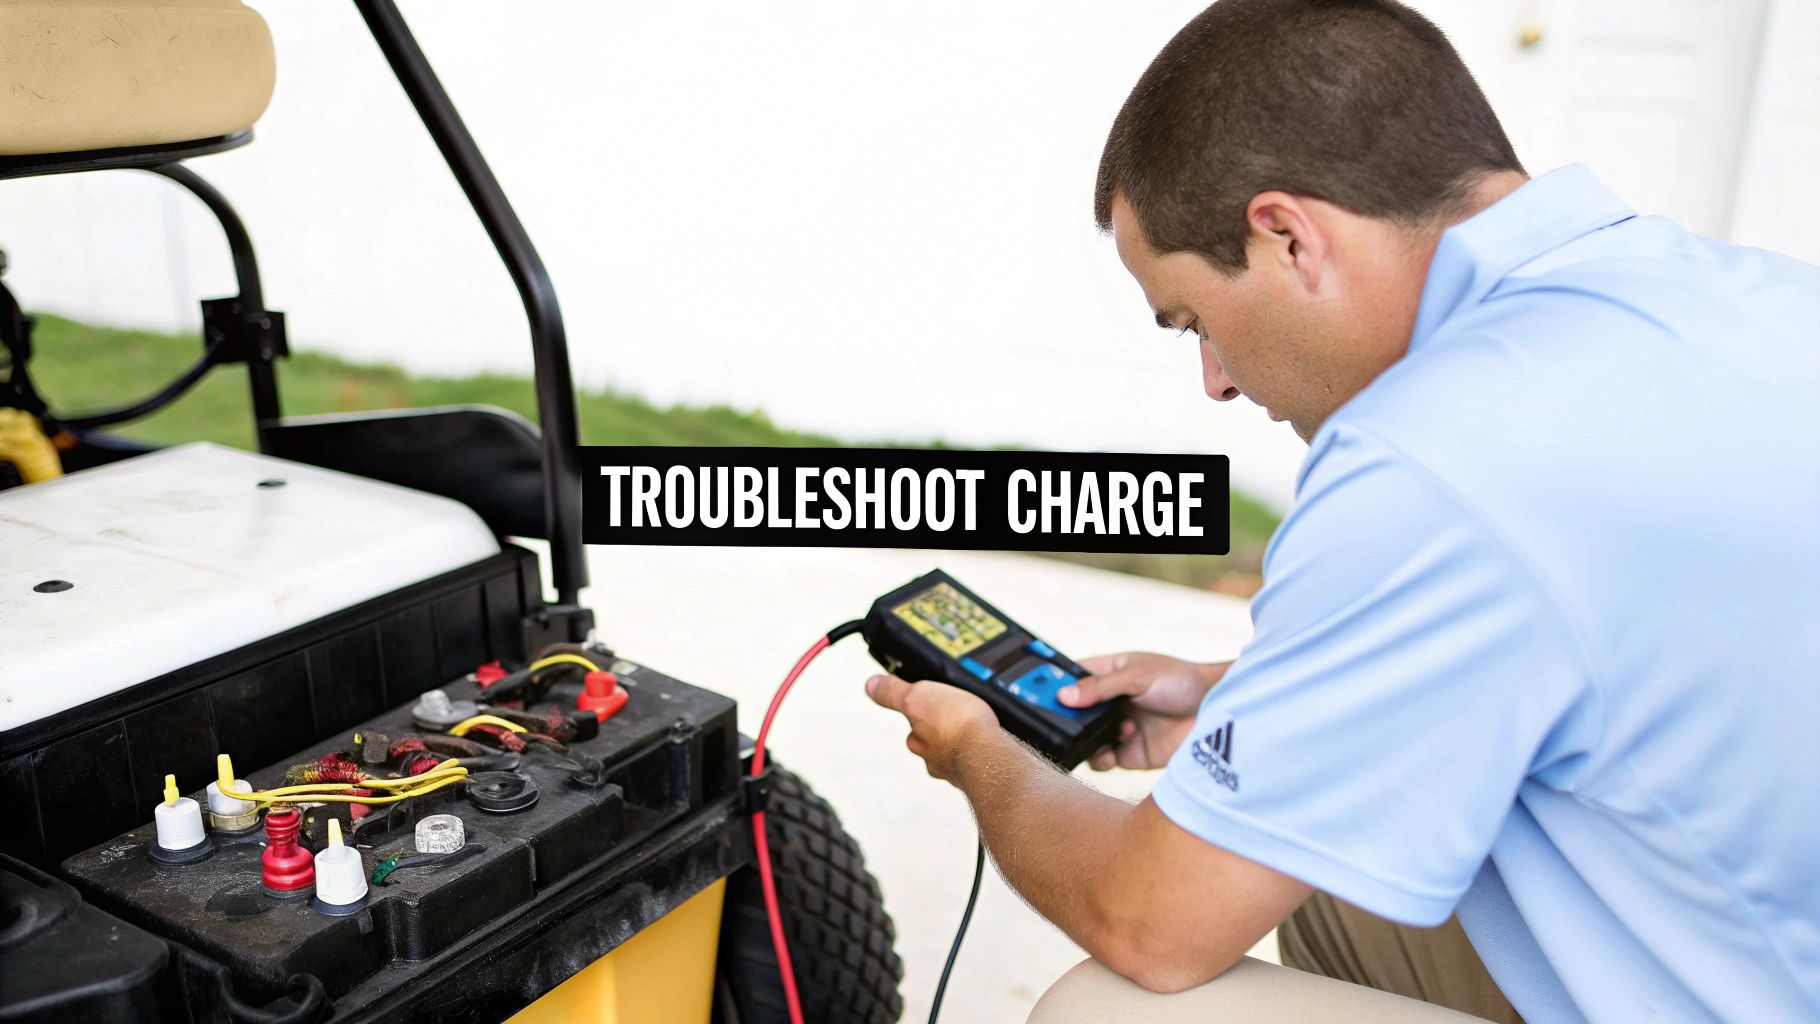
Diagnosing Charger and Battery Issues
Sometimes, the charger will kick on for a moment and then shut off. This usually points to a more specific problem, either with the charger's internal safety features or the battery pack itself. A good smart charger is designed to shut down if it detects a major fault to prevent causing more damage.
One common reason for this is a battery pack that’s so deeply discharged that the charger can't even recognize it. If the total voltage of your batteries is below a certain threshold, the charger’s safety circuits will refuse to start. It’s a protective measure, but it can be confusing.
If you think a deeply discharged battery pack is the problem, you need to diagnose it properly. Our guide on how to test battery capacity provides clear steps to help you pinpoint a weak or dead battery that might be holding up the whole show.
Pay attention to the charger itself, too. Is it getting unusually hot or making a loud, strained buzzing noise? A bit of warmth and a low hum are perfectly normal, but excessive heat or an angry buzz can signal an internal problem. If you notice that, unplug it immediately.
When to Call a Professional
You can solve a lot of charging problems on your own, but it’s just as important to know when to throw in the towel and call for backup. If you've gone through the checklist, confirmed your outlet is live, and the charger still won’t do anything, the issue might be more complex. A faulty charging port on the cart or an internal failure in the charger are jobs best left to a technician.
Likewise, if you find yourself repeatedly tripping the same circuit breaker every time you plug in the cart, you could have a bigger electrical issue on your hands. For persistent problems, professional residential electrical troubleshooting services can safely diagnose what’s wrong with your setup. Never take chances with electricity.
At Caddie Wheel, we believe in making golf simpler and more enjoyable. Our electric power assist systems are designed for reliability, but when things go wrong, a little knowledge goes a long way. Learn more about how we can help you walk the course with ease at https://caddiewheel.com.
Share:
Lightweight golf push carts: The Ultimate Guide to Easy Green Transport
A Practical Guide to Golf Cart Lithium Battery Conversion