So, you hit the accelerator, the solenoid clicks, but your golf cart just sits there. Or maybe it’s struggling up hills it used to conquer with ease. Before you start pricing out a brand-new motor or calling in a pro, a few simple diagnostic tests can save you a ton of time, money, and frustration.
Figuring out whether your motor is actually the problem is a crucial first step. It’s easy to blame the motor when the real issue could be something simpler, like a bad battery connection or a faulty controller. Learning how to properly test the motor will tell you for sure if it’s the hero or the villain in your golf cart's story.
Symptoms That Point to a Motor Problem
You don’t need to be a seasoned mechanic to spot the warning signs of a failing motor. If your cart is acting up, look for these tell-tale symptoms. They’re strong indicators that it's time to break out the multimeter.
- A major loss of power or torque, especially on inclines.
- Jerky or stuttering acceleration that isn't smooth.
- A complete no-go, where the solenoid clicks but the wheels don't turn.
- A distinct burning smell (like burnt electronics or metal) after a ride.
- New or unusual grinding or whining noises coming from the motor.

It's not just a hunch, either. Industry data shows that a staggering 42% of all electric golf cart breakdowns trace back directly to motor failures, like shorts and bad windings. You can see a full breakdown of the data on common motor-related cart failures on hartvillegolfcarts.com. This stat alone shows why testing your motor is a non-negotiable step before you get left stranded.
Quick Diagnostic Symptoms and Potential Causes
To help you get started, I've put together a quick reference table. Think of it as a cheat sheet to connect what your cart is doing (or not doing) with the most likely cause and the first test you should run. This will help you focus your efforts right where they're needed.
| Symptom | Common Motor-Related Cause | First Test to Perform |
|---|---|---|
| Cart is completely dead | Shorted or "grounded" motor | Multimeter Ground Fault Test |
| Runs but lacks power | Worn brushes or weak field winding | Brush Inspection / Bench Test |
| Jerky or intermittent movement | Broken internal motor winding | Multimeter Continuity Test |
| Grinding or loud noises | Failed bearing or internal damage | Bench Test (Listen for noise) |
Once you can recognize these signs and match them to the right test, you're well on your way to a confident diagnosis. From here, you’ll be able to decide whether it's a quick fix you can handle yourself or if it's time to call in a professional.
Preparing for a Safe and Accurate Motor Test
Before you even think about putting a wrench on your motor, we need to talk about setting the stage. Getting this part right isn't just about accuracy—it's about safety. A simple mistake here can fry your cart’s electrical system or, worse, cause an injury. This isn't a step to rush; it's the foundation for every test that follows.
First things first: disconnect the battery pack entirely. Always start by removing the main negative terminal, then the main positive. That little sequence is your best defense against accidental sparks and shorts. Next, make sure that cart isn't going anywhere. Chock the front wheels firmly, then get the rear end up on jack stands so the wheels can spin freely without touching the ground.
Assembling Your Diagnostic Toolkit
You don't need a professional-grade workshop to diagnose your motor, but a few key tools are non-negotiable. The absolute star of the show is a digital multimeter. You don’t need to break the bank here; even a basic, inexpensive model will do everything we need for checking resistance and continuity.
Beyond the multimeter, you’ll want to have these basics on hand:
- Wrench Set: You'll need the right-sized wrenches or a socket set to get the heavy-gauge cables off the motor terminals.
- Wire Brush or Sandpaper: Corrosion is a silent killer of electrical performance. A little brush or some sandpaper to clean up terminals is essential.
- Safety Glasses: No excuses. Always protect your eyes when you're working near batteries or electrical components.
I can't tell you how many "dead" motors I've seen that were simply suffering from dirty connections. A bit of corrosion on a cable lug or motor stud can stop everything in its tracks. Clean, tight connections are the bedrock of a healthy electrical system.
The Importance of a Healthy Power Source
Your test results are only as good as the power you’re feeding the system. A weak or failing battery pack can perfectly mimic the symptoms of a bad motor, sending you on a wild goose chase for a problem that doesn't exist. Before you blame the motor, you have to be sure your batteries are up to the task.
Learning how to maintain golf cart batteries is a crucial first step. Make sure your pack is fully charged and holding voltage. If you have any doubts about their health, our guide on how to test battery capacity walks you through a simple process. By confirming your power source is solid from the get-go, you can trust that any issues you uncover are actually with the motor.
Using a Multimeter for Key Electrical Tests
Alright, it’s time to break out the multimeter and do some real diagnostic work. This little tool is your best friend for figuring out what’s really going on inside your golf cart motor, and you don't even have to take it apart. With a few quick checks, you can get a clear picture of its internal electrical health.
We’re going to focus on three essential tests: continuity, ground fault, and resistance. They might sound technical, but they're surprisingly simple and incredibly revealing. Before you zero in on the motor, though, make sure your power source is solid. It's always a good idea to start by checking your battery's health to rule out any simple power issues first.
Testing for Continuity
Think of continuity as an unbroken road for electricity to travel. Inside your motor are long coils of wire called windings. If there’s a break anywhere in those coils, the motor is dead in the water. This test simply checks if those electrical roads are complete.
Here's how you do it:
- Set your multimeter to the continuity setting. It’s the one that usually has a symbol that looks like a sound wave or a diode.
- For a series motor, touch one probe to the A1 terminal and the other to the A2 terminal. You're looking for a clear, audible beep.
- If you hear that beep, fantastic. It means the armature winding has a complete circuit.
- Now do the same thing for the field windings by touching the probes to the S1 and S2 terminals. A second beep confirms that circuit is good to go, too.
No beep? That's your sign that a wire has broken somewhere inside the motor. At that point, the motor will need to be repaired or replaced.
An open circuit (no beep) is an immediate red flag. I've seen this happen after a cart hits a large bump, which can sometimes be just enough to sever an already-weak internal connection.
Checking for a Ground Fault
A ground fault is one of the more serious, and potentially damaging, motor failures you can run into. It happens when an internal winding breaks and touches the motor’s metal case. This creates a short circuit, sending a surge of power where it shouldn't go and potentially frying your controller or other expensive parts.
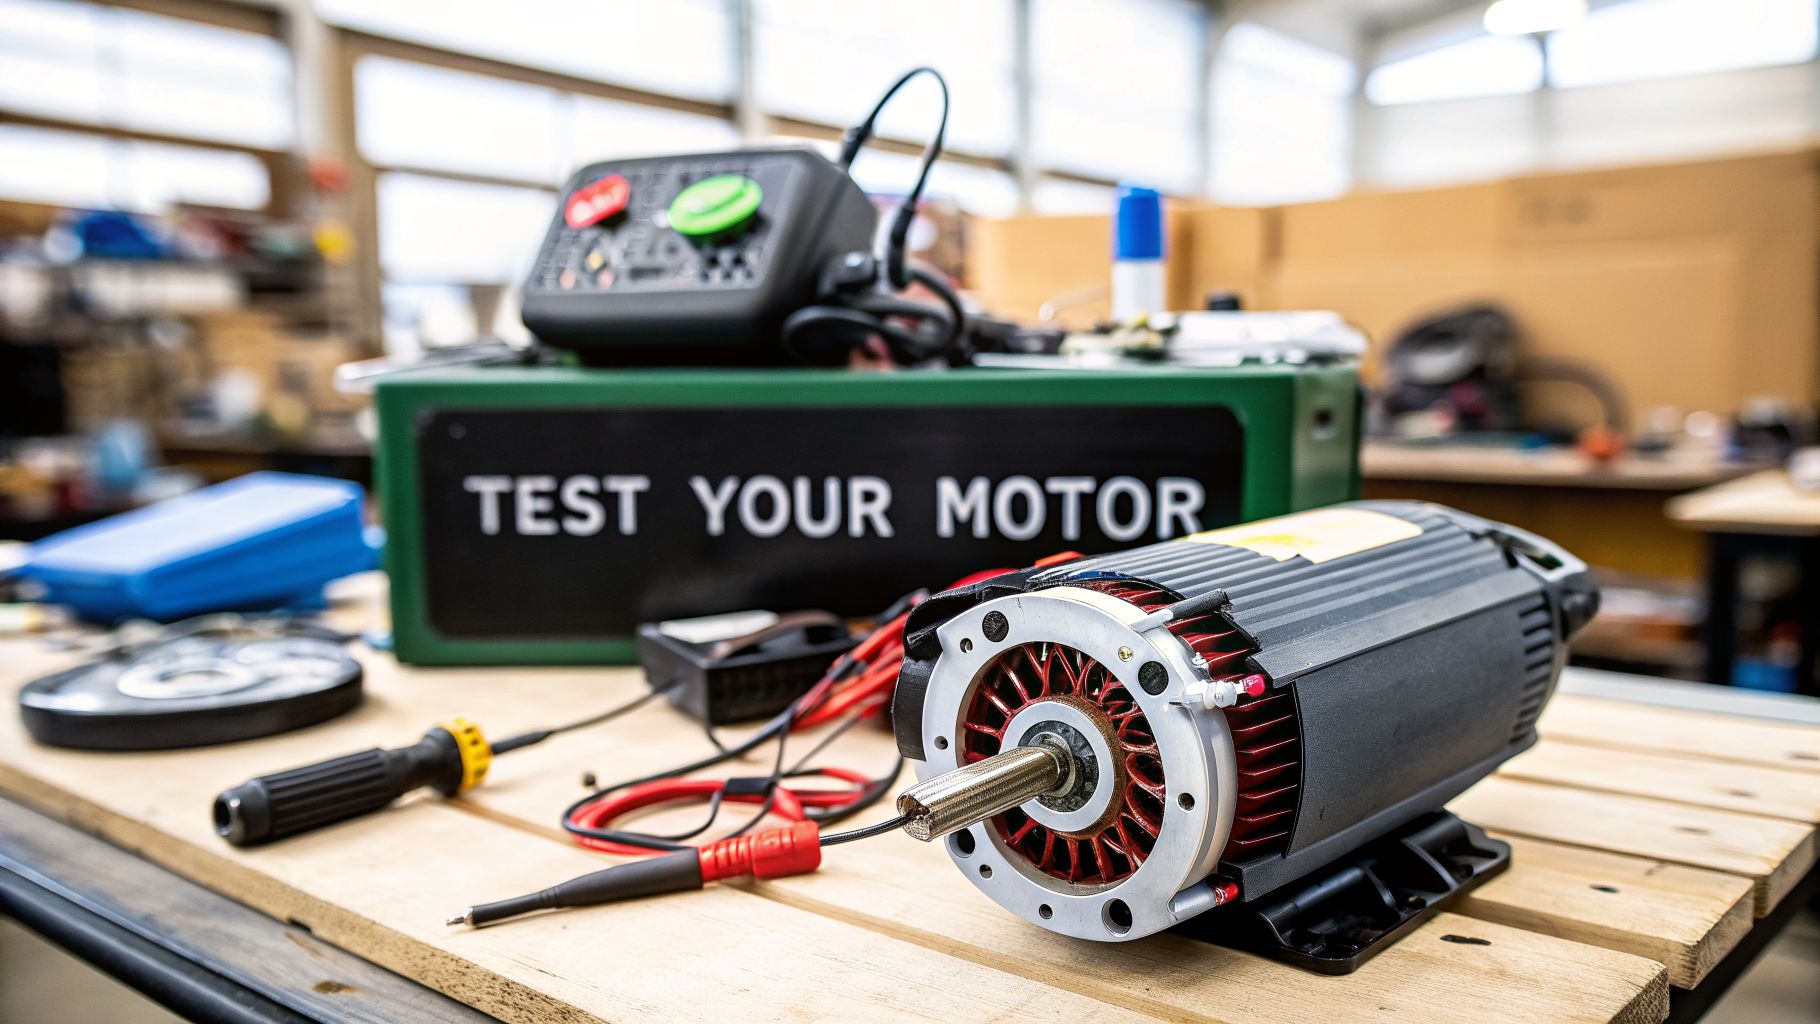
This visual guide shows the prep work you should do before running these multimeter tests.

As you can see, safety, the right tools, and clean connections are the foundation for getting an accurate diagnosis. Keeping your multimeter on the continuity setting, touch one probe to the bare metal of the motor casing. You might need to scrape a little paint off to get a good connection. Then, touch the other probe to each motor stud—A1, A2, S1, and S2—one by one.
In this test, silence is golden. If you hear a beep on any of those studs, it means your motor is "grounded" and has to be replaced. Don't risk it. Running a grounded motor can cascade into a much bigger, more expensive problem, like needing a full golf cart controller repair.
Measuring Winding Resistance
The final multimeter test measures the resistance of the windings, which gives you a good idea of their overall condition. For this, set your multimeter to the lowest Ohms (Ω) setting available. A healthy series motor will have a very, very low resistance.
Here’s what to look for:
- A1 to A2 (Armature): You should see a reading somewhere between 0.5 and 2.0 ohms.
- S1 to S2 (Field): This reading should also fall between 0.5 and 2.0 ohms.
If your readings are way off—either significantly higher or close to zero—it's a sign of trouble. A high reading suggests the winding is failing and causing poor performance, while a reading near zero points to an internal short. In either case, it usually means the motor's on its last legs.
How to Perform a Definitive Bench Test
So, your multimeter tests didn't give you a clear answer, or maybe you just want to be absolutely certain before spending money on new parts. This is where the bench test comes in. It's the ultimate truth-teller for your golf cart's motor.
By pulling the motor completely out of the cart, you isolate it from everything else—the controller, the solenoid, all the wiring. You're taking away all the other variables. It’s the most direct way to ask the motor one simple question: "Do you still work?"
This method is especially handy for series motors, which are the trusty workhorses you'll find in countless Club Car and EZ-GO carts. The idea is to create a simple, direct circuit using a standard 12-volt car or marine battery and a good set of jumper cables.

Creating the Test Circuit
First things first: get that motor out of the cart and onto a stable, non-conductive surface. A sturdy wooden workbench is perfect. Don't underestimate the torque of a healthy motor—it can easily jump right off the bench if it isn't secured.
Once it's stable, you're going to build a small series circuit. Just think of it as making a small loop of power that runs directly through the motor’s two key parts: the armature and the field windings.
Here’s the hookup sequence:
- Connect one jumper cable from the positive (+) terminal of your 12V battery to one of the armature terminals (A1 or A2) on the motor.
- Use a short jumper wire to connect the other armature terminal (A2 or A1) to one of the field terminals (S1 or S2). A piece of 10-gauge wire with connectors on the ends works great for this.
- Finally, take your second jumper cable and connect the remaining field terminal (S2 or S1) to the negative (-) terminal of the 12V battery.
Safety First: That final connection to the negative battery terminal is what completes the circuit. If the motor is good, it will jolt to life instantly. Be ready for it. Keep your hands, tools, and any loose clothing far away from the motor shaft.
Interpreting the Results
The moment you make that last connection, you'll have your answer. There’s no ambiguity here.
A healthy motor will spin up with some serious force. If it spins powerfully and smoothly, you can breathe a sigh of relief. Your motor is fine, and the real culprit is hiding somewhere else in the cart's electrical system.
On the other hand, if the motor does nothing, turns weakly, or you see a shower of sparks coming from the brush area, you've got definitive proof of an internal failure. It’s a powerful technique that prevents you from needlessly replacing an expensive controller or solenoid.
In fact, bench testing is the most conclusive method available, correctly identifying motor-specific faults in an estimated 92% of cases where the controller was initially—and incorrectly—blamed. Diagnostics from thousands of repairs also show that resistance values outside the 0.5-2 ohm range are behind 31% of no-start failures, which really highlights why combining multimeter tests with a bench test is so effective. You can discover more insights about these diagnostic findings on YouTube.
This is exactly why knowing how to test a golf cart motor this way is such a valuable skill. It cuts through the guesswork and points you straight to the solution.
Interpreting Your Test Results and Next Steps
Alright, you've put in the work with your multimeter and run all the diagnostic tests. Now it’s time to figure out what all those numbers, beeps, and spins actually mean for your golf cart. Your results will point you down one of two very different paths.
When the Motor Passes All Tests
If your motor passed every test you threw at it—good continuity, no grounding issues, resistance within spec, and it spun perfectly on the bench—that's actually great news. It means your motor is almost certainly not the problem.
Don't get frustrated. You've just successfully ruled out the single most expensive component to replace. Your troubleshooting journey just shifts focus to the other players in the power delivery system. Here’s where to look next:
- The Solenoid: This is the big relay that lets the juice flow to your motor. A "click" is a good sign, but it doesn't guarantee the internal contacts are actually making a clean connection to handle the high amperage.
- High-Amperage Cables: Give every single thick cable a thorough inspection. Check the connections at the batteries, solenoid, controller, and motor. You're looking for any hint of corrosion, physical damage, swelling, or a loose lug.
- The Controller: Think of this as the brains of the operation. If the solenoid and all the heavy-gauge wiring check out, the controller moves to the top of the suspect list.
When Your Motor Fails a Test
On the other hand, if your multimeter started screaming during the ground fault test or the motor just sat there silently on the bench, you’ve found your culprit. The problem is inside the motor, and now you have a choice to make: repair or replace?
A failed multimeter test or a dead bench test is a clear verdict. The issue is internal to the motor, and no amount of tinkering with other parts is going to fix it. The focus now shifts to the most reliable and cost-effective solution.
For many cart owners, this is where the decision gets tough. If the only issue was a slow loss of power over time and you find the brushes are worn down to tiny nubs, a simple brush replacement might be all you need. This is a very doable weekend project for anyone with a bit of mechanical skill and can save you a ton of money.
However, if you've got a dead short or a ground fault, a full replacement is almost always the smarter, safer, and more economical choice in the long run. Trying to perform complex internal repairs on a shorted motor is often a temporary fix at best. For a deeper dive into this choice, our guide on golf cart motor repair versus replacement breaks down all the pros and cons.
Ultimately, a new or professionally rebuilt motor restores 100% of your cart’s power and efficiency. It can even improve your battery range and give you peace of mind that your cart will be reliable for years to come.
Common Questions About Golf Cart Motor Testing
Even with a detailed guide, it's completely normal to have a few questions pop up, especially when you're tackling how to test a golf cart motor for the first time. We’ve been there. To help you out, we've put together answers to the most common queries we hear from fellow DIYers.
Our goal is to clear up any confusion and help you diagnose your cart's issues with confidence.
Can I Test a Motor Without a Multimeter?
We get it—it’s tempting to look for a shortcut. Technically, you can hook up a 12V car battery directly to a series motor just to see if it spins. But this is one shortcut we strongly advise against. It's a risky move.
This quick-and-dirty test completely skips over one of the most important safety checks: looking for a ground fault. If you reinstall a motor that's grounded out, the second you press that accelerator, you risk sending a massive electrical surge straight into your expensive speed controller. That's an instant burnout.
A multimeter is a cheap tool that gives you a complete, safe diagnosis. It's a small investment that helps you avoid very costly mistakes down the road.
What Is the Difference Between Testing Series and SepEx Motors?
The basic principles of testing are similar, but the specifics are different enough that you absolutely need to know which motor you're working with. The main distinctions are in the terminal labels and what you should expect to see for resistance values.
- Series Motors: These have terminals for the armature (A1/A2) and the field windings (S1/S2). You’ll find that both sets of windings have a very low resistance, usually less than 2.0 ohms.
- SepEx Motors: "Separately Excited" motors also have armature terminals (A1/A2), but their field winding terminals are labeled F1/F2. The key difference here is that the field windings (F1/F2) on a SepEx motor will have a much higher resistance than those on a series motor.
Figuring out your motor type is a critical first step. If you use the wrong procedure or compare your multimeter readings to the wrong specs, you're guaranteed to get an incorrect diagnosis.
A good rule of thumb: If your cart has a rocker switch for Forward/Reverse, it’s probably a series motor. If it uses a handle-style F/R selector, you likely have a SepEx system. But always, always double-check the label on the motor itself to be sure.
My Motor Passed the Bench Test But Fails in the Cart. What Is Next?
This is actually great news! It means your motor is solid and you’ve successfully pinpointed the problem elsewhere in the power delivery system. You can stop worrying about the motor and start methodically tracing the power path from the batteries forward.
Your next move is to look at the components between the battery pack and the motor.
- Check the Solenoid: Does it make a loud, confident "click" when you press the pedal? A weak click—or no click at all—points to a faulty solenoid or an issue in its activation circuit.
- Inspect High-Amperage Cables: Go over every single thick cable with a fine-tooth comb. That includes the ones running from the batteries to the controller, solenoid, and motor. Look for any signs of corrosion, physical damage, or loose connections that could be choking off the power.
At Caddie Wheel, we believe golf should be more enjoyable and less of a workout. If pushing your cart is stealing your energy and focus, our lightweight electric power assist can completely transform your round.
Discover how the Caddie Wheel can help you walk more holes with less effort.
Share:
What Is a Brushless Motor Hub?
Optimize Your PowerDrive Club Car Charger