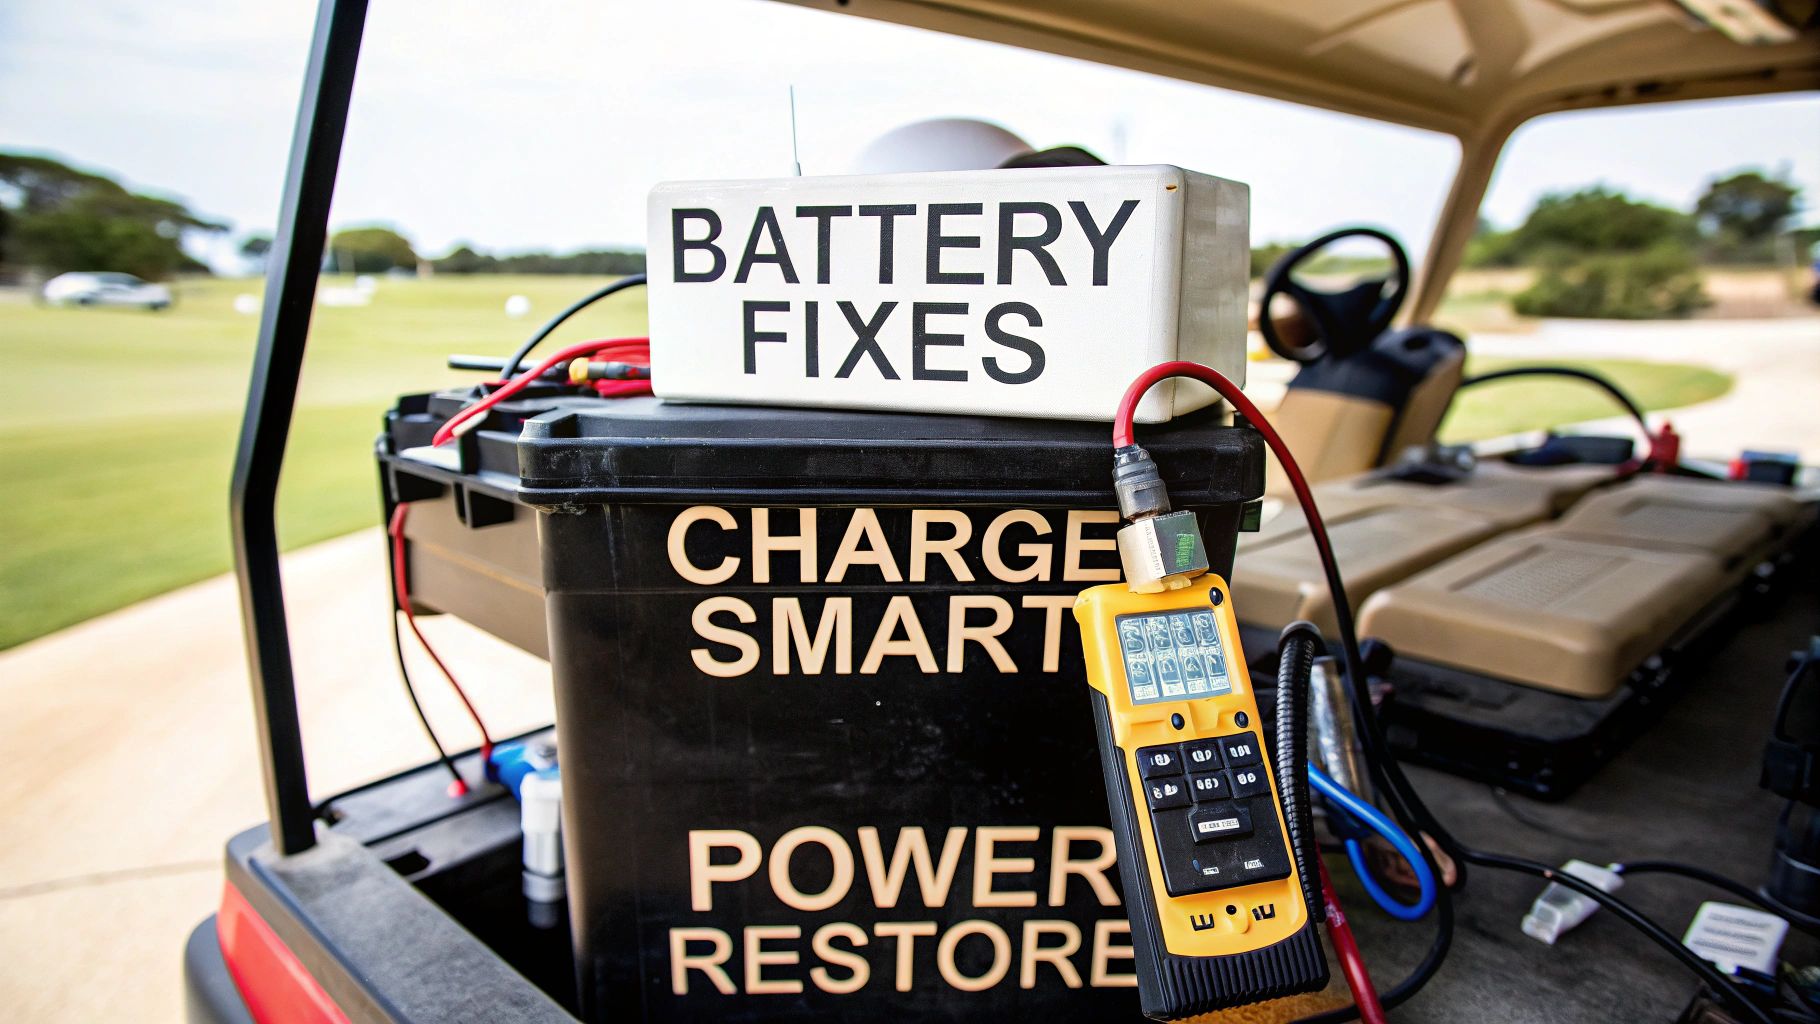
Nothing kills a day on the links faster than a golf cart that gives up the ghost on the back nine. If you're constantly battling a weak or dead battery, you're not alone. Most of the time, these frustrating battery problems boil down to just a few common culprits that silently chip away at performance until the whole system fails.
The good news is that most issues start small. A little bit of white, crusty corrosion on a terminal might not look like a big deal, but it's like putting a roadblock in the path of electricity, preventing a full charge and choking off power. Ignoring these little things is what leads to bigger, more expensive headaches down the road.
Why Your Golf Cart Battery Keeps Failing
Most persistent golf cart battery issues can be traced back to three things: improper charging, a lack of basic maintenance, and letting the cart sit for too long. Understanding how these factors contribute to failure is the first step to getting a more reliable ride.
How you charge—and store—your cart has a massive impact on your batteries' lifespan. One of the absolute worst habits is constantly undercharging the pack or, just as bad, letting it drain completely before plugging it in. Lead-acid batteries, in particular, really hate being left in a discharged state. This causes a chemical reaction called sulfation, which permanently damages the battery's ability to hold a charge.
Off-season storage is another silent killer. When a cart is left unplugged for months, the batteries will slowly discharge on their own. This is often called 'battery starvation,' and it's a top reason for premature failure. When the voltage drops too low for too long, many standard chargers won't even recognize the battery pack anymore. We've seen failure rates as high as 30-50% in carts coming out of winter storage, forcing owners into a costly full replacement. You can discover more insights about these battery findings and how to avoid them.
Common Symptoms And Their Likely Causes
Trying to figure out what's wrong can feel like a guessing game. Is it the charger? Just one bad battery? Or is the whole pack toast? The symptoms your cart is showing can give you some major clues and point you in the right direction.
A common mistake is assuming a cart that won't move automatically means the batteries are dead. The problem could just as easily be a faulty charger, a loose wire, or even an issue with the cart's onboard computer (OBC).
To help you connect the dots, here’s a quick-reference table that matches common symptoms with their most likely causes.
Common Symptoms And Their Likely Causes
| Symptom | Potential Cause 1 | Potential Cause 2 | Potential Cause 3 |
|---|---|---|---|
| Cart is sluggish, slow acceleration | Low overall battery pack voltage | A single failing battery cell | Corroded or loose terminal connections |
| Won't hold a charge for long | Old batteries near end-of-life | Faulty charger not fully charging | High parasitic draw from accessories |
| Charger won't turn on when plugged in | Deeply discharged battery pack | Faulty charger or AC outlet | Blown fuse in the cart or charger |
| Dimming lights or weak accessories | Voltage drop under load | A weak battery in the pack | Poor connection at the main terminals |
Using this table can help you narrow down the possibilities before you start pulling things apart, saving you time and frustration.
How To Test Your Golf Cart Batteries Accurately
Guessing about your golf cart's battery problems is a quick way to get frustrated and waste money. To get real answers, you have to stop guessing and start testing. A hands-on approach is the only way to figure out what's really going on, whether it's a single weak battery torpedoing the whole set or a more widespread failure.
The number one tool for this job is a digital multimeter. It’s the best way to get a clear, unbiased picture of your battery's health. You'll need to learn how to use a multimeter for beginners to measure voltage, but it's a simple skill that can uncover hidden issues before they leave you stranded on the back nine.
Checking Voltage With a Multimeter
Your first move should be a simple voltage check on each battery and the pack as a whole. But here's a pro tip: make sure your cart has been off the charger for at least 12-24 hours. This gives you a "resting" voltage, which is far more accurate than the misleading "surface charge" you'll see right after unplugging it.
Here’s how to do it right:
- Individual Batteries: Set your multimeter to DC volts. For a standard 6-volt battery, you want to see 6.3 volts or higher. On an 8-volt battery, look for 8.4 volts or more. Any battery reading significantly below these numbers is a likely culprit.
- Total Pack Voltage: Now, connect the multimeter probes to the main positive and negative terminals for the entire battery series. A 36-volt system should read around 38.2 volts, while a 48-volt system should be up near 50.9 volts.
If you spot one battery with a low reading, that's a huge red flag. A single underperforming battery acts like an anchor, dragging down the performance of the entire pack and making your cart feel sluggish.
Performing a Load Test for Hidden Problems
A simple voltage check tells you what a battery could do, but a load test shows you how it performs under pressure—and that’s what really counts. I’ve seen countless batteries show a perfectly healthy voltage at rest, only to completely crumble the moment they’re asked to do real work, like climbing a hill. It's a classic sign of a weak cell.
A load test is the truest measure of a battery's health. It simulates real-world conditions, exposing weaknesses that a simple voltage check will miss. It's the difference between checking someone's pulse while they're sitting versus while they're running.
You have two solid options for running a load test.
- Use a Handheld Load Tester: This is the most direct method. The device applies a specific electrical load to one battery at a time for about 10-15 seconds. As the load is applied, you watch the voltage. A healthy battery’s voltage will dip but stay stable above a certain threshold (the tester’s manual will specify this). A weak battery’s voltage will absolutely plummet.
- The "Real-World" Method: Don’t have a dedicated tester? No problem. You can do a DIY load test. With your multimeter still connected to a single battery, have a friend drive the cart up a steep hill. Keep a close eye on the voltage reading; if it drops by more than a full volt, you've found a battery that can't handle the strain.
This flowchart breaks down the common culprits that lead to a battery needing a test in the first place.
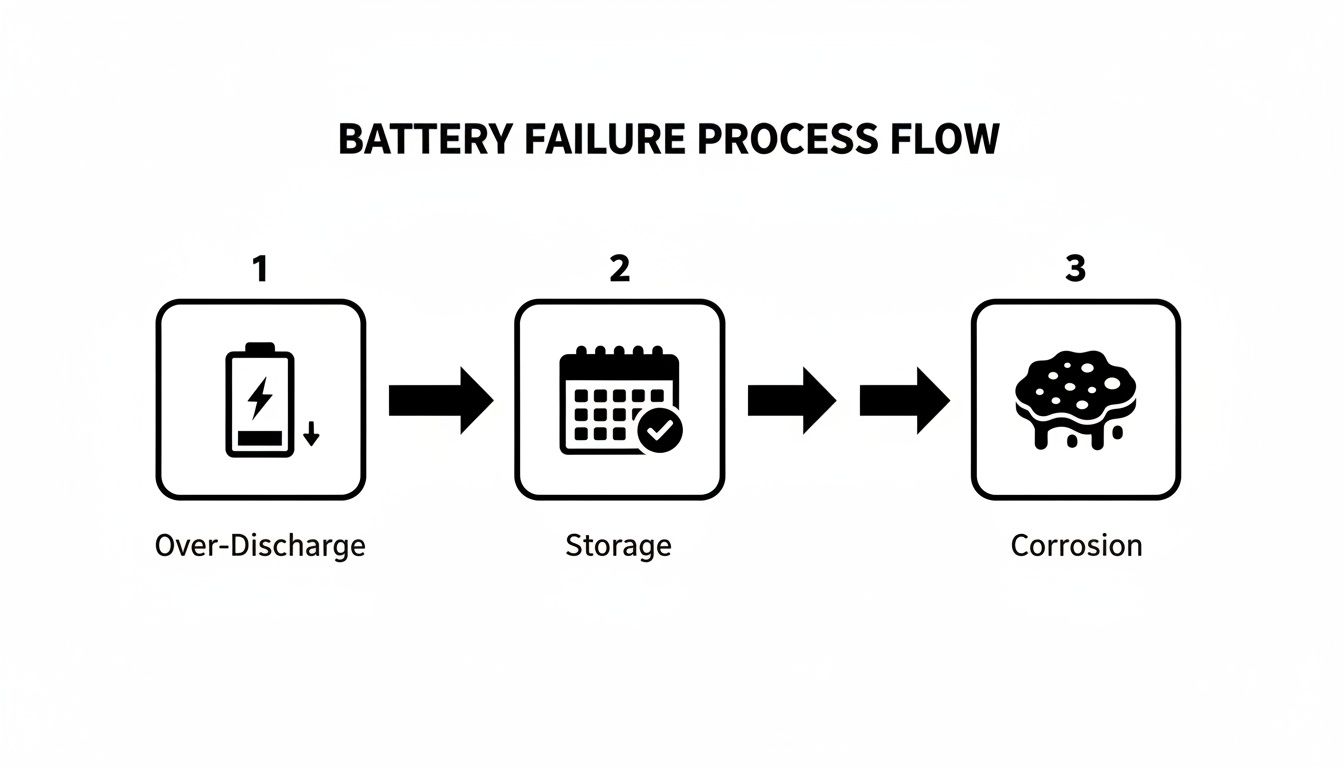
As you can see, neglect from over-discharging, poor storage habits, and unchecked corrosion creates a domino effect of failure. If you want to dig even deeper into measuring your battery's true grit, check out our guide on https://caddiewheel.com/blogs/golf-content/how-to-test-battery-capacity-a-practical-guide. By testing accurately, you can break this cycle and make smart, cost-effective repair decisions.
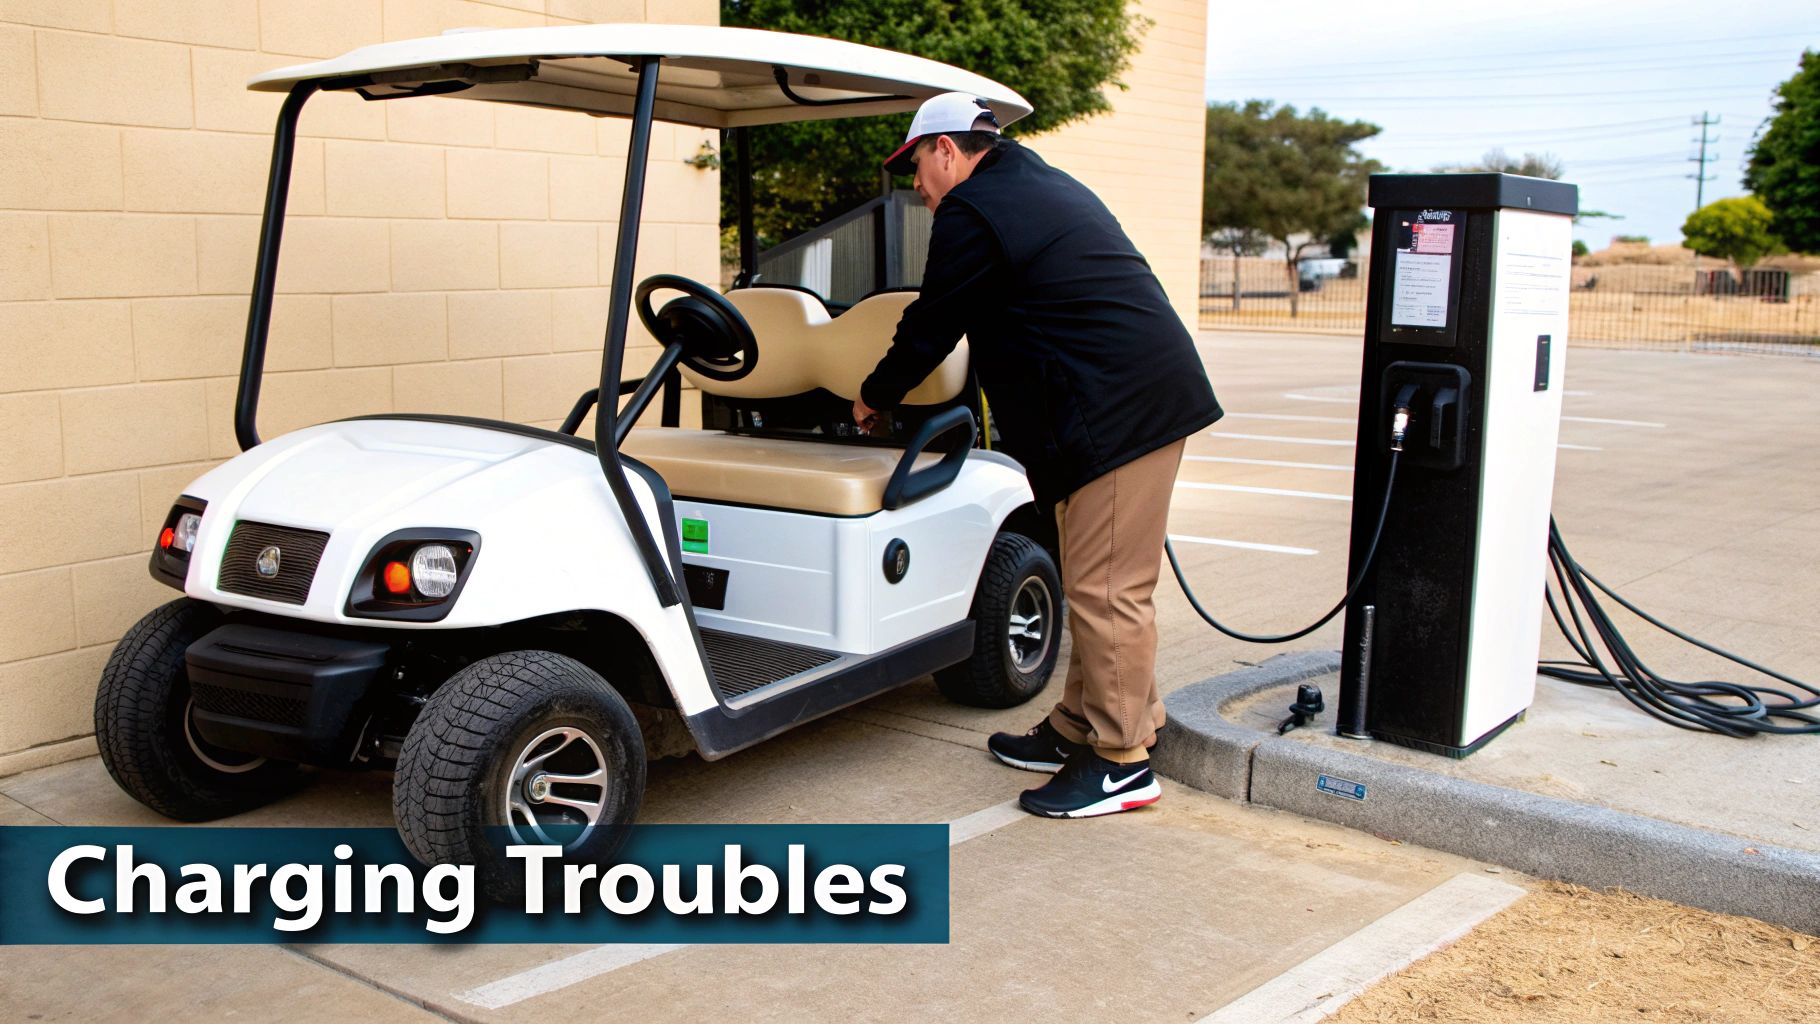
Troubleshooting Those Frustrating Charging Problems
There’s nothing worse than plugging in your cart overnight, expecting a full charge for your morning round, and finding it completely dead. It’s a classic golf cart headache. When your cart just won't take a charge, the fix is often way simpler than you might think. Before you panic and assume the whole battery pack is shot, a quick and logical troubleshooting process can usually get you to the root of the problem.
Always start with the most obvious stuff—the things we all overlook. Is the AC outlet you're using even working? Grab a lamp or your phone charger and plug it in to make sure it has power. Next, give the charger itself a good look. Are there any indicator lights on? Are they flashing or showing some weird error code? A quick peek at the charger's manual will tell you exactly what those codes mean.
Diagnosing the Core Components
If the outlet is good and the charger still seems dead, the issue lies a bit deeper. Now you need to focus on the three main players in the charging game: the charger, the cart's charging port, and the onboard computer (OBC), if your cart has one.
Here’s how to narrow it down:
- The Charger: The simplest way to test your charger is to borrow a friend's cart. If you plug it into a compatible golf cart and it works, your charger is off the hook. If it still does nothing, you've found your culprit.
- The Charging Port: Get a flashlight and inspect the receptacle on your cart. Look for any physical damage, green or white crusty corrosion, or any wires that look loose. A bad connection right at the port is a common reason power never makes it to the batteries.
- The Onboard Computer (OBC): Many Club Car models use an OBC to regulate charging. If this little computer goes haywire, it can prevent the charger from ever kicking on. Trying an OBC reset is a good first step, but if the problem persists, it might be time for a professional to take a look.
Charging problems are a huge source of frustration for cart owners. Malfunctioning ports or using the wrong charger can prevent a full charge, easily slashing your runtime by 20-40%. This is especially true for older lead-acid battery packs that need very specific, long charging cycles to perform well.
What to Do When the Charger Won’t Recognize the Batteries
Sometimes, the charger is perfectly fine, but it refuses to switch on because the battery pack's total voltage has dropped too low. This is common if a cart sits unused for a long time, allowing the batteries to become deeply discharged. Most modern "smart" chargers are designed with a safety feature that requires them to detect a minimum voltage before they'll start a cycle.
Pro Tip: A deeply discharged battery pack isn't always a lost cause. You can often 'wake it up' by charging the batteries in pairs with a standard 12-volt automotive charger. This can raise the pack's total voltage just enough for your golf cart charger to recognize it and take over.
This little trick gives the battery pack just enough juice for its own charger to kick in and do its job. By working through these steps, you can often solve annoying charging issues with just a few basic tools and save yourself a trip to the repair shop.
For more tips on keeping your batteries in top shape, check out our full guide on how to charge a golf cart the right way.
Smart Maintenance Habits That Extend Battery Life
Let's be honest, most golf cart battery problems aren't a mystery. They're usually the result of simple neglect, not some hidden manufacturing flaw. If you can build a few smart, proactive habits into your routine, you can easily double the lifespan of your investment and sidestep the frustration of a cart that quits on you halfway through the back nine.
We're not talking about complicated, time-consuming overhauls here. These are small, consistent actions that prevent the most common—and costly—causes of battery failure.

This is especially critical because lead-acid batteries, still the workhorse for most golf carts, have a surprisingly short lifespan if you don't look after them. You’re typically looking at only 4 to 6 years or about 500 to 1,500 hours of runtime before they need to be replaced. That short life is often cut even shorter by poor maintenance, with things like frequent deep discharges slashing their capacity by up to 50% faster than with proper care.
Master Your Watering Routine
For a traditional lead-acid battery, water is life. The electrolyte fluid inside has to cover the lead plates for the battery to work. If you let that water level drop too low, you expose the plates to air, which causes irreversible damage called sulfation.
Here are the absolute non-negotiables for watering your batteries:
- Always use distilled water. Tap water is full of minerals that will build up on the lead plates and choke the battery's ability to hold a charge.
- Fill after charging, not before. When you charge batteries, the electrolyte heats up and expands. If you fill them up beforehand, you're almost guaranteed to have corrosive battery acid spill out everywhere.
- Don't overfill. The sweet spot is about a quarter-inch above the lead plates. Any more than that and you risk an acidic overflow during the next charge cycle, which leads to a messy battery compartment and dangerous corrosion.
Just checking the water levels once a month is usually enough. Seriously, this single habit is probably the most important thing you can do to get more years out of your batteries.
The most common rookie mistake I see is someone noticing low water levels and immediately topping the batteries off to the brim before charging. That’s a recipe for disaster. Always charge first, let the batteries cool, and then add distilled water to the correct level.
Adopt Smarter Charging Practices
How you charge your cart is just as critical as how you water it. The goal is to keep the batteries in a healthy state of charge without ever pushing them to the extremes.
Avoid deep discharging like the plague. Constantly running your cart until it can barely crawl back to the garage is one of the fastest ways to kill your batteries. The best practice is to recharge your cart after every significant use, even if it was just for nine holes. This keeps the state of charge high and prevents sulfation from setting in.
At the same time, you have to be mindful of overcharging. Most modern "smart" chargers are great—they automatically shut off or switch to a maintenance mode once the batteries are full. But if you're working with an older manual charger, leaving it plugged in indefinitely will "cook" the batteries, boiling off the electrolyte and damaging the internal plates. Know what kind of charger you have and use it the right way.
This simple maintenance schedule can make a huge difference in how your lead-acid batteries perform over their lifespan.
Lead-Acid Maintenance Checklist
| Task | Frequency | Why It's Important |
|---|---|---|
| Visual Inspection | Weekly | Check for cracks, leaks, or loose connections before they become major problems. |
| Terminal Cleaning | Monthly | Prevents corrosion buildup, which can block the flow of electricity and cause charging issues. |
| Check Water Levels | Monthly | Ensures lead plates are submerged, preventing irreversible sulfation damage. |
| Equalization Charge | Every 30-60 Days | Balances the charge across all cells, desulfates the plates, and extends battery life. |
Following these simple but effective habits can completely change your relationship with your cart, preventing most common golf cart battery issues before they ever start.
Knowing When To Repair Versus Replace Your Batteries
Figuring out whether to try and save a struggling battery pack or bite the bullet and buy a new set is one of the biggest calls a golf cart owner has to make. Get it wrong, and you could be throwing good money after bad on a temporary fix or, just as bad, replacing batteries that still had plenty of juice left in them.
Learning to spot the tell-tale signs of a battery pack on its last legs is the key to making a smart, cost-effective decision.
While good maintenance can bring a pack back from the brink, some problems are non-negotiable. They're clear signals that it's time for a full replacement.
Physical damage is the most obvious red flag. If you see any battery casings that are swollen, bulging, or have visible cracks, that's not just a performance issue—it's a safety hazard. That battery is toast and well past the point of any repair.
Evaluating Performance Decline
Beyond what you can see, your cart's performance will tell you the whole story. A classic sign of old age is a dramatically shortened run time that doesn't get any better with proper charging and maintenance. If a full charge used to easily get you through 36 holes and now it barely limps through nine, the internal chemistry has likely broken down for good.
Another critical indicator is a consistently low voltage reading. After giving your batteries a full charge and letting them rest for 12 hours, if they still can't hold their optimal voltage, they’ve lost their ability to store a meaningful amount of energy.
Replacing One Versus Replacing The Pack
It’s always tempting to save a few bucks by just swapping out the one "bad apple" you found during a load test. This might work as a short-term patch if the other batteries are still fairly new and in good shape, but it's rarely a good long-term strategy.
When you mix a brand-new battery with a set of older, weaker ones, the new battery is immediately overworked. It discharges faster and works harder to keep up with the degraded performance of its neighbors, drastically shortening its own lifespan.
For balanced, reliable performance, you should always replace the entire set of batteries at the same time. This is the only way to ensure every battery in the pack is working in harmony, sharing the load equally, and charging uniformly. Yes, it’s a bigger investment upfront, but it will absolutely save you money and headaches down the road.
When you do replace your batteries, make sure to dispose of the old ones the right way. Thinking about the environmental impact of electronic waste is part of being a responsible owner. Most battery retailers and auto shops have recycling programs in place to handle them safely.
Your Golf Cart Battery Questions Answered
When you're wrestling with a frustrating golf cart battery problem, it always seems like the same questions come up. Instead of getting lost in a sea of forum posts, we've pulled together the most common ones right here to give you some straight answers and advice you can actually use. Getting these details right can make all the difference in your cart's performance and how long those expensive batteries will last.
Let's cut to the chase so you can solve the problem and get back on the course.
How Long Should My Golf Cart Batteries Last On A Single Charge?
This is the million-dollar question, and the honest-to-goodness answer is: it depends. A fresh set of lead-acid batteries cruising on a flat course might easily get you through 27 holes, maybe more. But that number can plummet depending on a few key things.
Here’s what will cut your range short:
- Terrain: Constantly climbing hills is the number one power hog. It's like flooring it in your car everywhere you go.
- Load: Piling on extra passengers or heavy gear forces the motor to work that much harder.
- Battery Age: As batteries get older, their ability to hold a full charge just isn't what it used to be. An old pack might feel like it's running on fumes by the time you finish 18 holes.
Modern lithium systems are a completely different beast. They often deliver consistent, reliable power for up to 36 holes, even when they've got some age on them.
Can I Replace Just One Bad Battery In My Golf Cart?
You technically can, but it's almost always a bad move for the long-term health of your battery pack. Think of your batteries as a relay race team. If you stick one fresh, energetic runner in a team of exhausted ones, that new runner has to overcompensate, and the team's overall speed is still dictated by the slowest members.
When you mix a brand-new battery with a bunch of older, weaker ones, the new battery gets dragged down to the performance level of the rest of the pack. Your charger will also struggle to properly balance the pack, which often leads to the new battery failing much, much sooner than it should. For the best performance and your money's worth, always replace the full set at the same time.
Why Do My Battery Terminals Keep Corroding?
That crusty, white, or sometimes greenish gunk growing on your battery terminals is a classic byproduct of lead-acid battery chemistry. It's caused by hydrogen gas, which naturally escapes from the sulfuric acid inside the battery during the charging cycle. This gas then reacts with the air and the lead terminals, forming lead sulfate crystals.
This corrosion isn't just an eyesore; it's an insulator. It creates a barrier that chokes the flow of electricity, leading to sluggish performance, incomplete charges, and a cart that just feels weak and underpowered.
The issue often gets worse if you've accidentally overfilled the batteries with water or if there's a poor seal around the terminal post. The best way to manage it is to regularly clean the terminals with a simple paste made from baking soda and water.
Is It Okay To Leave My Golf Cart Plugged In All The Time?
This one comes down entirely to what kind of charger you have. Most modern chargers are "smart" chargers, also known as battery maintainers. They're designed to monitor your battery pack and will automatically kick over to a low-power "float" or "maintenance" mode once the batteries are full. With this kind of charger, leaving it plugged in is not only safe but actually recommended to keep your batteries topped off and healthy.
However, if you're working with an older, manual charger that doesn't have an automatic shut-off feature, leaving it connected indefinitely is a recipe for disaster. It will overcharge and literally "cook" your batteries, boiling away the electrolyte and causing irreversible damage. If you're not sure what you have, check your charger's specifications or look for labels like "automatic" or "smart charger."
At Caddie Wheel, we believe in making golf more enjoyable by removing the physical strain. Upgrade your push cart with our powerful, easy-to-install electric assist and walk the course with ease. Learn more and transform your game today!
Partager:
A Guide to Push Carts Golf and How to Walk Smarter
Your Complete Guide to a Golf Cart Battery Watering System