
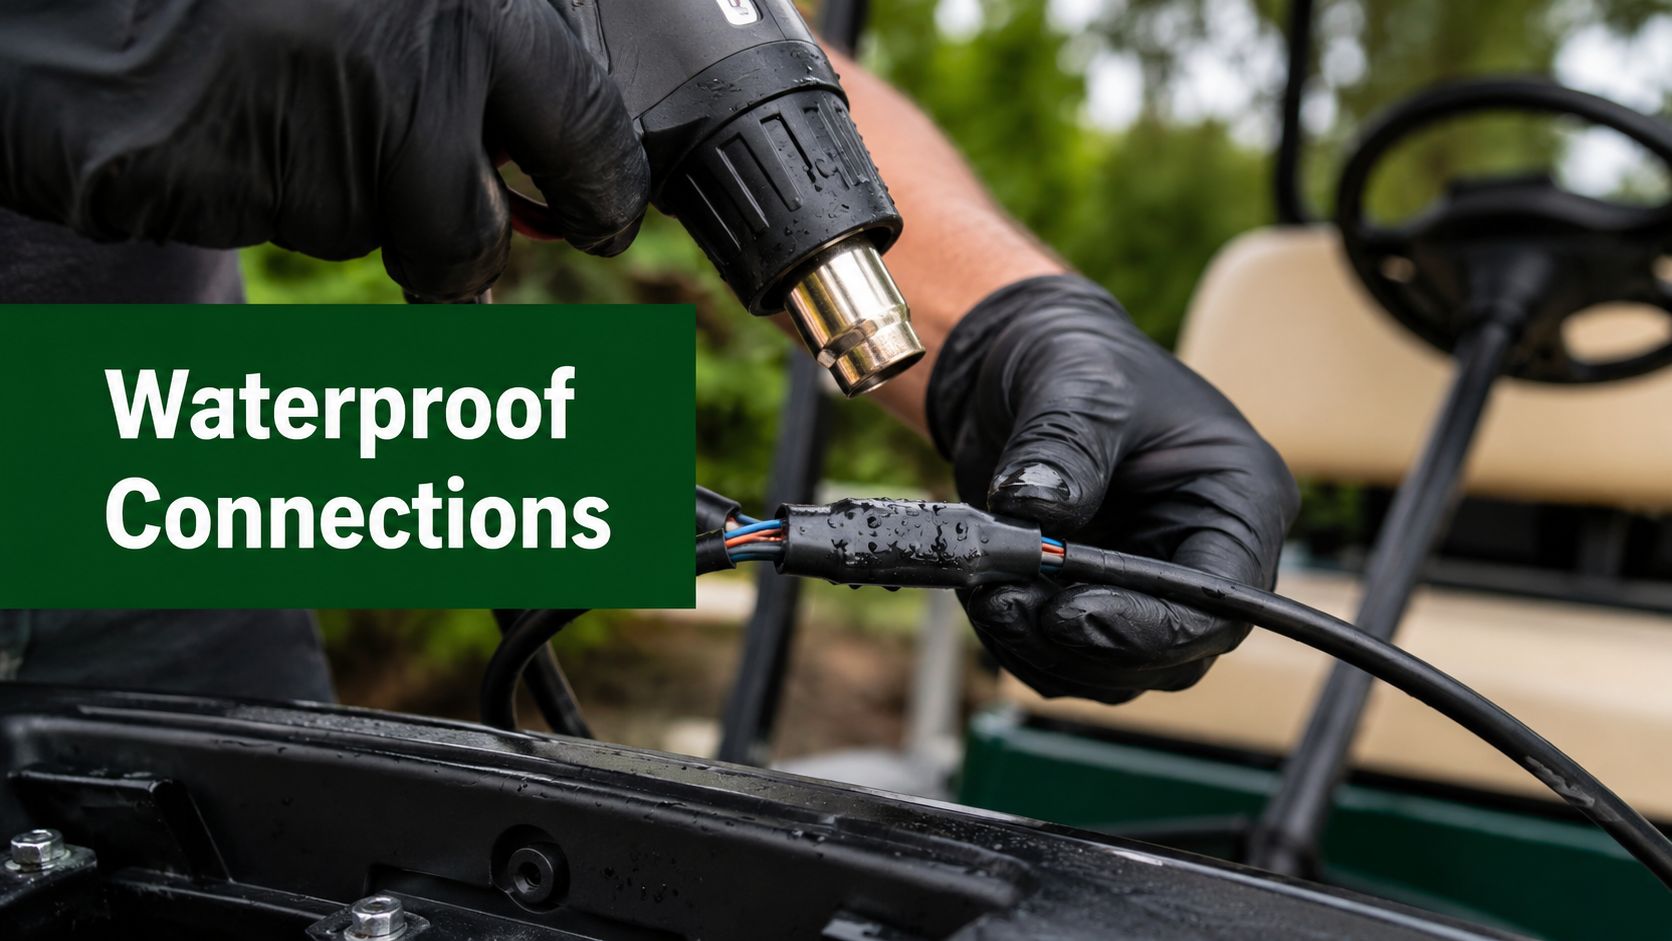
You're on the course, the round is going well, and then the weather flips. Rain starts falling harder than the forecast promised. Your first concern should be getting back under cover, not whether the wiring on your golf cart or powered push setup is about to start corroding from the inside.
That's why waterproofing electrical connections matters. Outdoor gear rarely fails all at once. More often, moisture gets into one weak point, resistance creeps up, connectors oxidize, and the problem shows up later as a motor that stutters, a charger port that acts intermittent, or a control plug that works only when you jiggle it just right. On a golf cart, those failures tend to collect around the same places: battery terminals, motor leads, controller plugs, lighting splices, and any accessory wiring routed low on the frame.
A lot of advice online treats every connection the same. That's the wrong approach. A permanent splice should be sealed one way. A connector you need to unplug for service should be protected another way. A junction box or controller housing has its own rules. If you match the method to the component, your gear stands a much better chance of surviving rain, washdowns, wet grass, and the occasional puddle.
Why Protecting Your Connections Is Non-Negotiable
Rain on a golf cart isn't just a nuisance. In low-voltage DC systems, water intrusion starts a chain of small failures that become expensive ones. Moisture gets into a connection, oxygen and contamination do the rest, and the electrical path slowly degrades.
Corrosion is the obvious problem, but it's not the only one. Water trapped near dissimilar metals encourages galvanic action. Corroded surfaces raise resistance. Higher resistance means heat, voltage drop, and unreliable operation. That's why a cart can seem fine one day and then start acting erratic after a wet week.
What actually goes wrong
The failure mode usually isn't a dramatic short circuit. It's the slow decline of a connection that used to be solid.
- Battery terminals oxidize: Power delivery becomes inconsistent, especially under load.
- Motor and controller plugs collect moisture: You get intermittent faults that are hard to diagnose.
- Splices wick in water: Corrosion starts under insulation where you can't see it.
- Rubber seals age out: A connector that was tight last season may no longer seal this season.
Water doesn't need a big opening. It only needs time, vibration, and one weak seal.
This is one reason the industry has kept investing in better sealing hardware. The global waterproof wire connector market was valued at USD 3.21 billion in 2022 and is projected to reach USD 5.94 billion by 2030, growing at a CAGR of 8.0%, which reflects how important moisture-proof seals have become in harsh-environment electronics (waterproof wire connector market data).
Outdoor gear needs system thinking
A golf cart or powered push setup lives in a rough environment. Morning dew, fertilizer residue, tire spray, wash water, and humidity all work against exposed wiring. Waterproofing isn't a one-time trick. It's part of building a reliable system.
That same mindset shows up in other outdoor electrical work. If you've looked at Lighthouse Energy outdoor lighting expertise, you've seen the same basic principle: exposed equipment lasts longer when the installation respects weather, ingress points, and maintenance from the start.
Practical rule: If a connection sits low on the cart, near the wheels, under the battery tray, or close to a washdown path, treat it as high risk even if it looks sheltered.
Skipping waterproofing is usually a false economy. The few extra minutes spent sealing and protecting the right points will save far more time than chasing intermittent electrical problems later.
Choosing Your Waterproofing Arsenal
Every waterproofing material has a job. Problems start when people use one product for everything. Heat shrink is excellent for a permanent splice, but it's the wrong answer for a connector you need to unplug. Dielectric grease protects serviceable terminals well, but it won't fix a poorly chosen enclosure.

Match the method to the component
For outdoor gear, IP rating is the first filter. Selecting connectors with an IP67 rating or higher is the mandatory standard for outdoor or submerged environments, and IP67 certifies protection for immersion in 1 meter of water for 30 minutes. That makes it the right threshold for high-risk areas like a golf cart's wheel motor wiring or battery-adjacent connectors (IP67 guidance for outdoor connections).
Here's the practical breakdown.
| Method | Best For | Pros | Cons |
|---|---|---|---|
| Adhesive-lined heat shrink | Permanent wire splices | Strong seal, clean finish, durable in harsh locations | Not serviceable once installed |
| Dielectric grease | Multi-pin connectors, battery terminals | Helps block moisture, supports serviceable connections | Needs correct application and periodic inspection |
| Liquid electrical tape | Irregular shapes, added outer layer | Useful where tubing won't sit neatly | Messier than shrink tubing, easy to overapply |
| Self-fusing silicone tape | Emergency wraps, odd routing points | Flexible and removable, no adhesive mess | Not my first choice for primary long-term splice sealing |
| Waterproof junction box or sealed enclosure | Multiple terminations, housed electronics | Protects groups of connections | Only works if the box, glands, and entries are chosen correctly |
What I'd use on a golf cart
A good golf cart setup usually needs more than one method.
- Battery terminals: Use dielectric grease on the metal contact areas and inside serviceable connector interfaces where applicable. You still need a mechanically sound connection first.
- Motor wire extensions or repaired leads: Use adhesive-lined heat shrink over a proper splice. Permanent sealing is sensible for these connections.
- Controller harness plugs: Start with a sealed connector if you can. If you're reusing an existing plug, protect the pins with dielectric grease and inspect the rear wire entry closely.
- Accessory wiring for lights or USB ports: Use sealed connectors or heat-shrunk splices depending on whether you'll need future access.
If your setup includes electronics that are handled often, remote-control protection for golf gear is worth reviewing too, because handheld controls usually fail at buttons, seams, and charging points before the heavier wiring does.
What doesn't work well
A few methods keep showing up in DIY repairs because they're quick, not because they last.
Silicone smeared around a bad connector usually hides a problem. It rarely solves one.
Electrical tape alone isn't a waterproofing system. Standard junction boxes aren't made waterproof by wishful thinking. Random grease on the outside of a plug doesn't protect the pins if water can still migrate through the back of the housing.
For housings and boxes, the enclosure itself has to be rated for the environment. For splices, the seal has to bond to the insulation. For connectors, the weak point is often where the wire enters the back shell, not the face you can see.
That's the core idea in waterproofing electrical connections. Pick the method that suits the part, not the method that happens to be in your toolbox.
The Core Method for Sealing Spliced Wires
If I had to pick one skill that prevents the most outdoor wiring failures, it would be sealing a splice properly with adhesive-lined heat shrink. A lot of bad repairs look fine at first glance. The wire has continuity, the tubing shrank down, and the joint feels solid. Then water finds the trapped air pocket at one end, and the corrosion starts.

The standard method is specific. Use 3:1 dual-wall adhesive-lined heat shrink tubing with at least 1 inch (25mm) of overlap onto the wire insulation on each side of the splice. Heat it from the center outward so trapped air is pushed out and adhesive flows visibly from both ends (industry-standard splice sealing method).
Step one gets decided before you add heat
The splice itself has to be right before sealing starts. Whether you use a quality crimp splice or a soldered joint, the mechanical connection comes first. Heat shrink doesn't rescue a weak splice.
My checklist is simple:
- Strip cleanly: Don't nick strands.
- Make the joint mechanically sound: Crimp or solder it correctly before sealing.
- Choose the tubing size carefully: It has to shrink tight without being forced.
- Slide the tubing on before finishing the splice: Everyone forgets this once. Usually only once.
How to heat it correctly
The center-out technique matters because it forces air away from the splice instead of trapping it. Hold the heat gun a few inches back and rotate the wire as you work. You want even shrink, not blistering.
Look for two visual signs:
- the tubing conforms tightly over the splice and insulation
- adhesive becomes visible at both ends
That visible adhesive bead is one of the few honest indicators that the seal likely closed properly.
If adhesive hasn't flowed at both ends, I don't trust the splice in wet service.
Common mistakes that ruin good materials
Most failed heat-shrink seals come from a short list of errors:
- Too little overlap: The tubing seals the joint but not enough of the insulated wire.
- Overheating: The outer sleeve scorches, splits, or thins out.
- Open flame instead of controlled heat: Uneven heating creates weak spots fast.
- Wrong tubing type: Single-wall tubing insulates, but it doesn't create the same moisture barrier.
A quick visual example helps if you want to see how pros handle shrink and wire prep in the field:
Where this method belongs on a golf cart
Use this method where the connection is meant to stay closed for the life of the repair.
Good candidates include:
- repaired light harness splices
- motor wire extensions
- low-mounted accessory wire joins
- damaged sections replaced in a loom run
Poor candidates include anything you'll need to disconnect for battery removal, controller service, or accessory replacement. Those should stay serviceable and get a different protection strategy.
A proper sealed splice looks boring. That's exactly what you want. No exposed conductor, no wrinkled tubing, no burnt spots, no guessing.
Protecting Multi-Pin Connectors and Terminals
Permanent splices get the most attention, but serviceable connections fail just as often. On golf carts, battery terminals, charger interfaces, controller plugs, and accessory connectors live with vibration, moisture, grass residue, and repeated unplugging. You can't heat-shrink those shut and call it done. They need to remain accessible.
The right tool here is dielectric grease, used precisely rather than slathered everywhere.

Dielectric grease must be applied as a non-conductive insulator to every pin and inside the connector housing to create a moisture-proof barrier that prevents corrosion. It works by displacing air and water and creating a hydrophobic seal, which matters even more where saltwater or fertilizer moisture is present (dielectric grease application guidance).
Where the grease actually goes
Often, many DIY repairs go sideways. The grease belongs on the contact area and inside the housing, not just smeared around the outside shell where it looks protected.
For a typical multi-pin golf cart connector:
- Apply a small amount to each pin: You want coverage, not a packed housing.
- Coat the inside of the connector cavity lightly: This helps block moisture migration.
- Inspect rear seals and wire entries: If the back of the connector is compromised, grease at the front won't save it.
- Reconnect firmly: The seal only works if the connector seats fully.
Battery terminals need a similar mindset. Clean the metal first, assemble the connection correctly, then protect it. If you're working around charging components or receptacles, it also helps to understand the basics of essential advice on 15 amp power, especially when you're sorting out compatible accessories and safe outdoor electrical practice.
Best uses on golf gear
A few applications benefit more than others.
Controller plugs
Controller harnesses often sit in awkward spots where water spray and vibration work together. These plugs should get grease on the terminals and a close inspection of the cable seal at the rear. If the latch is loose or the rubber seal has hardened, replacement is usually smarter than trying to rescue it with sealant.
Battery terminals and disconnect points
These are service points, so don't turn them into permanent assemblies. Keep them clean, tight, and protected. Grease helps prevent corrosion, but it doesn't replace proper torque or a clean mating surface.
Accessory connectors
USB ports, lights, and add-on electronics often introduce the weakest connectors on the cart because accessory kits vary in quality. If your cart uses power add-ons, this guide to a USB port for golf cart setups is a useful reminder that convenience features need the same weather protection as the drivetrain wiring.
A serviceable connector should come apart cleanly, go back together positively, and stay dry where the metal contacts live.
What to avoid
Don't fill a damaged connector with hope and grease. If the plastic body is cracked, the seal is missing, or the terminal fit is loose, replacement is the repair. Also don't confuse dielectric grease with a conductive compound. Its job is to keep moisture out, not to bridge a poor electrical contact.
For multi-pin connections, the best results usually come from layers of defense. Use a sealed connector body where possible, grease the contacts, protect the wire entry, and route the harness so water doesn't sit on the connection.
Verifying Your Work and Long-Term Maintenance
A waterproofed connection that hasn't been tested is still a guess. Visual inspection matters, but it isn't enough. Plenty of bad seals look fine until they get wet.

After waterproofing, the seal should be verified with a multimeter continuity check before and after submerging the connector in water with the power off. If the reading changes, the seal failed and needs to be redone. Regular inspections are also mandatory, with a recommended frequency of at least annually (verification and inspection guidance).
A practical test routine
You don't need a lab setup to catch obvious failures. For typical golf cart wiring repairs, a disciplined check is enough.
- Test continuity dry: Confirm the connection is electrically sound before water touches it.
- Submerge only the sealed area, with power off: Keep the test controlled.
- Retest continuity afterward: Any change means water likely got where it shouldn't.
- Dry and inspect: Look for loosened tubing, trapped bubbles, or compromised seals.
If you have access to professional equipment, vacuum testing is even better for catching small leaks. For most owners, though, the multimeter check is the minimum standard.
What to inspect over time
Waterproofing electrical connections isn't finished when the repair cools down. Outdoor gear needs periodic checks because seals age.
Watch for these issues:
- Cracked heat shrink: Usually starts near the ends.
- Brittle connector seals: Rubber hardens and stops conforming.
- Grime packed around connectors: Dirt holds moisture against the seal.
- Green or white corrosion residue: A sign moisture has already been inside.
- Loose harness routing: Movement increases stress at the seal.
Maintenance catches the small failures before they become electrical troubleshooting sessions in the parking lot.
Build inspection into normal cart care
An annual wiring inspection should sit right beside routine charger, tire, and battery checks. If your cart sees heavy rain, washdowns, or wet-course use, inspect more often. Pay close attention to charging hardware and any cable that gets handled regularly. If your charging setup lives in a damp garage or travels in the trunk, this look at a golf cart charging cord is a good reminder that external power connections deserve the same scrutiny as on-cart wiring.
The goal is simple. Don't wait for symptoms. By the time a connector starts acting intermittent, the corrosion is usually well underway.
Conclusion Confidence in Any Weather
Reliable outdoor wiring comes down to matching the protection method to the part. Permanent splices need a properly executed adhesive-lined heat shrink seal. Serviceable plugs and battery connections need clean contacts, intact housings, and carefully applied dielectric grease. Housings and boxes need the right ingress rating from the start, not a last-minute bead of sealant.
That application-specific approach matters on a golf cart because different parts of the system live very different lives. A motor lead near spray from the ground sees one kind of exposure. A controller plug tucked under a panel sees another. A battery terminal that gets disconnected for service needs protection without being locked shut. Treat those areas the same, and you'll either under-protect them or make future maintenance harder than it needs to be.
The other habit that separates durable repairs from temporary fixes is verification. Test the connection. Inspect it later. Rework anything that doesn't hold up. Waterproofing electrical connections isn't about making your gear invincible. It's about making it dependable in the conditions it is subjected to, including rain on the back nine, wet grass in the morning, hose spray after a muddy round, and long periods of humidity in storage.
Do that well, and weather becomes an inconvenience instead of a failure point.
If you want an easier walking round without giving up your current push cart, Caddie Wheel offers a lightweight electric power-assist system that drops onto standard carts in minutes, helping you save energy and keep your focus on the course instead of the strain of pushing.
Share:
Best Golf Cart Parts Toledo Ohio: Shop Smart in 2026
Golf Hand Warmer Pouch: A Guide for Walking Golfers